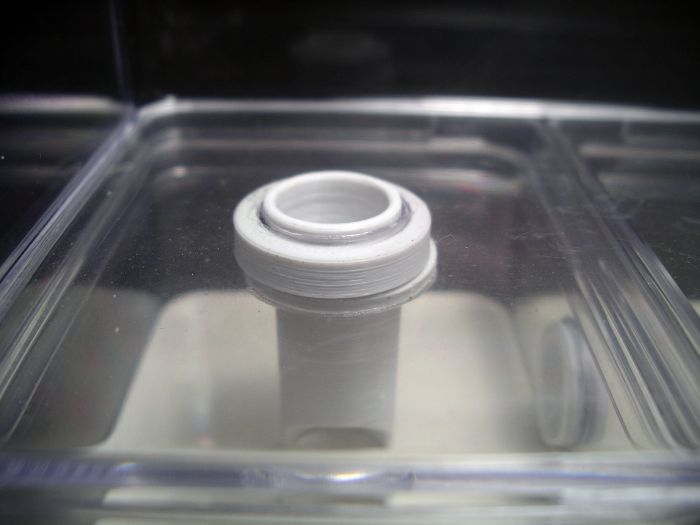
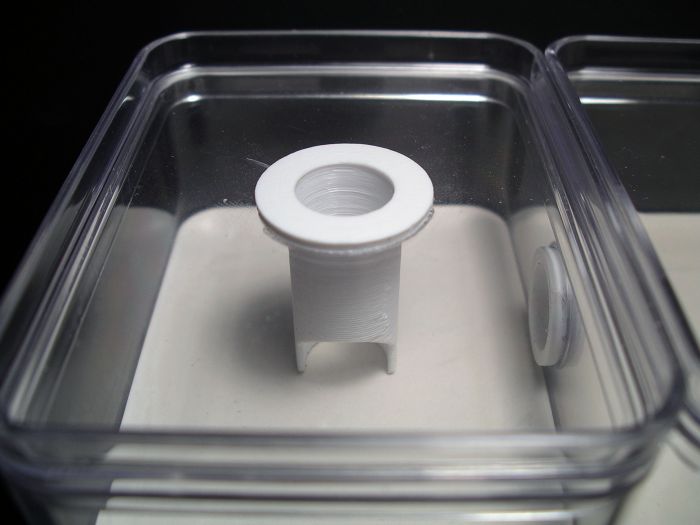
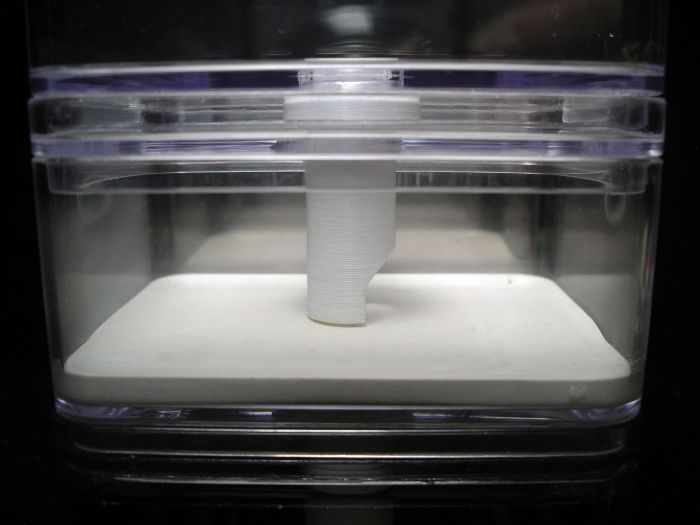
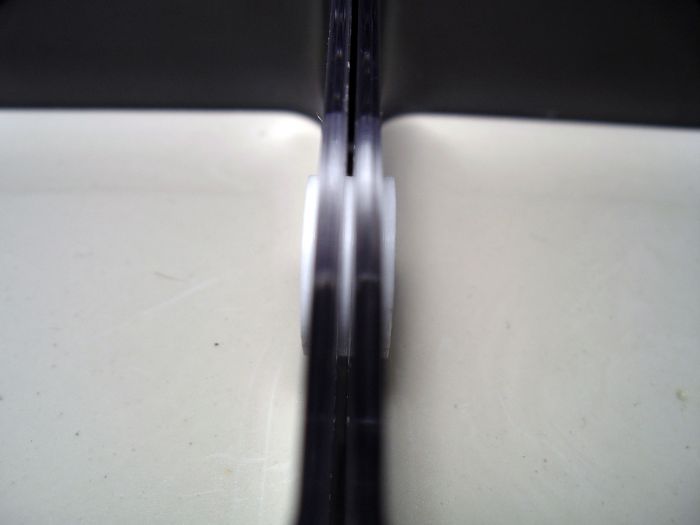
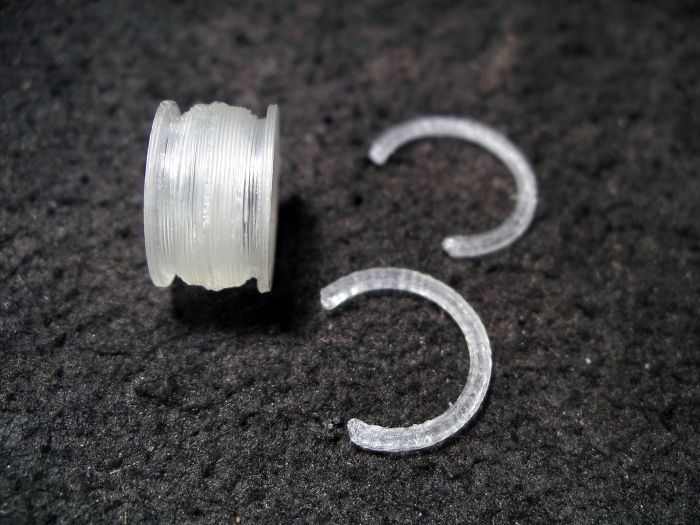
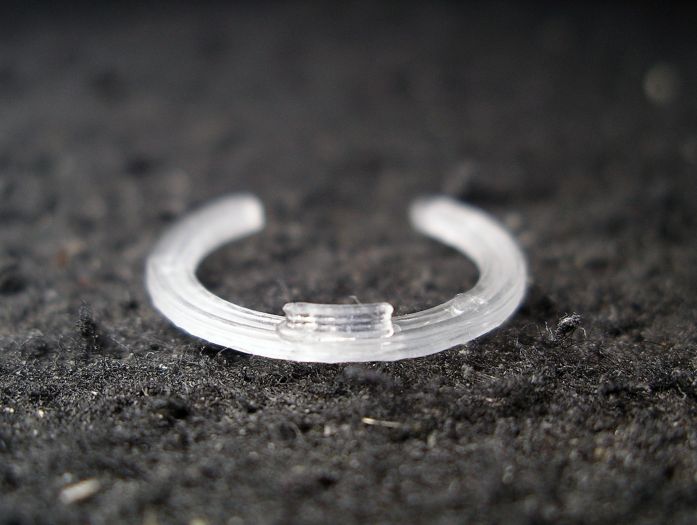
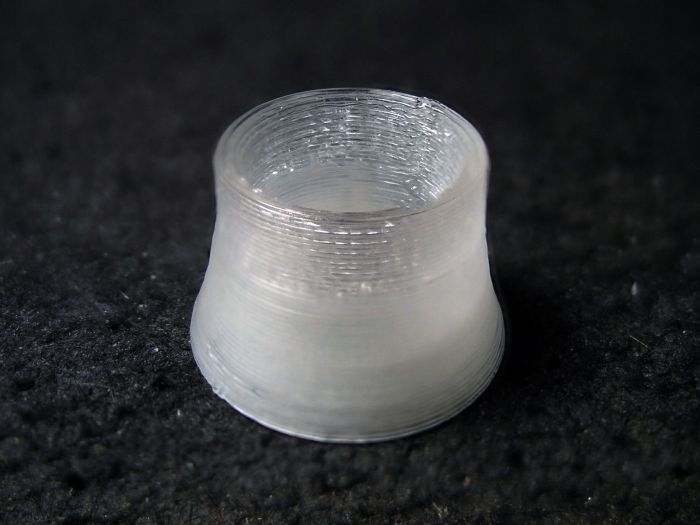
Well, originally it was to allow me to pop out the hard piece of plastic used in the mold, but since the acrylic rod was in so tight, I decided to leave it in there to be used as a handle.
- Formiculture.com
- Forums
- Gallery
- Members
- Member Map
- Chat

Well, originally it was to allow me to pop out the hard piece of plastic used in the mold, but since the acrylic rod was in so tight, I decided to leave it in there to be used as a handle.
 I guess it's a good thing I'm no longer using it in any of my formicarium designs.
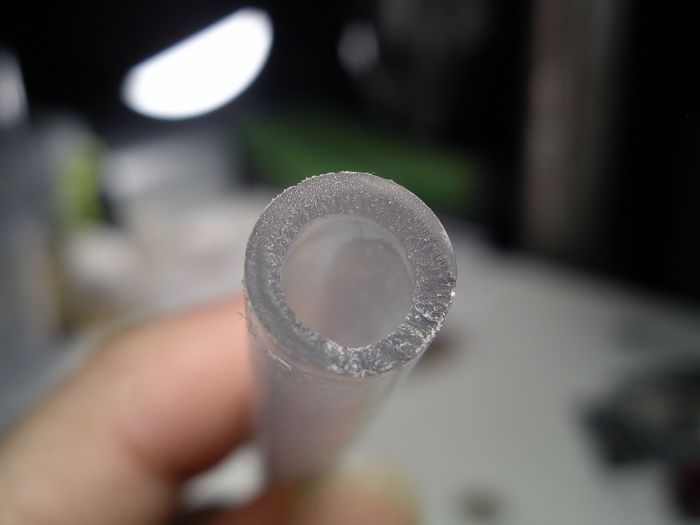
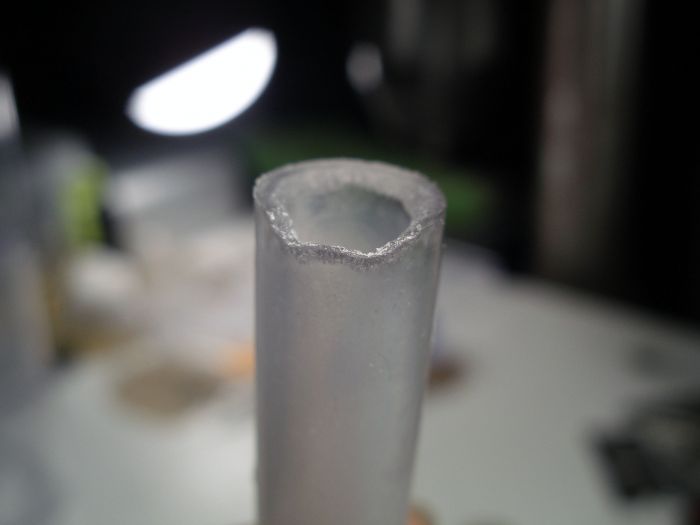
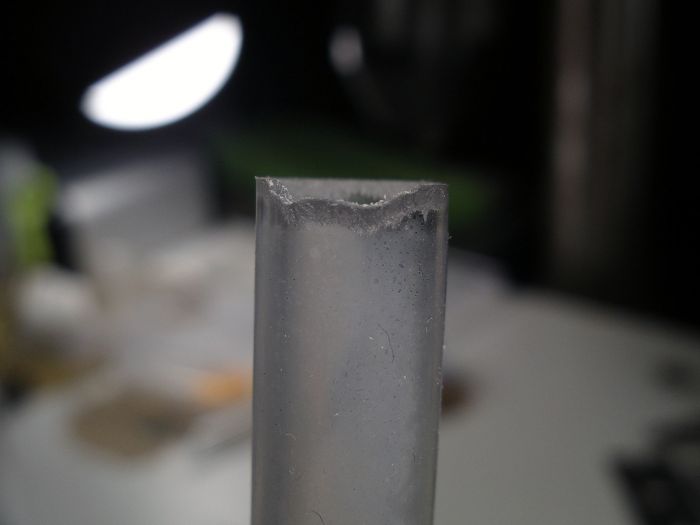


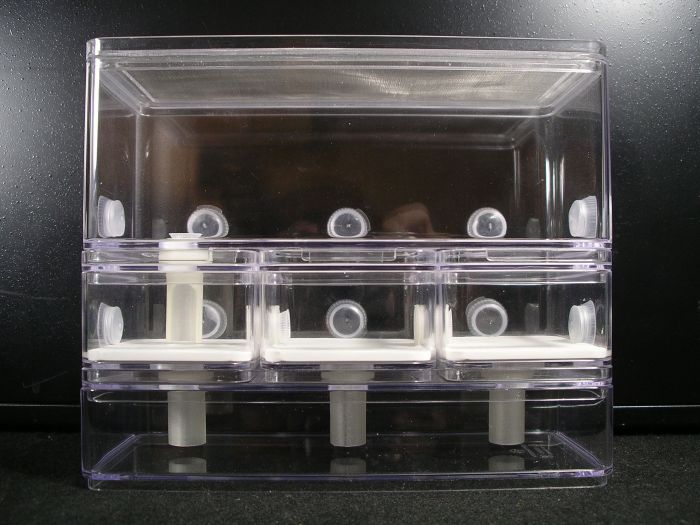
 I definitely need to do this another way...

Vendor

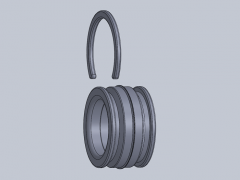
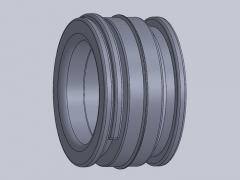
 Okay. How is it going to print then?
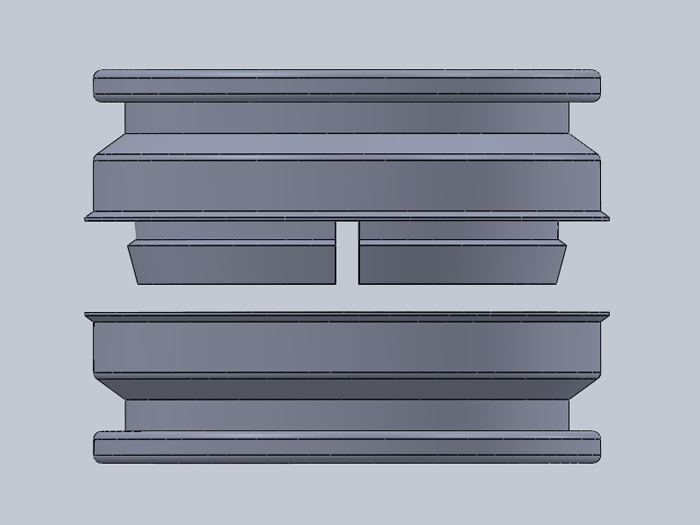
Vendor
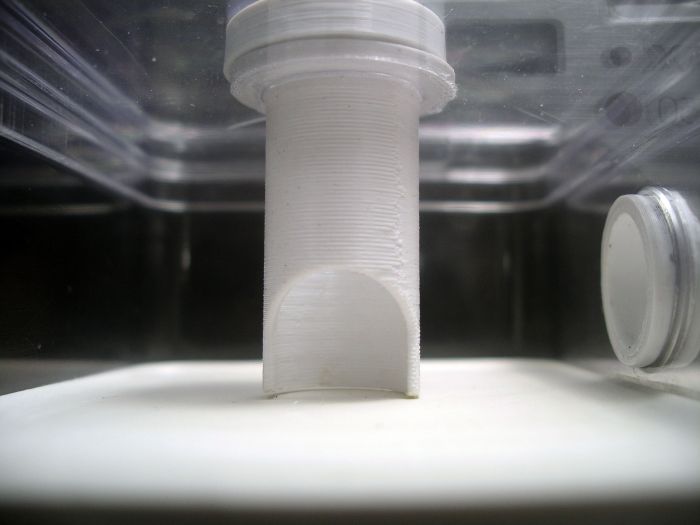
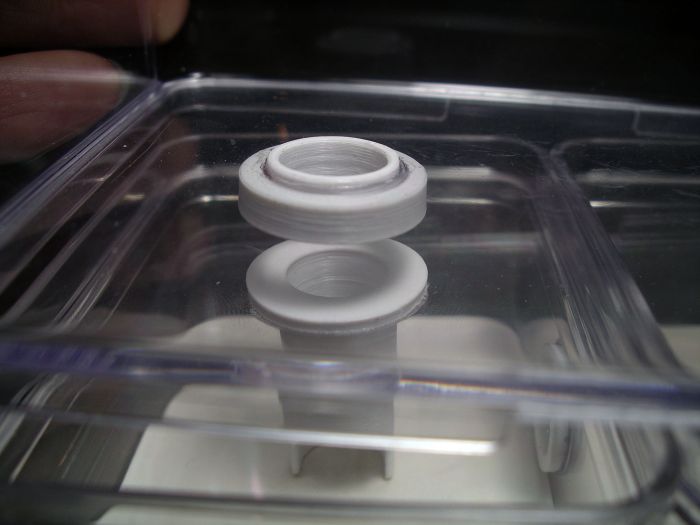
Depends on your tolerances. Also get rid of any unsupported fillets on the first few layers of your printing orientation, otherwise you're printing on air. Making small parts that are supposed to fit and work in an assembly is tricky on these low resolution machines.
Edited by drtrmiller, February 16 2016 - 12:09 AM.
I'll take care of those fillets, although it never seemed to be an issue for Bryan. At .25 mm, they're pretty much nonexistent to the printer. The assembly I'm pretty sure will work fine. None of this stuff needs to be that precise.
Edit: I just looked at the old connector, and it actually sits on a .5 mm fillet and prints just fine.
Edited by dspdrew, February 16 2016 - 7:37 AM.
Advanced Member

I have a 3D printer on the way, so soon I'll be able to print this stuff out on demand.
Which model did you settle on?
Camponotus vicinus, Crematogaster 1, Crematogaster 2, Formica francoeuri, *, *, Myrmecocystus testaceus, Novomessor cockerelli, Pheidole hyatti, Pogonomyrmex californicus, Pogonomyrmex rugosus, Solenopsis invicta
Advanced Member

How is the design coming along? Still a work in progress? Dunno if you got the 3d printer or not yet.
I have a 3D printer on the way, so soon I'll be able to print this stuff out on demand.
Which model did you settle on?
A Chinese steaming pile of crap. This is why I haven't gotten anywhere on these projects. I should not have gotten their newest design. The old design apparently works well, and many people have them, so there's lots of support. The one I got, not so much. This thing was totally beat up and used. I'm filing a claim with PayPal to get my money back.
Advanced Member
Vendor
If I may, what model is supposedly good? Just figuring out the cost of a 3-d printer.
Buying a pre-built machine for less than $1000 with the goal of reliably making functional parts is a risky proposition.
Edited by drtrmiller, March 4 2016 - 3:57 PM.
Advanced Member
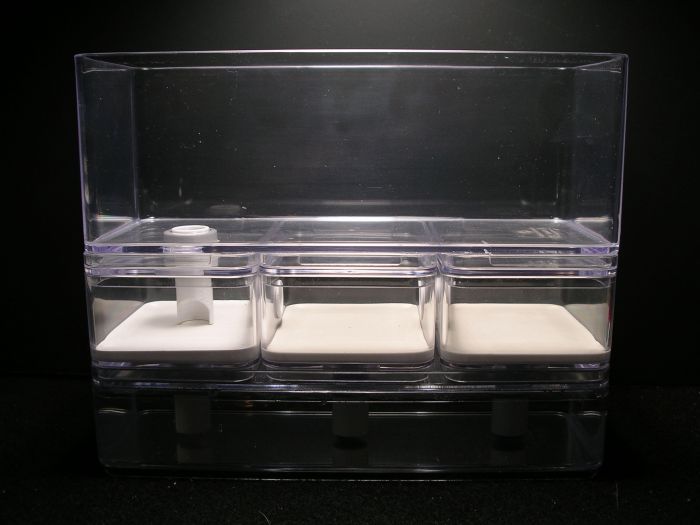
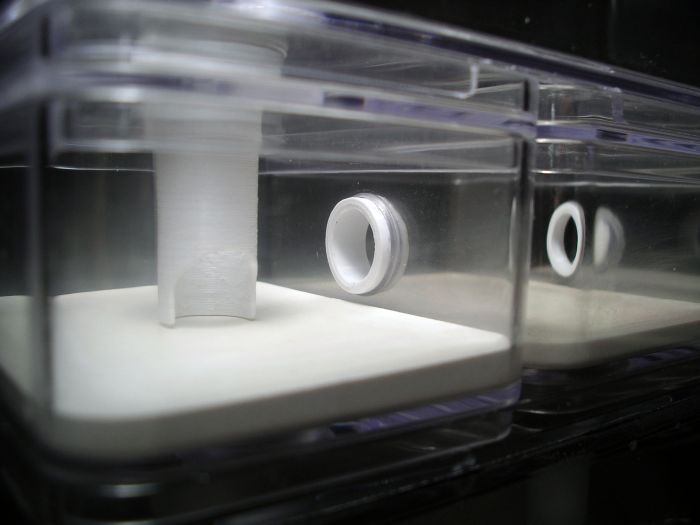
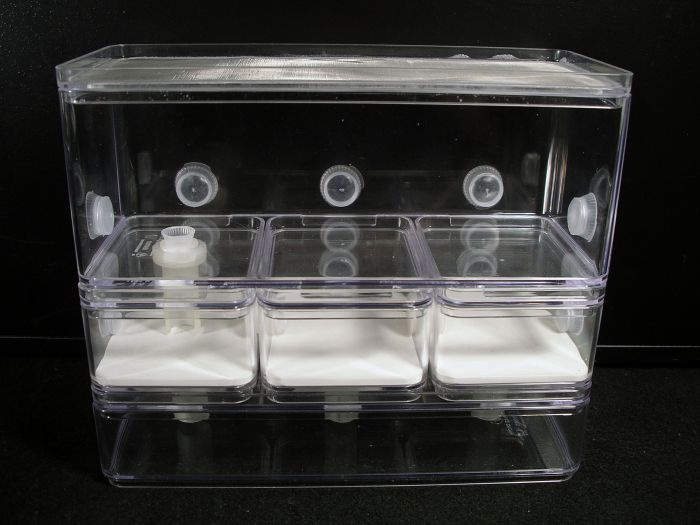
The formicarium looks really awesome.  How are the ants liking it?
I haven't upgraded any of them yet. It's really not much of a difference to the ants, except the tunnel size is slightly smaller now.
Advanced Member

Looks like it should hold a pretty decent sized ant colony


 |
Ant Keeping →
General Ant Keeping →
bmb1bee's Fossil FormicariaStarted by bmb1bee , Jan 9 2026 |
|

|
|
Market Place →
General Market Place →
FormiFactory's Nest ShopStarted by FormiFactory , Dec 8 2025 |
|

|
||
Off-Topic →
General Off-Topic →
3D printing Corner!Started by OwlThatLikesAnts , Nov 10 2025 |
|
|
||
Market Place →
General Market Place →
Possible THA Formicarium for sale in ArizonaStarted by sacs4010 , Aug 20 2025 |
|
|
||
Ant Keeping →
General Ant Keeping →
Leaving tomorrow, don't know what to do with Brachymyrmex depilisStarted by AntBooper600 , Jul 20 2025 |
|

|
0 members, 0 guests, 0 anonymous users

Community Forum Software by IP.Board
Designed By skinod.com

