Jump to content

  • Chat
  •  
  •  

Welcome to Formiculture.com!

This is a website for anyone interested in Myrmecology and all aspects of finding, keeping, and studying ants. The site and forum are free to use. Register now to gain access to all of our features. Once registered and logged in, you will be able to create topics, post replies to existing threads, give reputation points to your fellow members, get your own private messenger, post status updates, manage your profile and so much more. If you already have an account, login here - otherwise create an account for free today!

Photo

Dspdrew's Formicarium 08 Research and Design (Updated 11-26-2023)

formicarium container out world enclosure how-to diy design nest dspdrew tutorial

  • Please log in to reply
190 replies to this topic

#81 Offline dspdrew - Posted October 20 2015 - 11:25 PM

dspdrew
  • LocationSanta Ana, CA

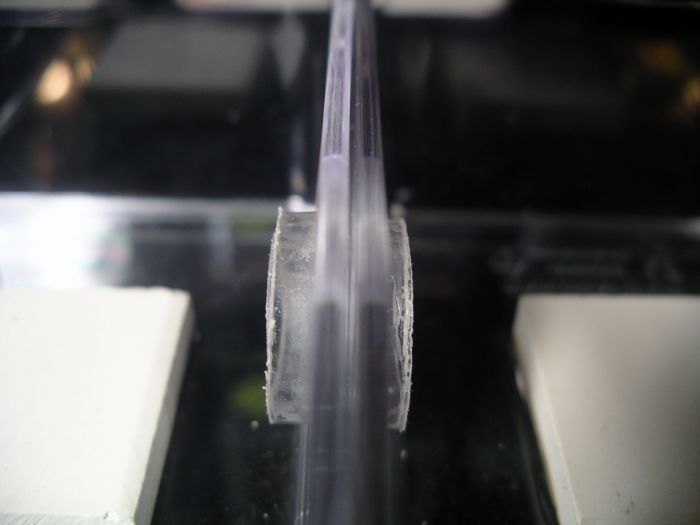
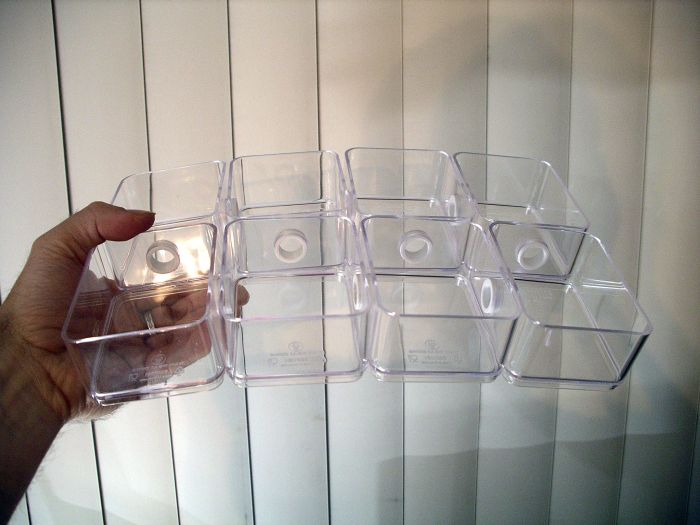
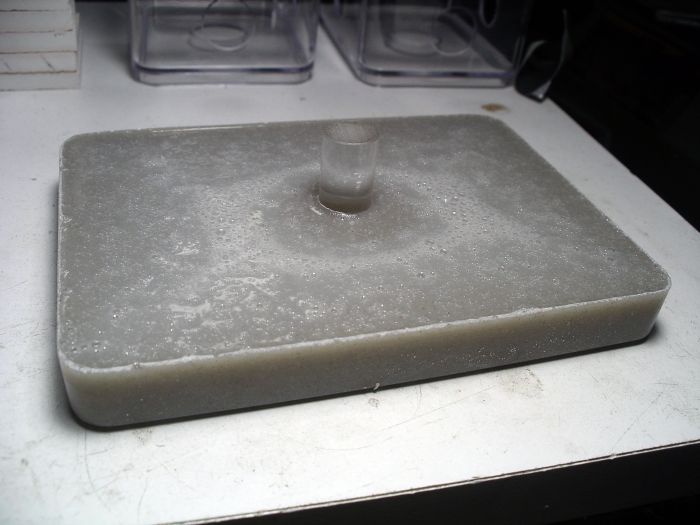
Those hole cuts are so clean!  How? :o


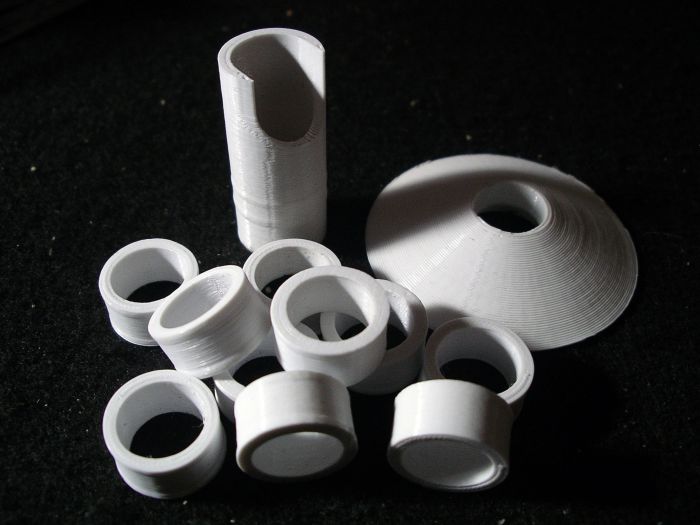
I need your cutting process and I need your connectors and plugs ASAP.  Take my money, please.


Haha. I keep telling people, just use the proper tools. Soldering irons, chisels, sledge hammers, blow torches, crow bars, chain saws, and grenades are not the proper tools for cutting holes in plastic. They'll make a hole, but it's not going to look nice. Just buy a unibit.


#82 Offline PTAntFan - Posted October 21 2015 - 8:13 AM

PTAntFan

    Advanced Member

  • Members
  • PipPipPip
  • 495 posts
  • LocationBurbank, CA

Crystals also recommended a step-bit and I went to Lowes and HD and didn't find and then got busy.  But as soon as I saw your reply I hit AMZ and ordered one, arrives today. :yahoo:


PTAntFan----------------------------------Pogonomyrmex Californicus*****************************<p>I use the $3 Tower I made up. See it here.

#83 Offline PTAntFan - Posted October 21 2015 - 8:17 AM

PTAntFan

    Advanced Member

  • Members
  • PipPipPip
  • 495 posts
  • LocationBurbank, CA

As for the plugs, you're basically taking a vinyl tube with an OD that matches the ID of another vinyl tube, right?  So there's practically no gap, airtight.  Then you cut a hole with an ID that also matches the OD of the inner tube?


Inner tube outside diameter = 1/2"

Outer ring inside diameter = 1/2"

Hole in box inside diameter = 1/2"


How are you getting precision cuts on the tubing for the rings in particular?  The scissors and PVC pipe cutter I have just do an ok job and I haven't made cuts that thin, so curious.  Thanks!


PTAntFan----------------------------------Pogonomyrmex Californicus*****************************<p>I use the $3 Tower I made up. See it here.

#84 Offline dspdrew - Posted October 21 2015 - 10:26 AM

dspdrew
  • LocationSanta Ana, CA

Yes, those basic dimensions are correct. It just happens to be 5/8" instead of 1/2".


I'm cutting the tubing with a micro table saw. You'll also need HH-66 cement to bond vinyl tubing together.


#85 Offline PTAntFan - Posted October 21 2015 - 12:10 PM

PTAntFan

    Advanced Member

  • Members
  • PipPipPip
  • 495 posts
  • LocationBurbank, CA

You think the bonding is necessary?  Certainly for small species I would consider it, but you lose some flexibility, right?


PTAntFan----------------------------------Pogonomyrmex Californicus*****************************<p>I use the $3 Tower I made up. See it here.

#86 Offline dspdrew - Posted October 21 2015 - 2:46 PM

dspdrew
  • LocationSanta Ana, CA

If you are trying to put the tubing together to form a lip on the end like I did, then of course it has to be bonded, or it would just fall apart.


Vinyl cement is basically liquid vinyl. When you use this cement, you chemically bond the two pieces together into one; the flexibility doesn't change.


#87 Offline PTAntFan - Posted October 21 2015 - 3:03 PM

PTAntFan

    Advanced Member

  • Members
  • PipPipPip
  • 495 posts
  • LocationBurbank, CA

I'm mostly thinking of making couplings and if the rings are bonded after the boxes are joined then that makes the connection fairly permanent vs the rings being partially cosmetic. My assumption is the joining tube is fully flush with the hole in the box.


PTAntFan----------------------------------Pogonomyrmex Californicus*****************************<p>I use the $3 Tower I made up. See it here.

#88 Offline dspdrew - Posted October 21 2015 - 4:35 PM

dspdrew
  • LocationSanta Ana, CA

My assumption is the joining tube is fully flush with the hole in the box.

 
med_gallery_2_281_307909.jpg

#89 Offline PTAntFan - Posted October 21 2015 - 5:15 PM

PTAntFan

    Advanced Member

  • Members
  • PipPipPip
  • 495 posts
  • LocationBurbank, CA

yeah, so are the rings even needed? Looks nice and snug.


PTAntFan----------------------------------Pogonomyrmex Californicus*****************************<p>I use the $3 Tower I made up. See it here.

#90 Offline dspdrew - Posted October 21 2015 - 5:47 PM

dspdrew
  • LocationSanta Ana, CA

Yes. The rings are what hold it together. :dash:


  • ryanp347 likes this

#91 Offline Crystals - Posted October 21 2015 - 7:50 PM

Crystals

    Advanced Member

  • Moderators
  • PipPipPip
  • 2,048 posts
  • LocationAthabasca, AB (Canada)

The rings are insurance that it will not slip when being moved.  He cemented them so they can not just easily slide off.  :D


"Always do right. This will gratify some people, and astound the rest." -- Samuel Clemens


List of Handy Links   (pinned in the General section)

My Colonies


#92 Offline PTAntFan - Posted October 22 2015 - 12:03 PM

PTAntFan

    Advanced Member

  • Members
  • PipPipPip
  • 495 posts
  • LocationBurbank, CA

Ok, in my experience I have just made cuts that are minutely smaller than the OD of the vinyl tubing so fitting it into the cut is a bit of work because it's tight and in effect the tubing has to be squished a little to fit.  I see in your model the cut is not so snug and the rings are needed.  Sorry if I came across dense there, I just have done it differently many times.


PTAntFan----------------------------------Pogonomyrmex Californicus*****************************<p>I use the $3 Tower I made up. See it here.

#93 Offline dspdrew - Posted October 22 2015 - 12:21 PM

dspdrew
  • LocationSanta Ana, CA

The tubing does fit pretty tightly, but at that length it's not enough to hold eight of those containers together well.


#94 Offline PTAntFan - Posted October 22 2015 - 12:24 PM

PTAntFan

    Advanced Member

  • Members
  • PipPipPip
  • 495 posts
  • LocationBurbank, CA

Ah yes, I see the complete picture now.  I was thinking smaller for my application, but you're right, if the intent is to be modular it has to be secure enough for the end game even if you start small.


PTAntFan----------------------------------Pogonomyrmex Californicus*****************************<p>I use the $3 Tower I made up. See it here.

#95 Offline dspdrew - Posted October 23 2015 - 8:56 PM

dspdrew
  • LocationSanta Ana, CA
Got all the parts printed for the third prototype.
 
med_gallery_2_281_317803.jpg

#96 Offline dspdrew - Posted October 25 2015 - 9:22 PM

dspdrew
  • LocationSanta Ana, CA
They hold together very nicely.
 
med_gallery_2_281_425350.jpg
  • Crystals and AntsTexas like this

#97 Offline dermy - Posted October 25 2015 - 10:12 PM

dermy

    Advanced Member

  • Members
  • PipPipPip
  • 1,392 posts
  • LocationCanada

Looks like it should hold quite a decent sized colony in it :D


#98 Offline dspdrew - Posted October 25 2015 - 10:57 PM

dspdrew
  • LocationSanta Ana, CA

Yup. A "hell" of a colony, Dermy.


  • dermy likes this

#99 Offline dspdrew - Posted October 25 2015 - 11:49 PM

dspdrew
  • LocationSanta Ana, CA
I figured out how I can make the tiles I use in the bottoms of the fungus chambers a lot thinner, so the bottoms won't need to i be so thick. Since I don't have access to a large tile saw that would have the ability to cut a tile into two thinner tiles, and since that would still be pretty difficult even with the right equipment, I came up with a little something I think might work for me.
 
After screwing up twice and wasting tons of resin, I finally got this jig made. It's cast from 50 percent resin and 50 percent very fine quartz sand. I know from experience that when any sand is added to resin, it is very difficult, if not impossible to sand down. That should keep this thing from wearing down when being used. Since I'm using low-fire unglazed tiles, I can sand them down pretty easily. All I will have to do is drop the tile into this jig and start sanding it down until the jig is flush with the disc sander. When finished, I should have some nice 1/8 inch thick pieces of tile.
 
med_gallery_2_281_186201.jpg
 
med_gallery_2_281_200044.jpg
  • Crystals and ryanp347 like this

#100 Offline klawfran3 - Posted October 26 2015 - 10:38 AM

klawfran3

    Advanced Member

  • Members
  • PipPipPip
  • 256 posts

That's a genius idea! what's the tube on the back for? a place for excess sanding shavings to go down?


This message brought to you by the Committee for the Education of Folks who Describe Arthropod Taxa as 'Not Interesting' (CEFDATNI)


Also tagged with one or more of these keywords: formicarium, container, out world, enclosure, how-to, diy, design, nest, dspdrew, tutorial

0 user(s) are reading this topic

0 members, 0 guests, 0 anonymous users