Here's some pictures.


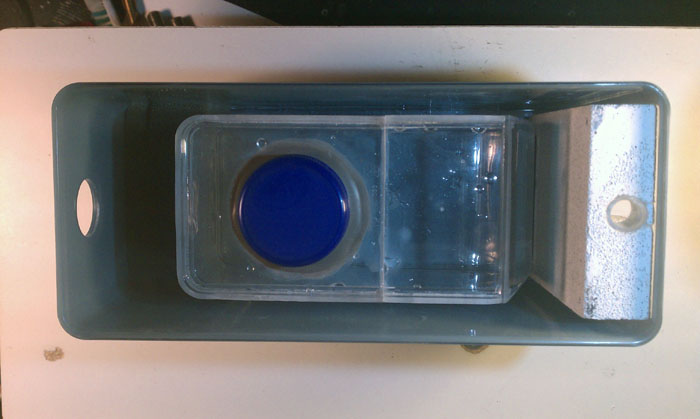
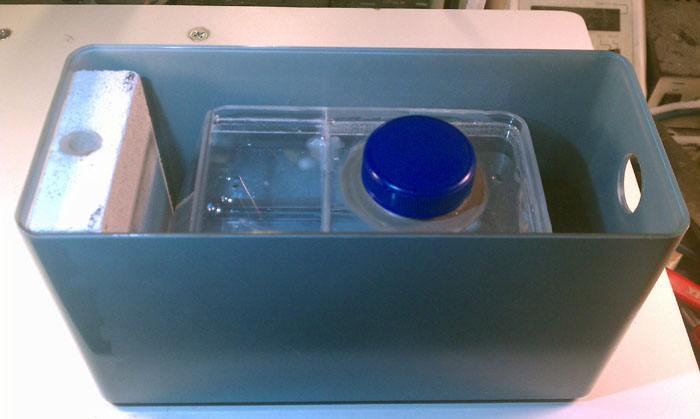
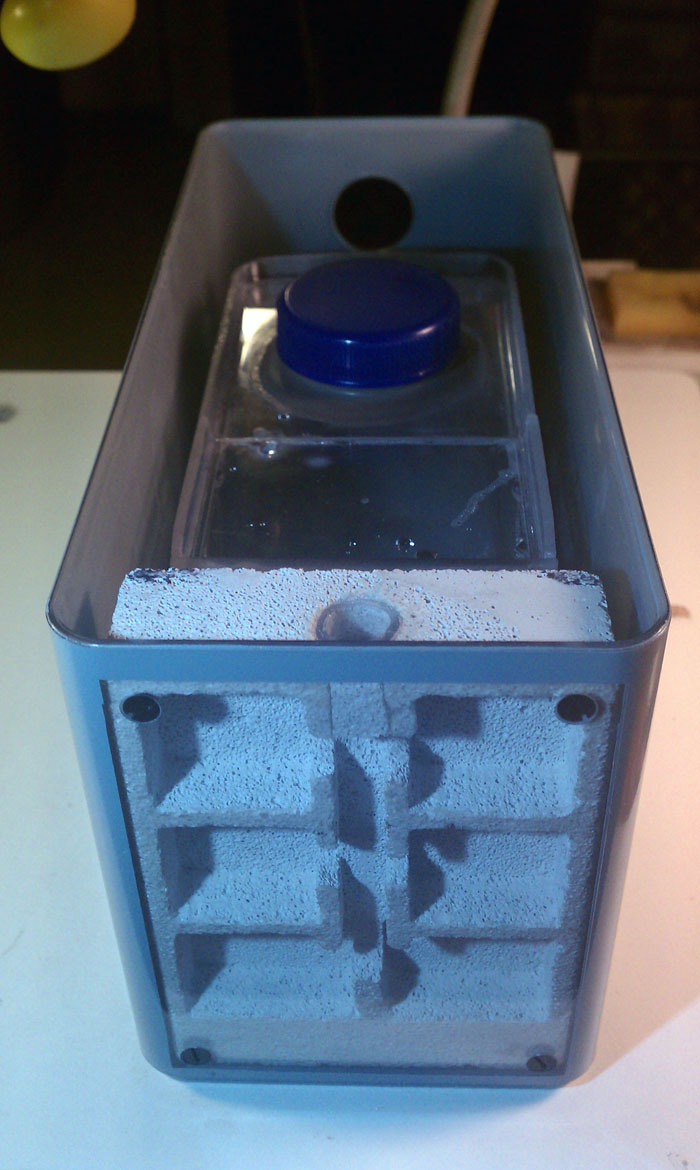
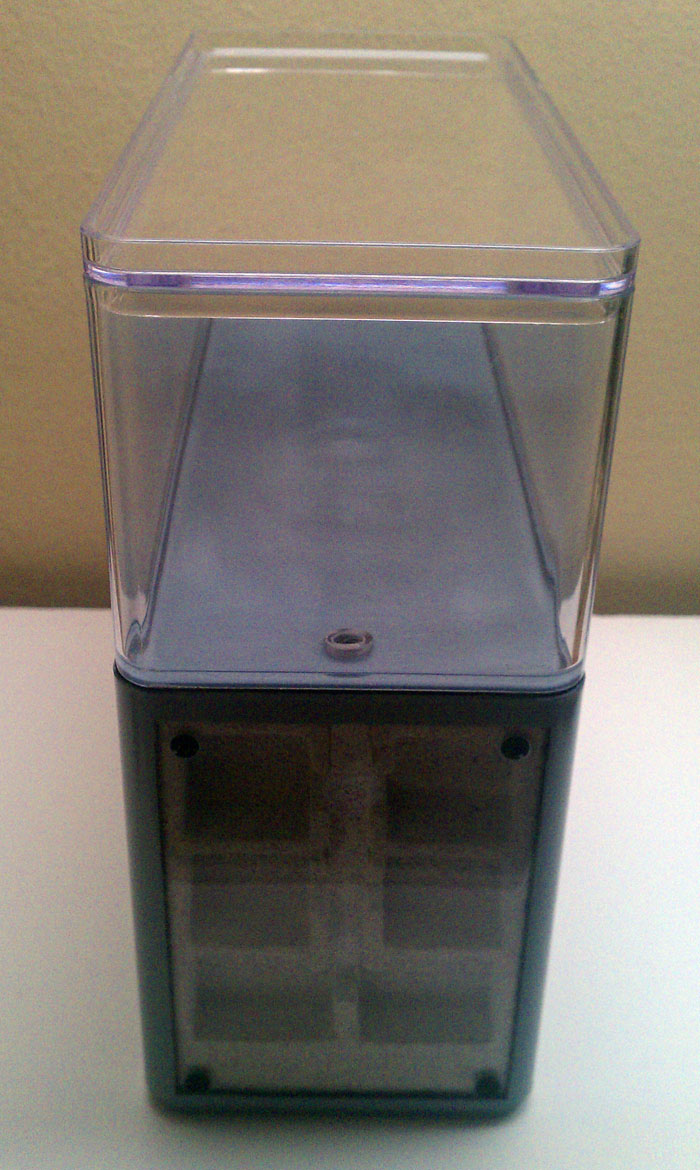
If you run out of foam, sponges also work as good cheap substitutes. ![]()
"Always do right. This will gratify some people, and astound the rest." -- Samuel Clemens
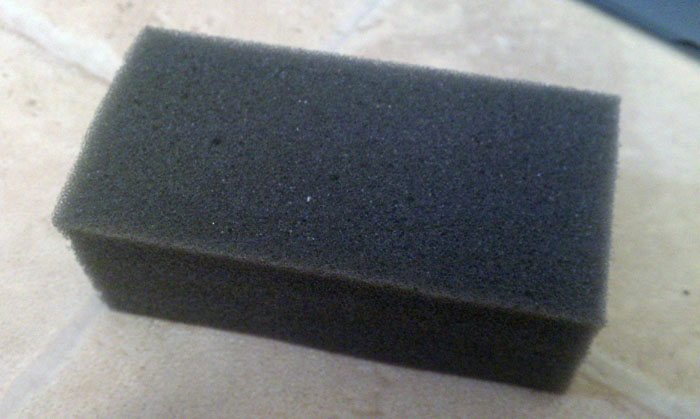
If you run out of foam, sponges also work as good cheap substitutes.
Yeah, I'm not sure they would have enough force though.
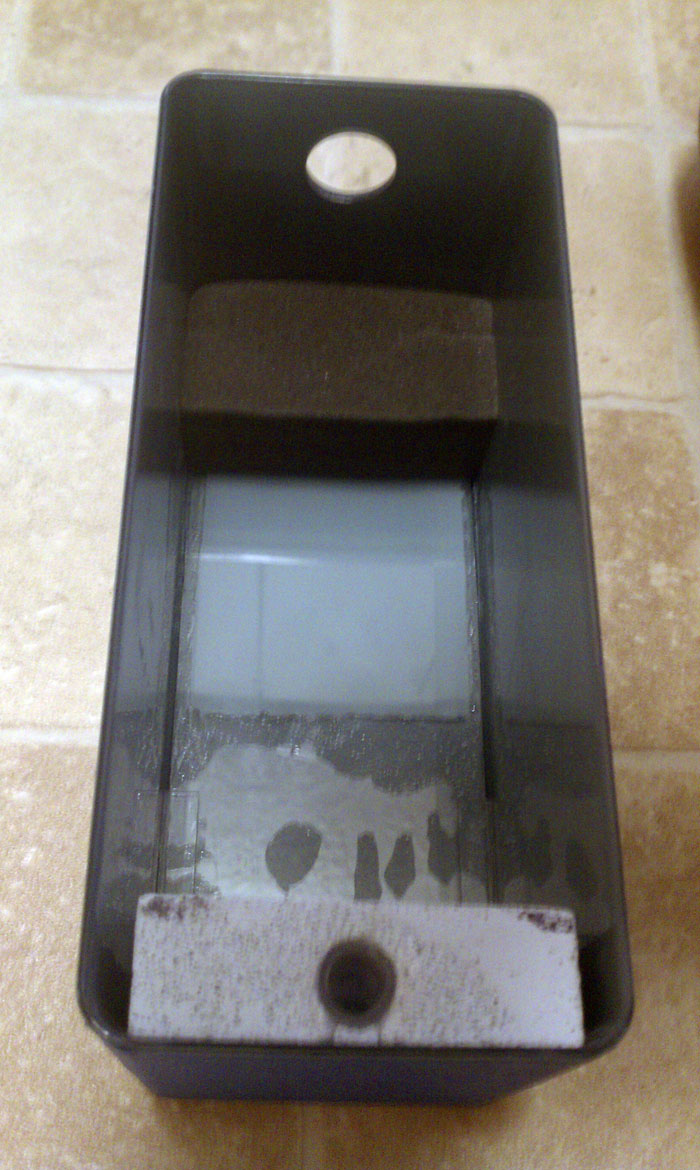
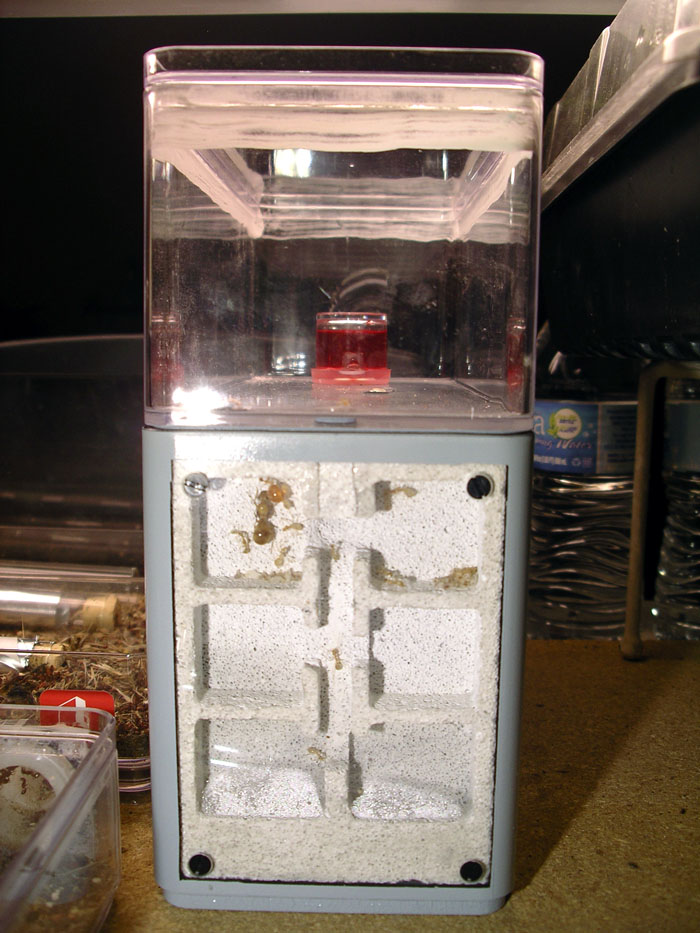
Well this morning it looked like the nest was still not even wet. I'm not sure why on Earth the water wouldn't be transferring to the Ytong nest. I manually spilled a little bit of water out under the Ytong and let that soak up into it, then I put the water tank back in. Hopefully when I get home today it will be saturated as expected. I will of course still have to dry it out and try it over again to find out exactly why it wouldn't have started soaking in. There really are hardly any differences between this and the setup I was testing with. Hopefully I was just being impatient, but four hours seemed like plenty time to at least see some moisture in the Ytong looking in from the front.
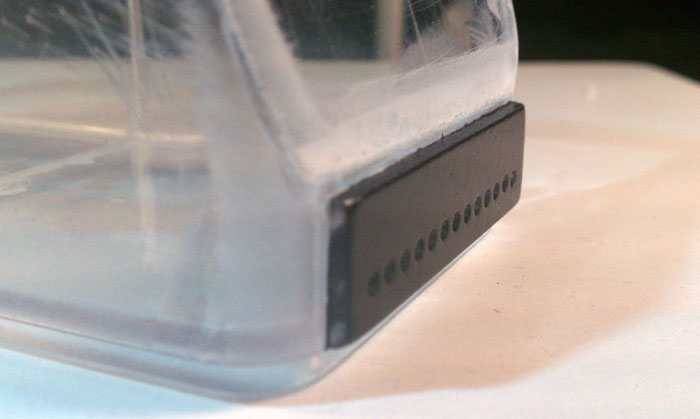
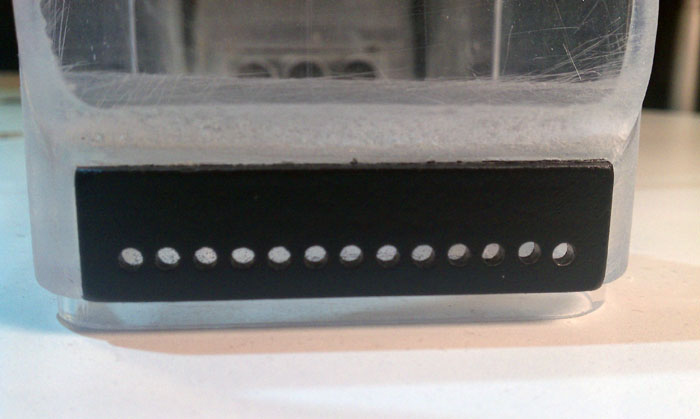
Could the holes in the black material be too deep?
I have noticed that when using internal pressure to hold water into containers, the thinner the material around the hole, the easier it escapes.
That material looks a bit thicker than what you were previously using.
"Always do right. This will gratify some people, and astound the rest." -- Samuel Clemens
yes, the further the relative distance is that the air bubbles coming into the tank have to travel horizontally, the harder it is for them to make it in, until they eventually just don't go anywhere, and no water ever comes out. As for the black Plastidip, it's so thin that it probably added maybe the thickness of a piece of scotch tape to it, so that can't be the problem.
When I got home today, the water had soaked up to about where it should in the amount of time it had. Either way, I drilled the holes slightly bigger for the second time now to increase the water flow a bit. I tested the tank out again on a plain piece of Ytong outside of the case, and it seems to be working the same as it always has; I was probably just not patient enough or something. I took the Ytong nest out of the case, dried it out, and put it back in again. I marked the level of the water on the tank so I can try to get an idea of how long the water will last. There still is no ventilation in either case at this point, so I can get a good reference point for the rate of evaporation.
I now put the colony of Myrmecocystus I had living in just the test tube with no foraging container into the formicarium, and they immediately started exploring. Right now they are mostly all back in their test tube, a little afraid to come out. I guess now I'll just wait and see how long it takes for them to decide to move in. ![]()
Next step will be starting my design on the computer now that I have a good idea of what works and what doesn't.
What are you going to be designing?
A formicarium very much like the one I just built in this thread. I just had to test everything out first so I'm not wasting my time and money, especially when I have the acrylic laser cut.
I could never do something this professional. ![]() Are you thinking of make it big?
Are you thinking of make it big?
I do plan to make some larger ones too eventually.
Are you going to decorate the outworld if you have time?
Not on these because they aren't really meant for display, but more of a lab environment. I will eventually make some really cool, really huge formicariums that I plan to have on display. I even plan to make them vivariums if I can find a way to pull it off.
You must have a big apartment!
Too much off topic!
Edited by LAnt, February 8 2014 - 10:02 PM.
Well it looks like the moisture gradient in this thing is just right, because the ants have now moved all their small larvae and eggs into the middle chambers, and the large larvae and pupae into the top chambers.
In an effort to find out exactly how much ventilation this formicarium will need, and exactly where, I left it with zero ventilation for a few days. Eventually, the very bottom chambers were completely covered in condensation to the point where the water was starting to bead up on the plastic. Also, the middle chambers had condensation about half way up them. Basically, wherever the Ytong was moist, there was condensation on the plastic. I removed the lid on the out world to see how much ventilation the nest would get just through the nest's entrance. The next morning the condensation in the middle chambers was already gone. I'll check the progress again when I get home later this evening.
So the condensation on the bottom chambers never went away, so I opened up the large hole in the back of the base container too. Unfortunately, this was still not enough ventilation to get that condensation to evaporate. Now the condensation has turned into some pretty large beads of water. I now have removed the out world, completely opening up the top of the base container to see if this allows that condensation to evaporate. This is about as much ventilation as I could possibly give it, so I certainly hope this is enough. I also noticed a slight puddle of water that has built up under the Ytong. If I can get the condensation to evaporate, hopefully the puddle will too.
It's been a day now, and the condensation thankfully is half way gone. The small puddle of water is still there, but at least it doesn't look like it will get any larger, or go anywhere due to the capillary action of the Ytong. The object is to find that perfect medium between enough ventilation to keep the condensation from forming, and not so much that the water in the tank goes down too quickly.
 |
Market Place →
General Market Place →
FormiFactory's Nest ShopStarted by FormiFactory , Dec 8 2025 |
|

|
|
Off-Topic →
General Off-Topic →
3D printing Corner!Started by OwlThatLikesAnts , Nov 10 2025 |
|
|
||
Market Place →
General Market Place →
Possible THA Formicarium for sale in ArizonaStarted by sacs4010 , Aug 20 2025 |
|

|
||
Ant Keeping →
General Ant Keeping →
Leaving tomorrow, don't know what to do with Brachymyrmex depilisStarted by AntBooper600 , Jul 20 2025 |
|

|
||
Market Place →
General Market Place →
Temnothorax's Formicarium StopStarted by Temno , Jun 30 2025 |
|

|
0 members, 0 guests, 0 anonymous users