How to build a formicarium out of a bead storage container
Materials:
Bead storage box (easily found in dollar stores)
Acrylic or glass to cover box
Piece of sponge
Aquarium silicone or 2 part epoxy
Drill
Grout (you won't need much) Can substitute with hydrostone or gypsum.
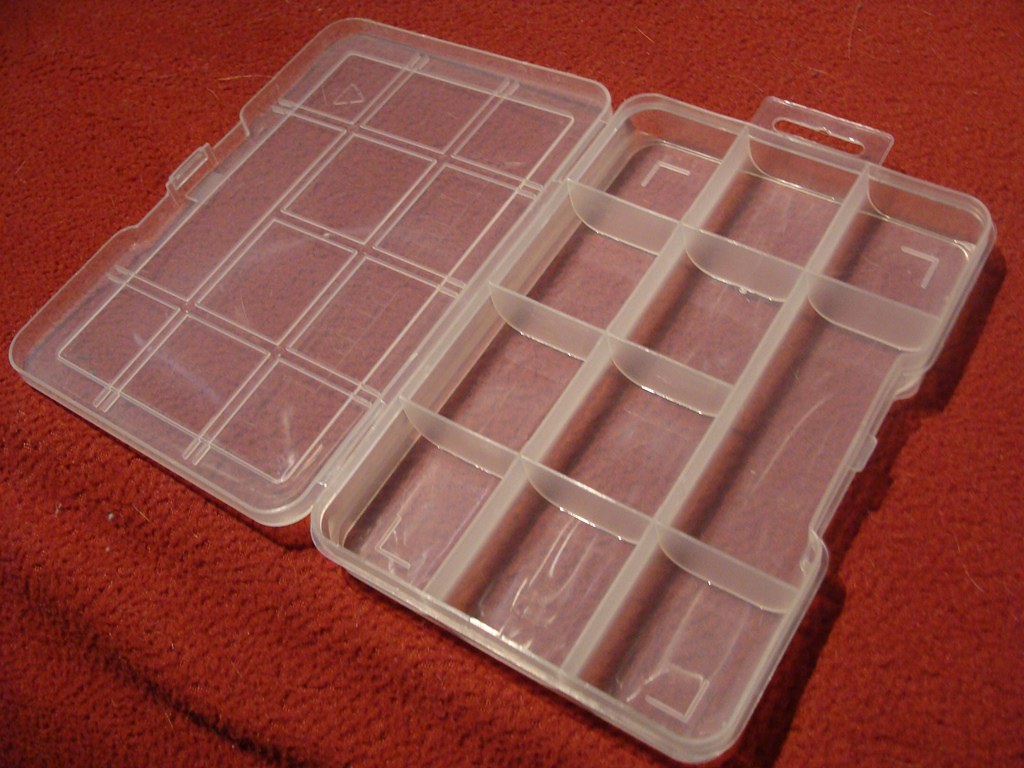
Take your bead storage box and remove the lid. The lid is almost never clear enough for a good view of the ants. I also used a dremel bit to smooth out the edges.
Take the drill and drill holes between the chambers (close to the floor). For one chamber drill a few really small holes near the top - this will be your water chamber. Drill a hole as large as the tubing you are planning on using (go slowly on these holes, the bigger bits tend to grab the plastic and can crack it if you go too fast). If it cracks, you can epoxy or silicone it later.
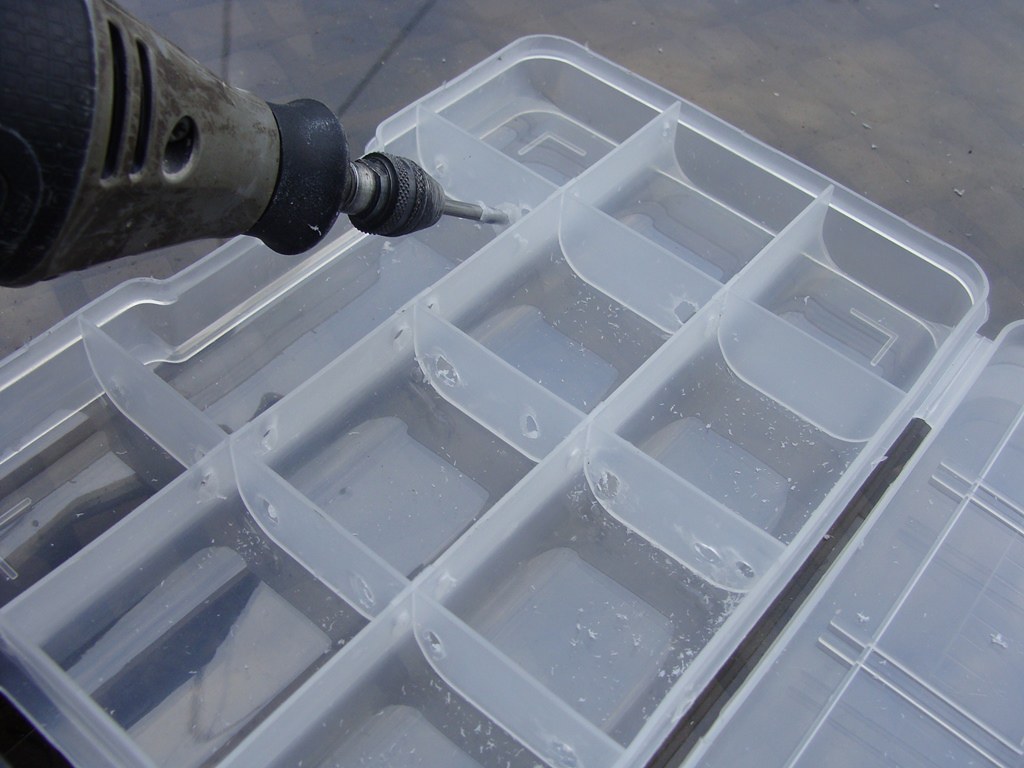
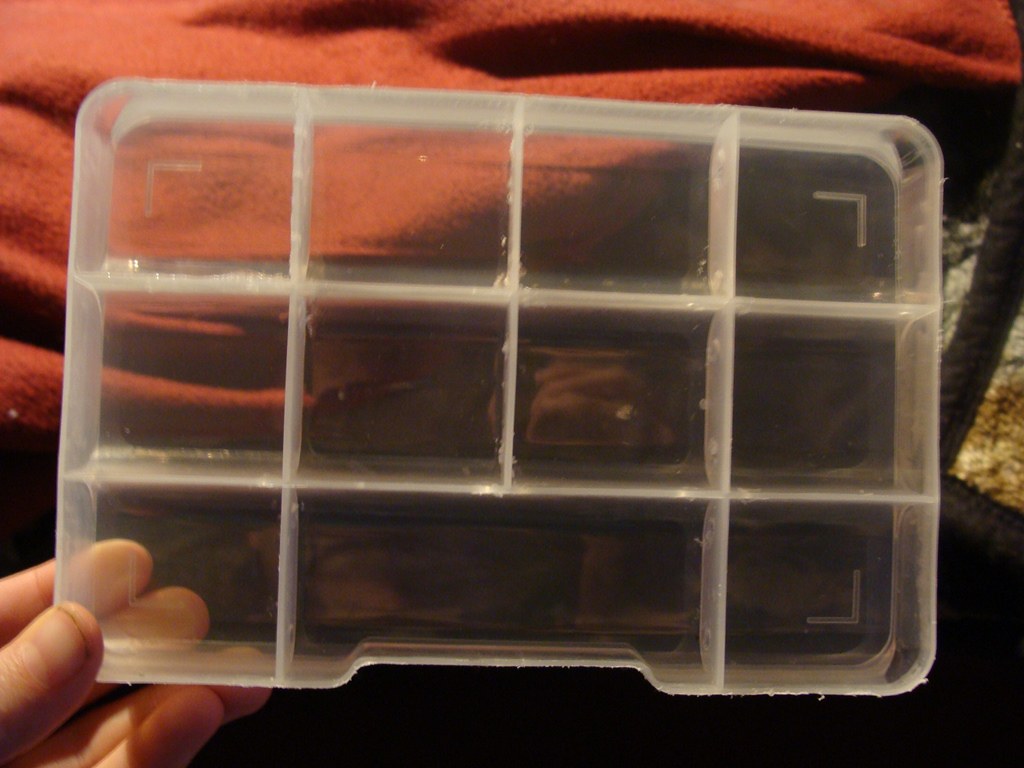
If you are using a glass lid, it is easier to drill a watering hole in the side of the plastic bead box.
If you are using an acrylic lid, you can drill the watering hole in the acrylic lid above the water chamber, or in the side of the watering chamber.
On your water chamber, if the holes are small enough for your ants to get into them, then silicone/epoxy some mesh over the holes (I used 3 layers of organza mesh even though my holes were very tiny). Cut a piece of sponge so it snuggly fits into the chamber. Trim the top edges of the sponge a bit so they don't touch the joint where the lid meets the chamber walls.
(Update: I found that running piece of chamois cloth through the hole and to the bottom of both chambers allowed the moisture to travel very easily - I covered the chamois with a thin layer of grout. No pictures for this, sorry.)
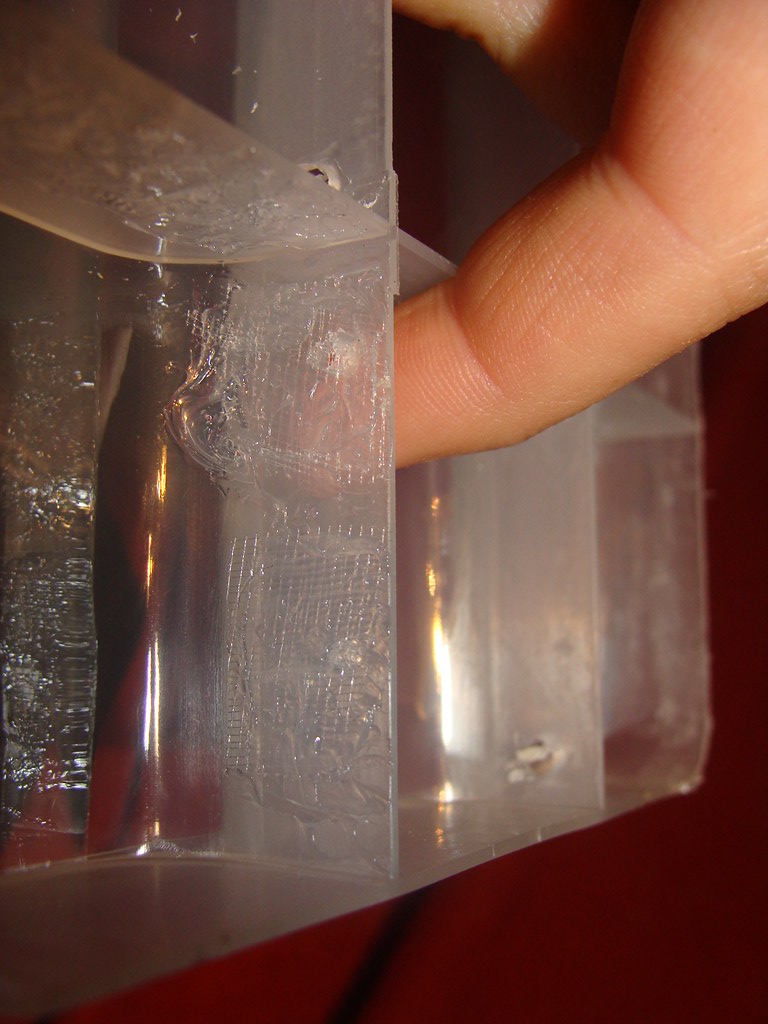
Take your grout (you will only need a couple of tablespoons). Mix it into some water. You will want it somewhat runny as it has to level itself. Pour some grout into each of the chambers, just enough to cover the bottom. Do NOT put any in the water chamber. Shake side to side to level it out, you can also use a toothpick.
Let it dry for at least 2 days, we want it completely dry.
The reason I use grout is that it gives the ants more traction and will absorb any moisture that could cause small ants to drown. Also very helpful with ants that produce formic acid as the grout will absorb it. You can also sprinkle some sand on top of the grout if you want (My Aphaenogaster and Crematogaster loved this).
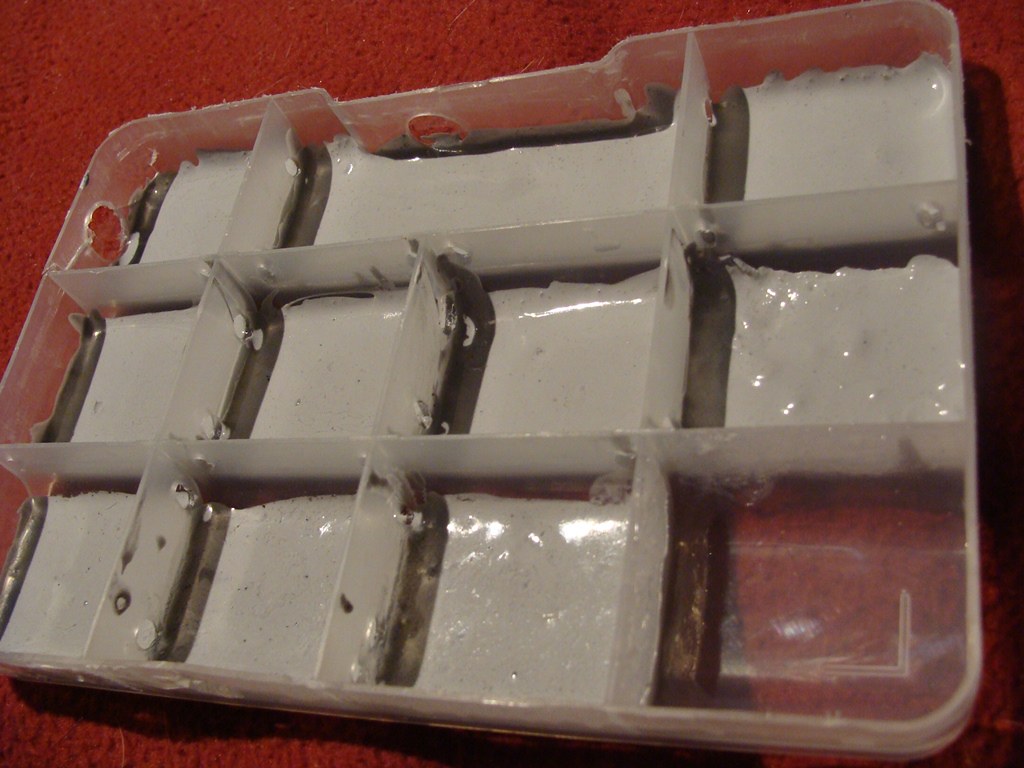
Once the grout is dry, we will attach the lid. (ensure your sponge is in the water chamber)
If you are using glass, you may want to sand the edges with sand paper to avoid cutting your self.
Take your silicone/epoxy and put a border on all 4 walls of the water chamber. Put the lid on, and then take it off - you should see an exact outline of the water chamber. Add more silicone/epoxy to the lid - we want a very good seal on this. Then put the lid back on, check for a good solid seal. If it is good, let it dry (silicone for 12 hours, epoxy until hard). Then silicone the rest of the chambers. With epoxy, use a toothpick. With silicone, you can use the finger of a rubber glove or a piece of plastic to smooth the silicone into the joint.
Let dry for 48 hours.
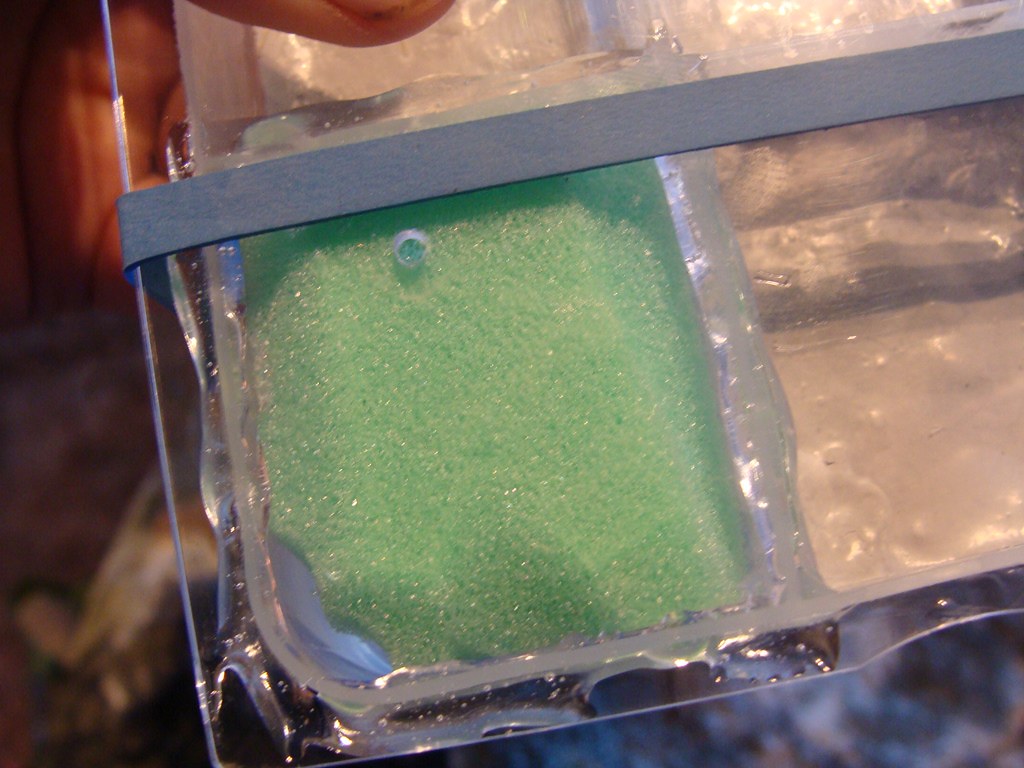
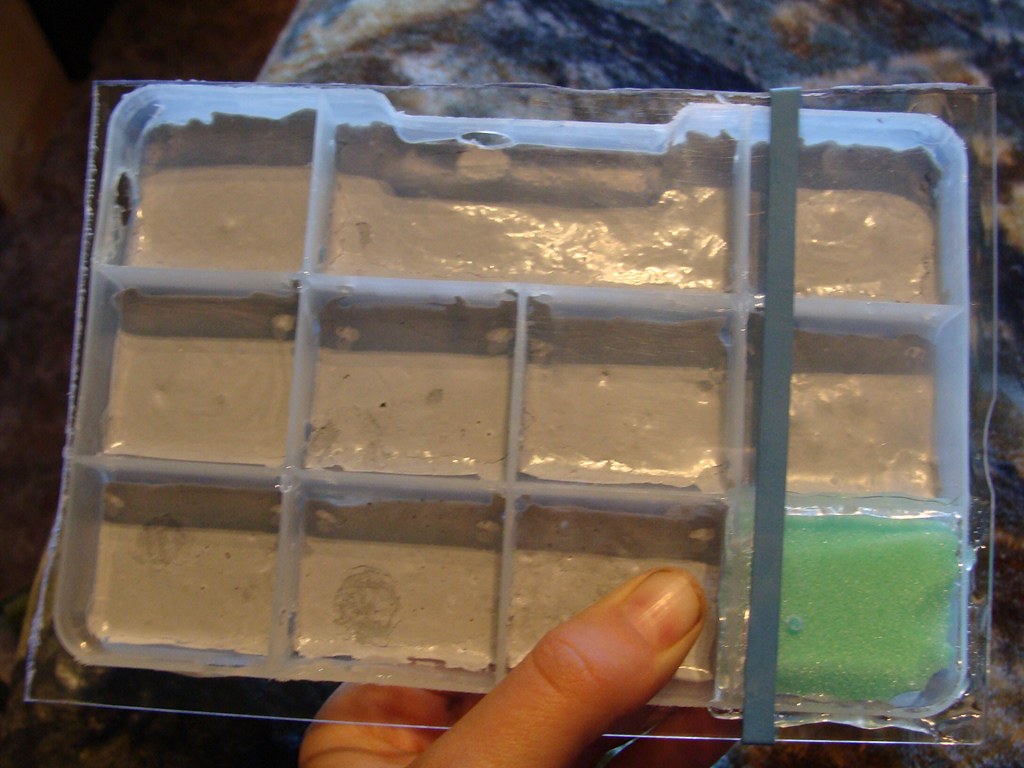
Add water to water chamber and you are ready to go. The water chamber will humidify the formicarium just like a test tube does.
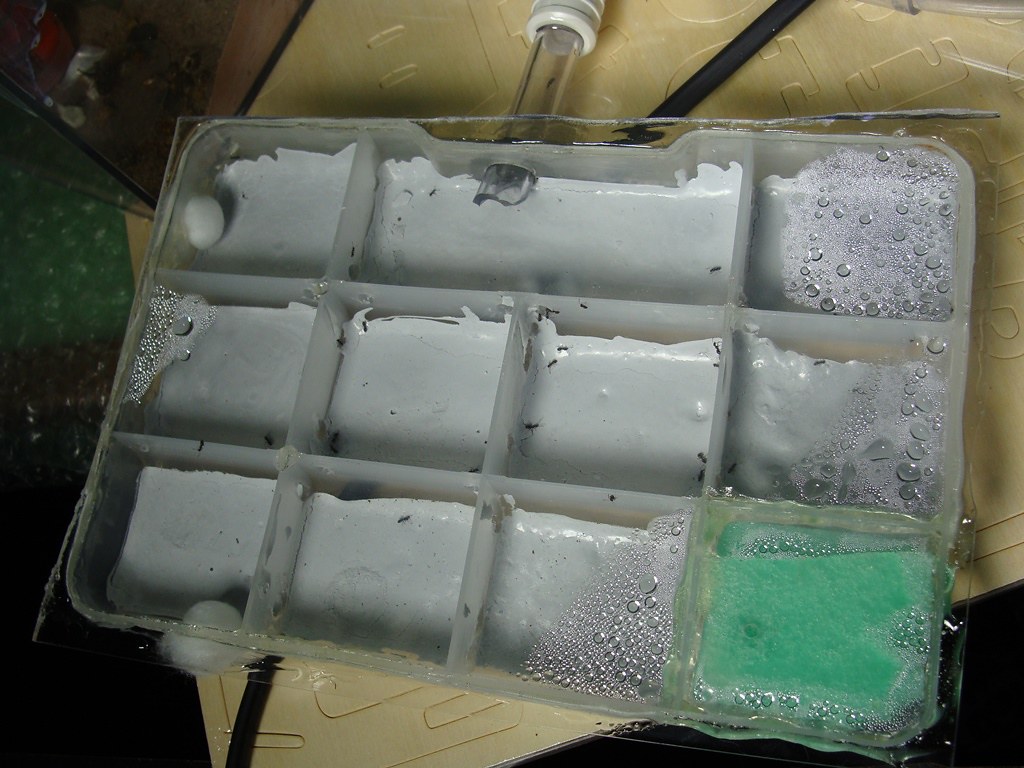
Optional:
If you have larger ants and want to be able to remove the lid, you can just use bolts in the 4 corners to attach the lid (easier with acrylic lid). If you wanted, you could apply a very light layer of silicone (which would be easy to cut with an exacto blade later)
Instead of just drilling a hole for tubing, I have debated permanently attaching a tubing connector for easy attaching/detaching.
I plug extra holes with cotton (also acts as ventilation)
I find some of the dremel tips also work well for drilling some types of holes, although drills and drill bits work too.
Notes:
I add heat to my nests, if I place the heating cable in the opposite corner from the water chamber I get no condensation on the lid. Just like a test tube. You want the grout in most chambers to remain dry relying on the humidity from the water chamber, while some should be damp for brood requiring more moisture.
My Tapinoma, Aphaenogaster, and Crematogaster enjoy this setup. It was the only nest they have ever moved into without any pressure from me.
Here are some other ways I have built formicariums:
Grout Formicarium: http://forum.formicu...ut +formicarium
Firebrick Formicarium: http://forum.formicu...ut +formicarium
For other tutorials, please see the List of Handy Links: http://www.formicult...of-handy-links/
Edited by Crystals, August 2 2017 - 4:47 PM.


