
A short but detailed guide on the use of K-23 FireBrick for formicariums
K-23 FireBrick is a material used to build formicaria, and here in the U.S. it is often used as a substitute for Ytong or AAC. It should be noted however that the material creates an extremely fine dust that can not only be dangerous to humans, but the ant as well. Because of this, never keep a colony in a firebrick nest for extended periods of time. The exact length depends on how much dust the ants make by chewing, or digging. For some species like Crematogaster, a couple months or so is the longest amount of time a colony should be kept in such a nest. You might notice side effects from prolonged exposure to firebrick when workers start becoming sluggish, and even dying for no reason.
Now you are probably wondering why anyone would ever use this semi-toxic material to house ants in. I for one lost all but the queen of one of my Crematogaster colonies and I'm sure other's have had somewhat similar experiences. The number one reason for using K-23 firebrick as a nesting material is because of the soft, yet cement like quality of the brick. The texture and density is similar to pumice (another good, but under used material). Because of the aforementioned softness, you can easily carve the brick (a plastic spoon can be used). This definitely has its appeals when compared to normal concrete, where nothing less then a jackhammer can be used. Unfortunately, the strength of firebrick is also its weakness. Since the material is so soft, it will easily crumble, making it hard to carve small chambers and such, along with creating silica dust, a dangerous byproduct of the carving process. Some other advantages of K-23 are:
- Rough texture allows ants to better grip sides/ceiling
- Aesthetic similarity to AAC/Ytong
- Very water absorbent
- Good Airflow, compared to grout and plaster
Hopefully now you are aware of the inherent risks of using this material, and can judge for yourself the usefulness of using K-23 firebrick as a nesting material. You can mitigate many of the drawbacks listed above by simply soaking and washing the brick thoroughly during and after the building process. This will trap and carry away the harmful dust. By soaking the brick in water, the material will also become much more cohesive, and less likely to shatter or crumble during the drilling/carving.
Build Process:
You will need:
- K-23 Firebrick (other types can be used as well, I will be using K-23 in this guide. Check out Crystal's guide below for her chosen type)
- Molding Container, preferably flexible
- Grout, plaster, hydro stone, perfect cast, etc.
- Drill (dremel, screwdriver, drill press, router)
- Instead of a drill, anything hard enough to carve the brick can be used.
- Paint (optional)
- A bucket of water
- glass pane (I like to cut my own with dollar store glass panes and this glass cutter)
- magnets, or another way of securing glass
- Water tower(s) (There are tons of guides on the forum, just make sure yours has a tube to be able to insert water through)
- Clean sand
- Tubing (for the water tower(s) and entrances)
- Appropriate personal safety materials (glasses, dust mask)
1). To start, begin by cutting the brick to desired size, I like using a hack saw, but anything sharp enough will do the job. Be sure to know the dimensions of the container in which you will pour the covering material before you cut. After preparing the section, soak and wash the brick in water.
The cut portion going to be used:
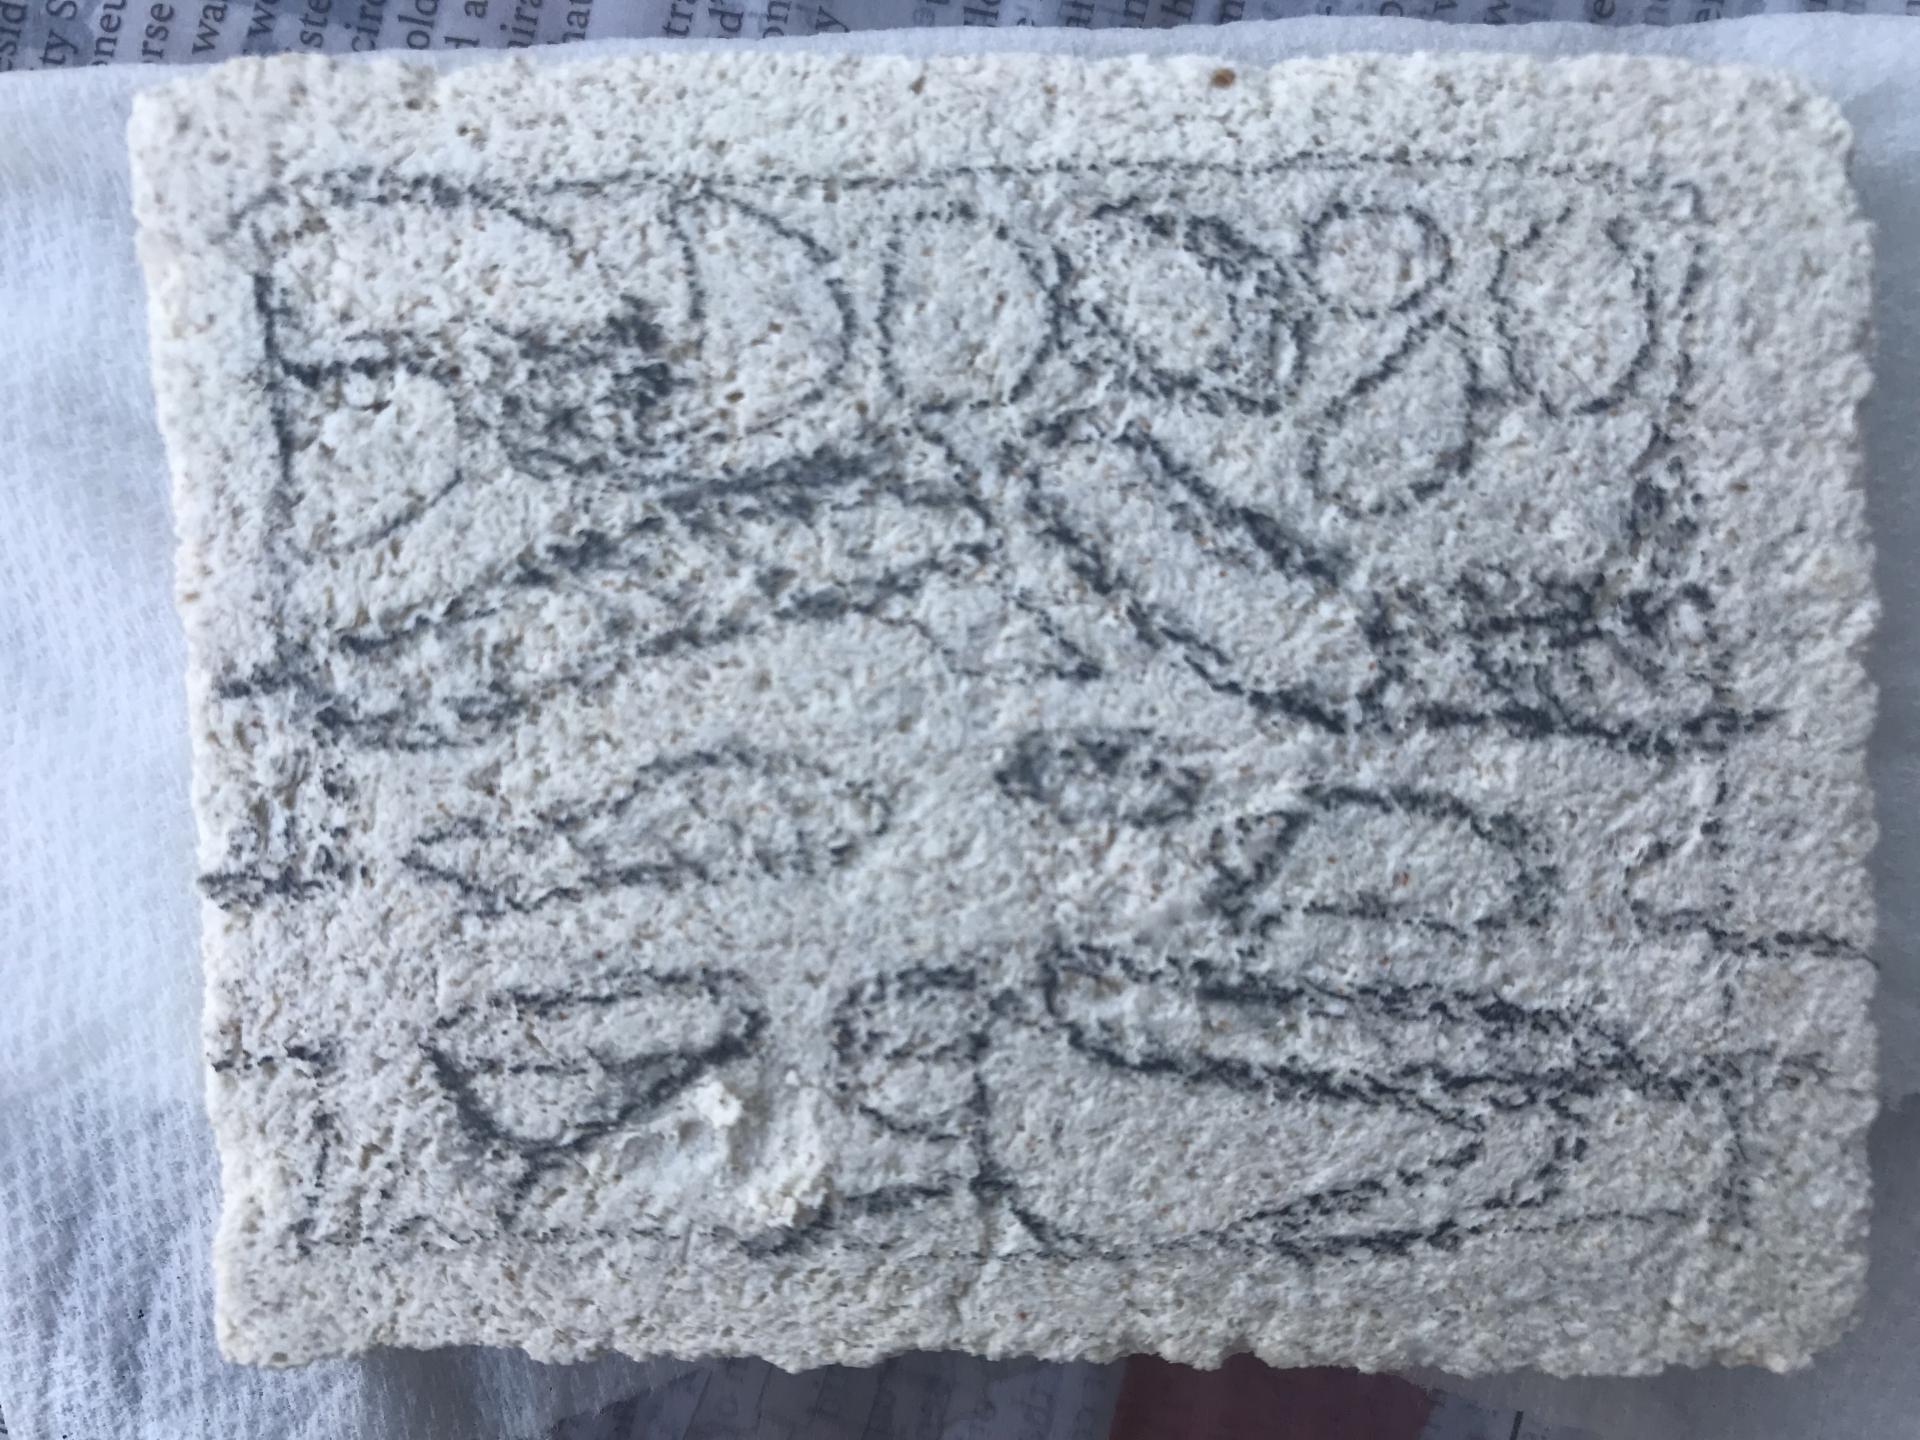
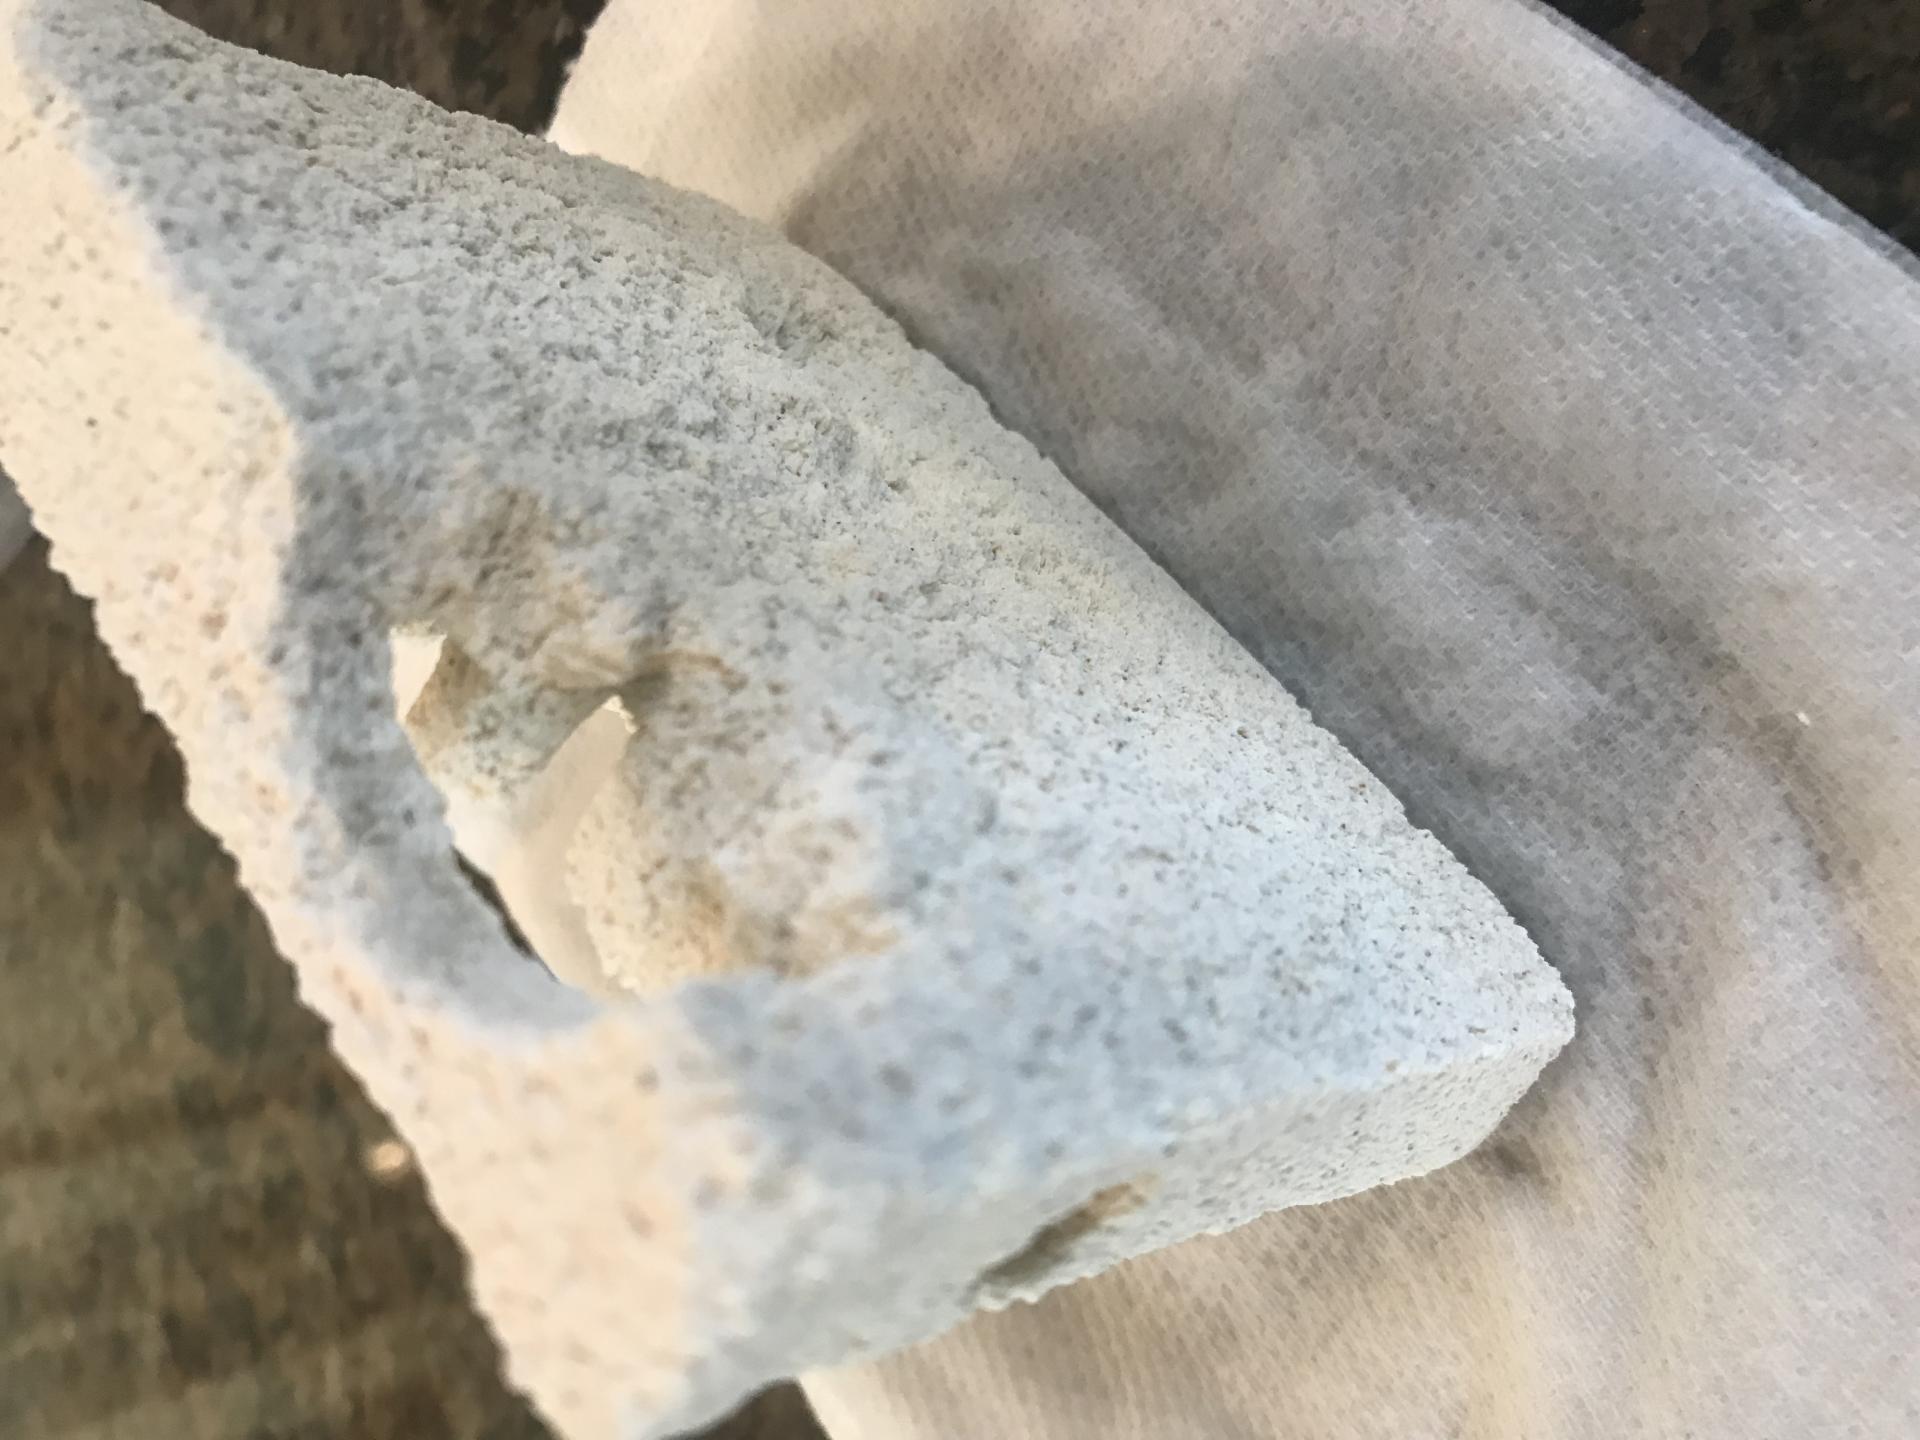
2). Now you can begin drilling. Measure the outline of the water tower and drill an appropriately deep and wide hole in the material. Remember the water tower doesn't need to fit completely in the firebrick, the grout will cover up any parts that are exposed. Next, draw the outline for the nest with a pencil, be aware the lead will wash off, so the design will not remain on the brick for long. Drill holes for the tube port(s).
An outline:
The water tower hole:
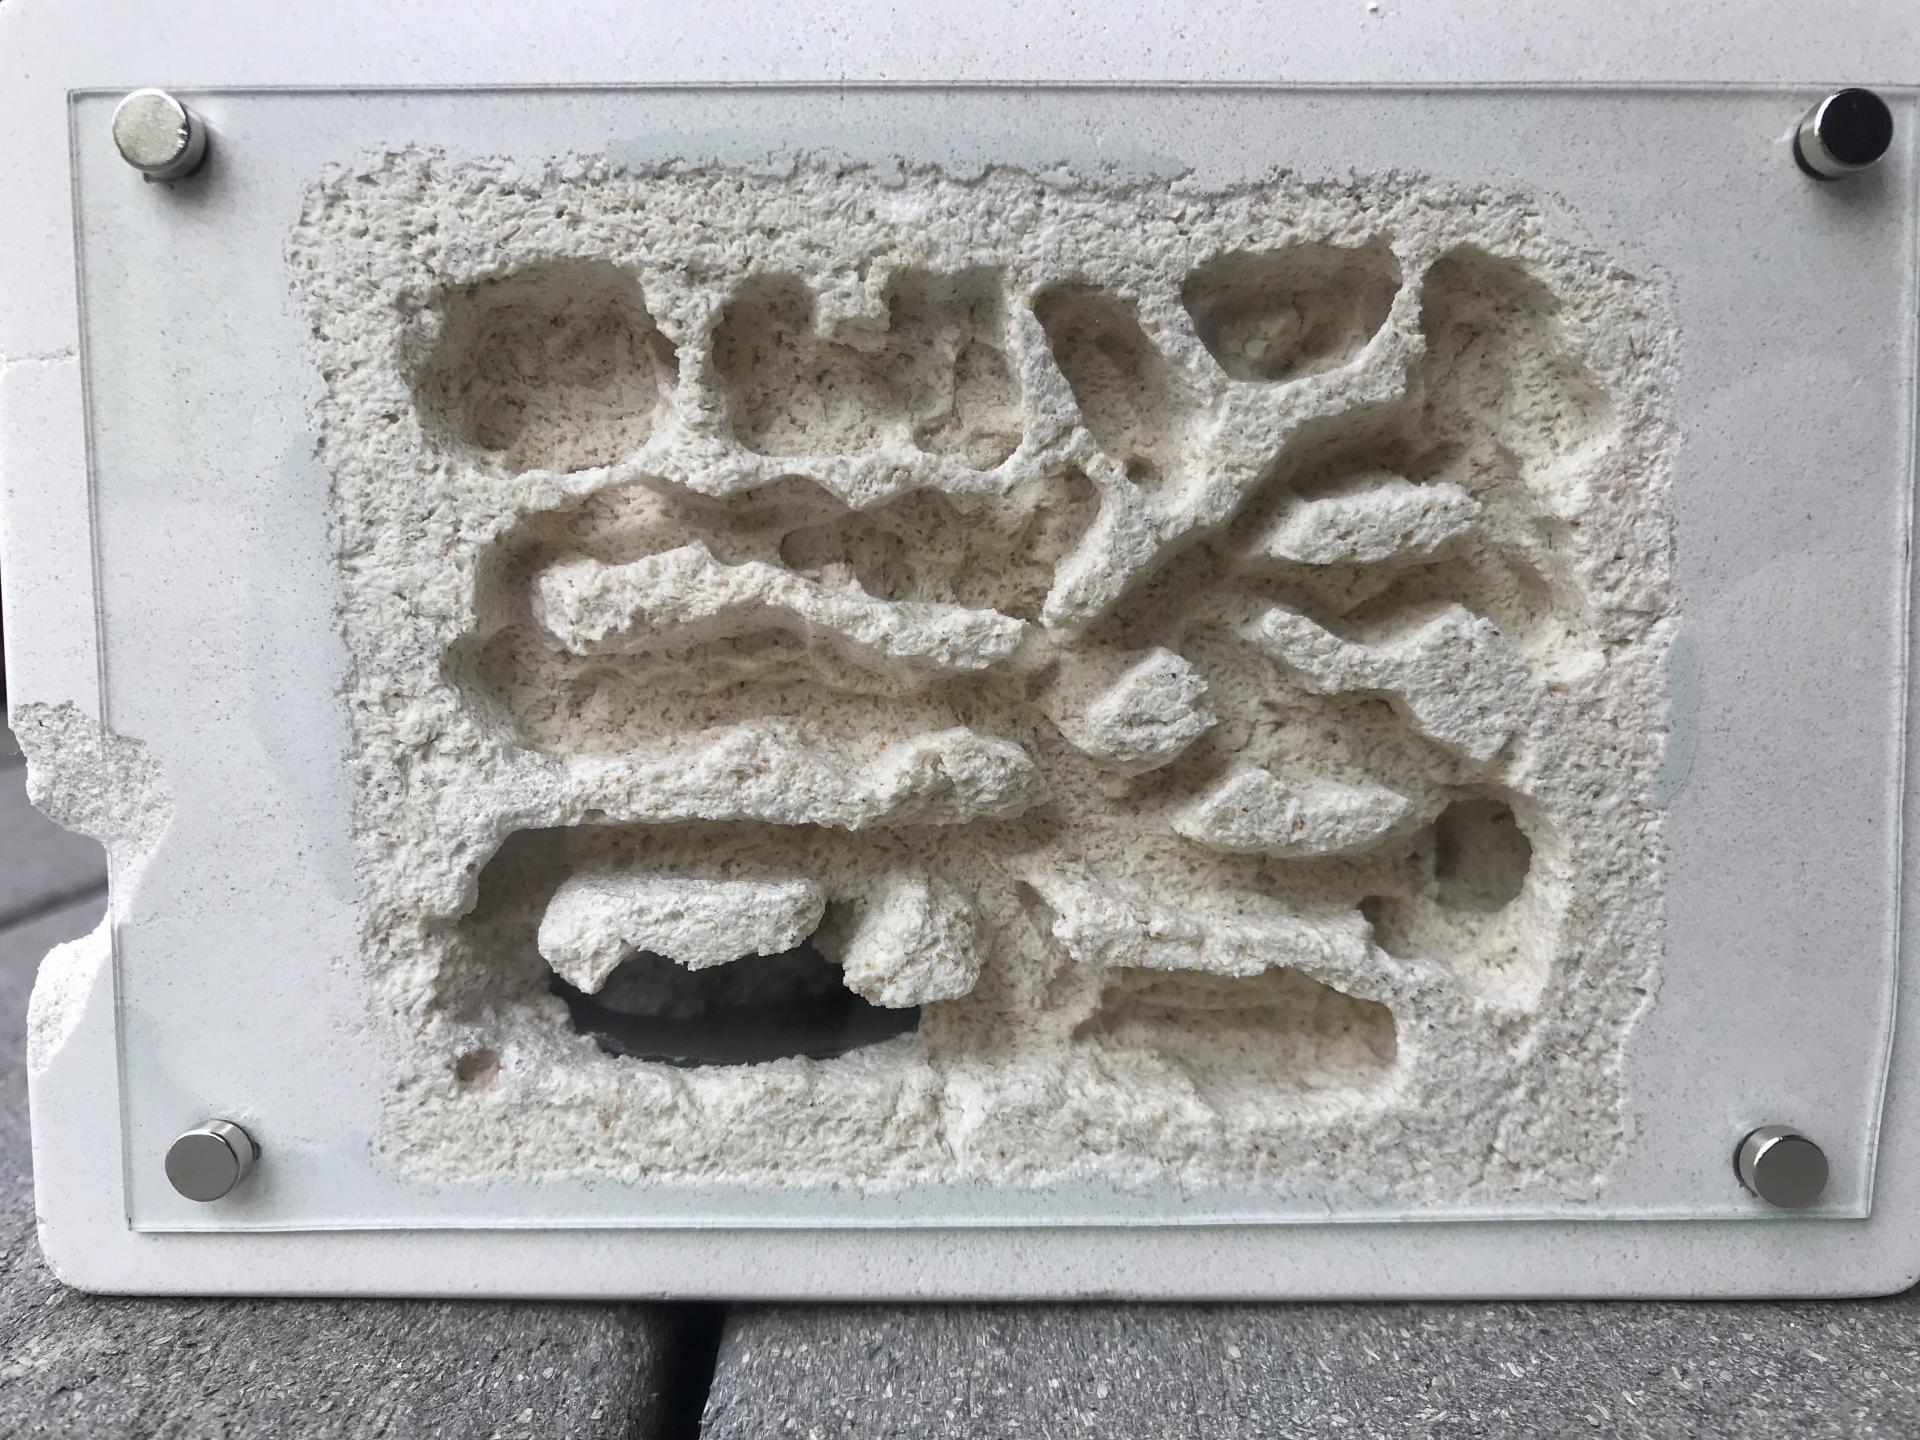
3). Carve the chambers with a drill or hard material, remember to soak the brick every couple minutes to remove residue and dust. Make sure the surface of the brick is relatively flat.

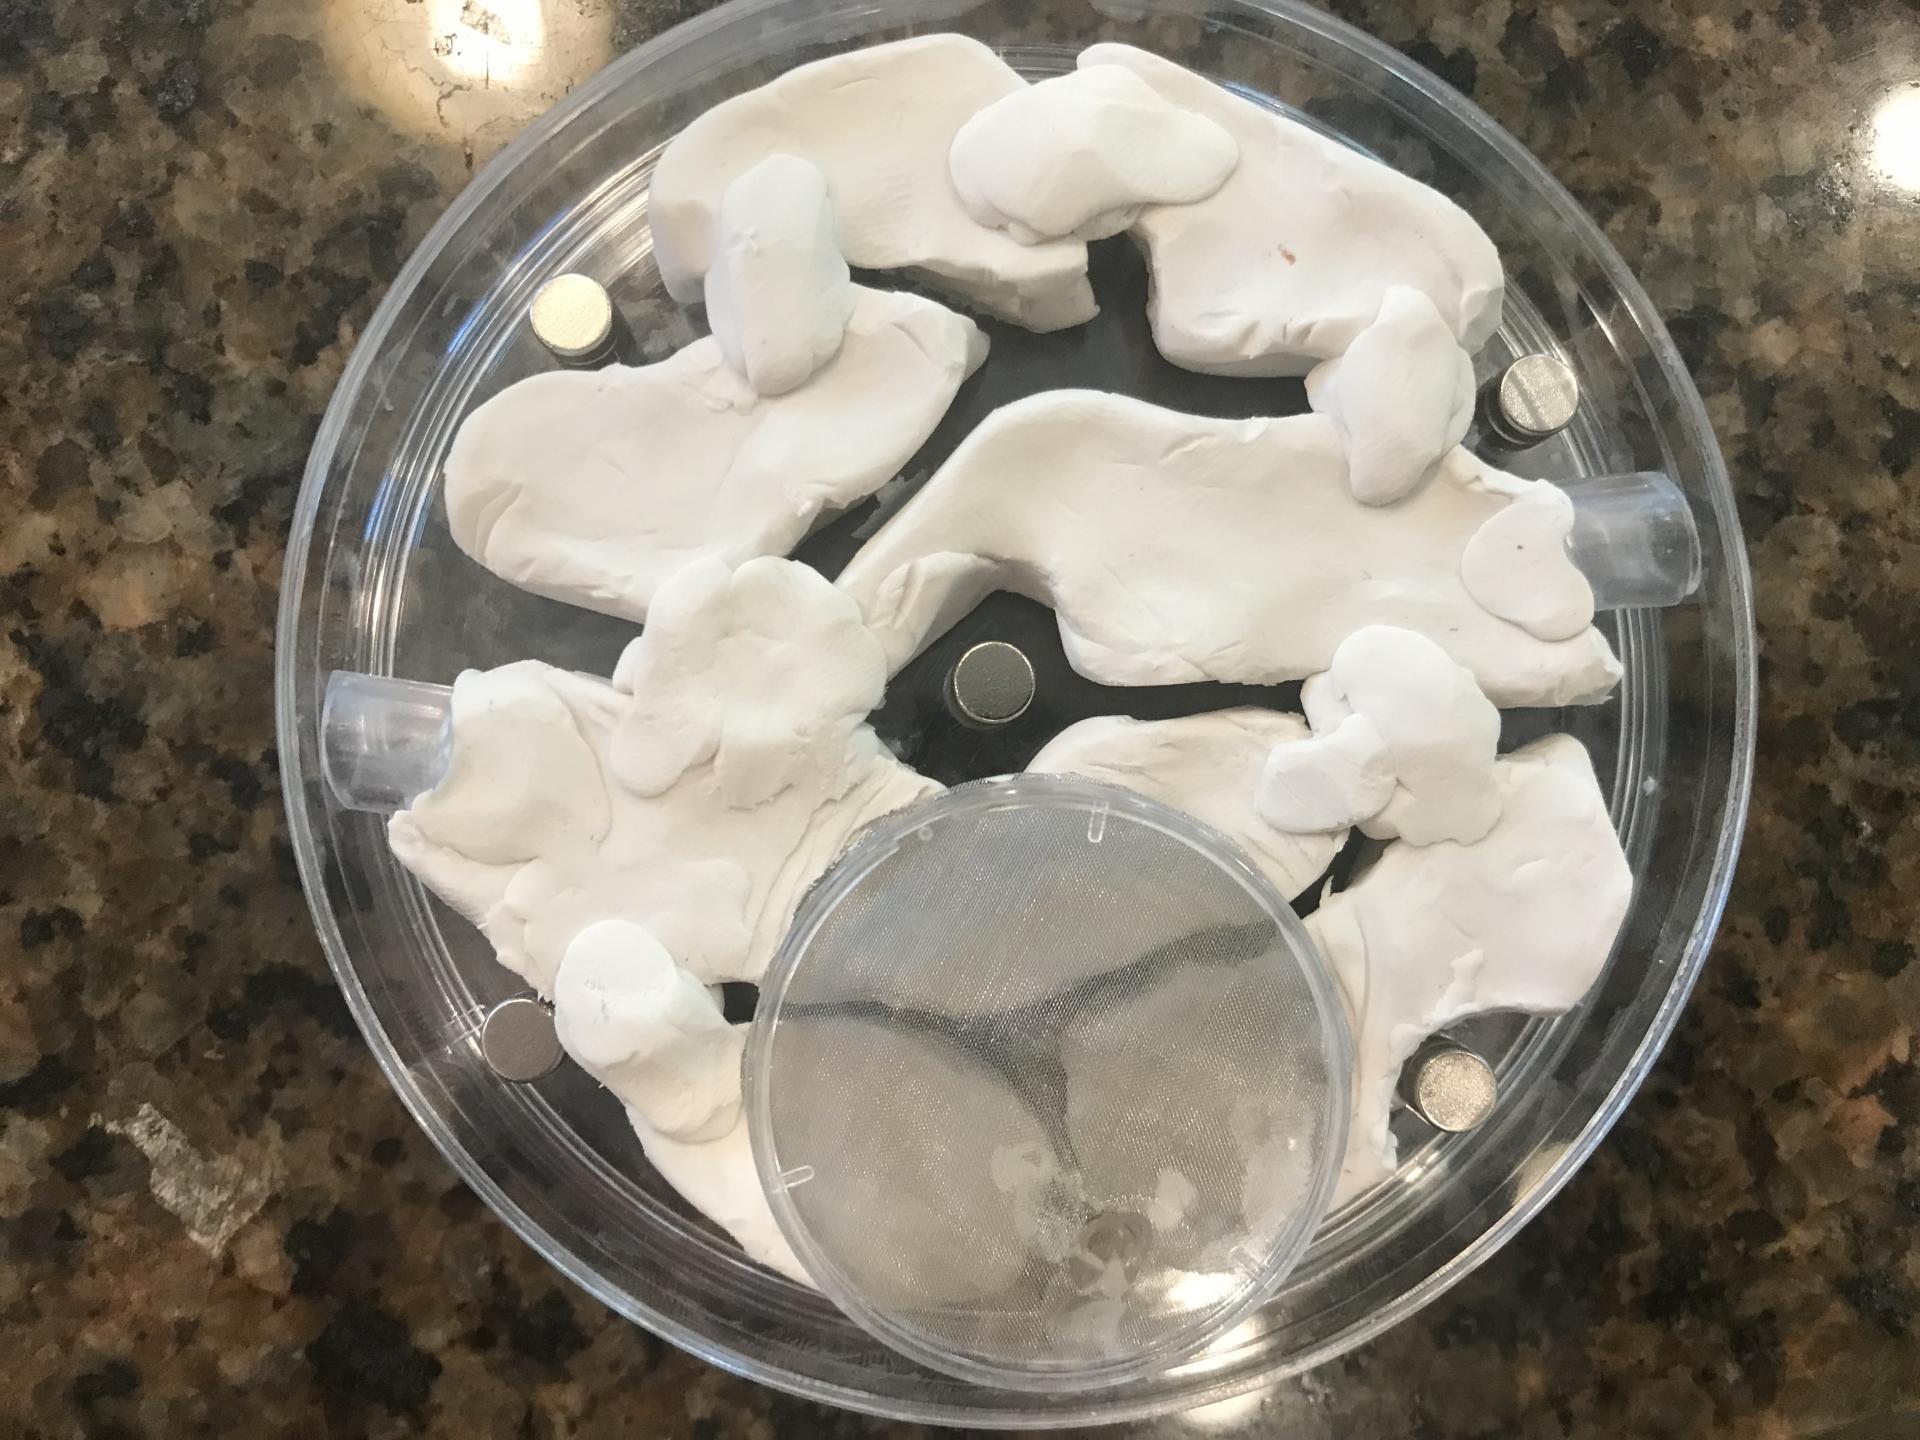
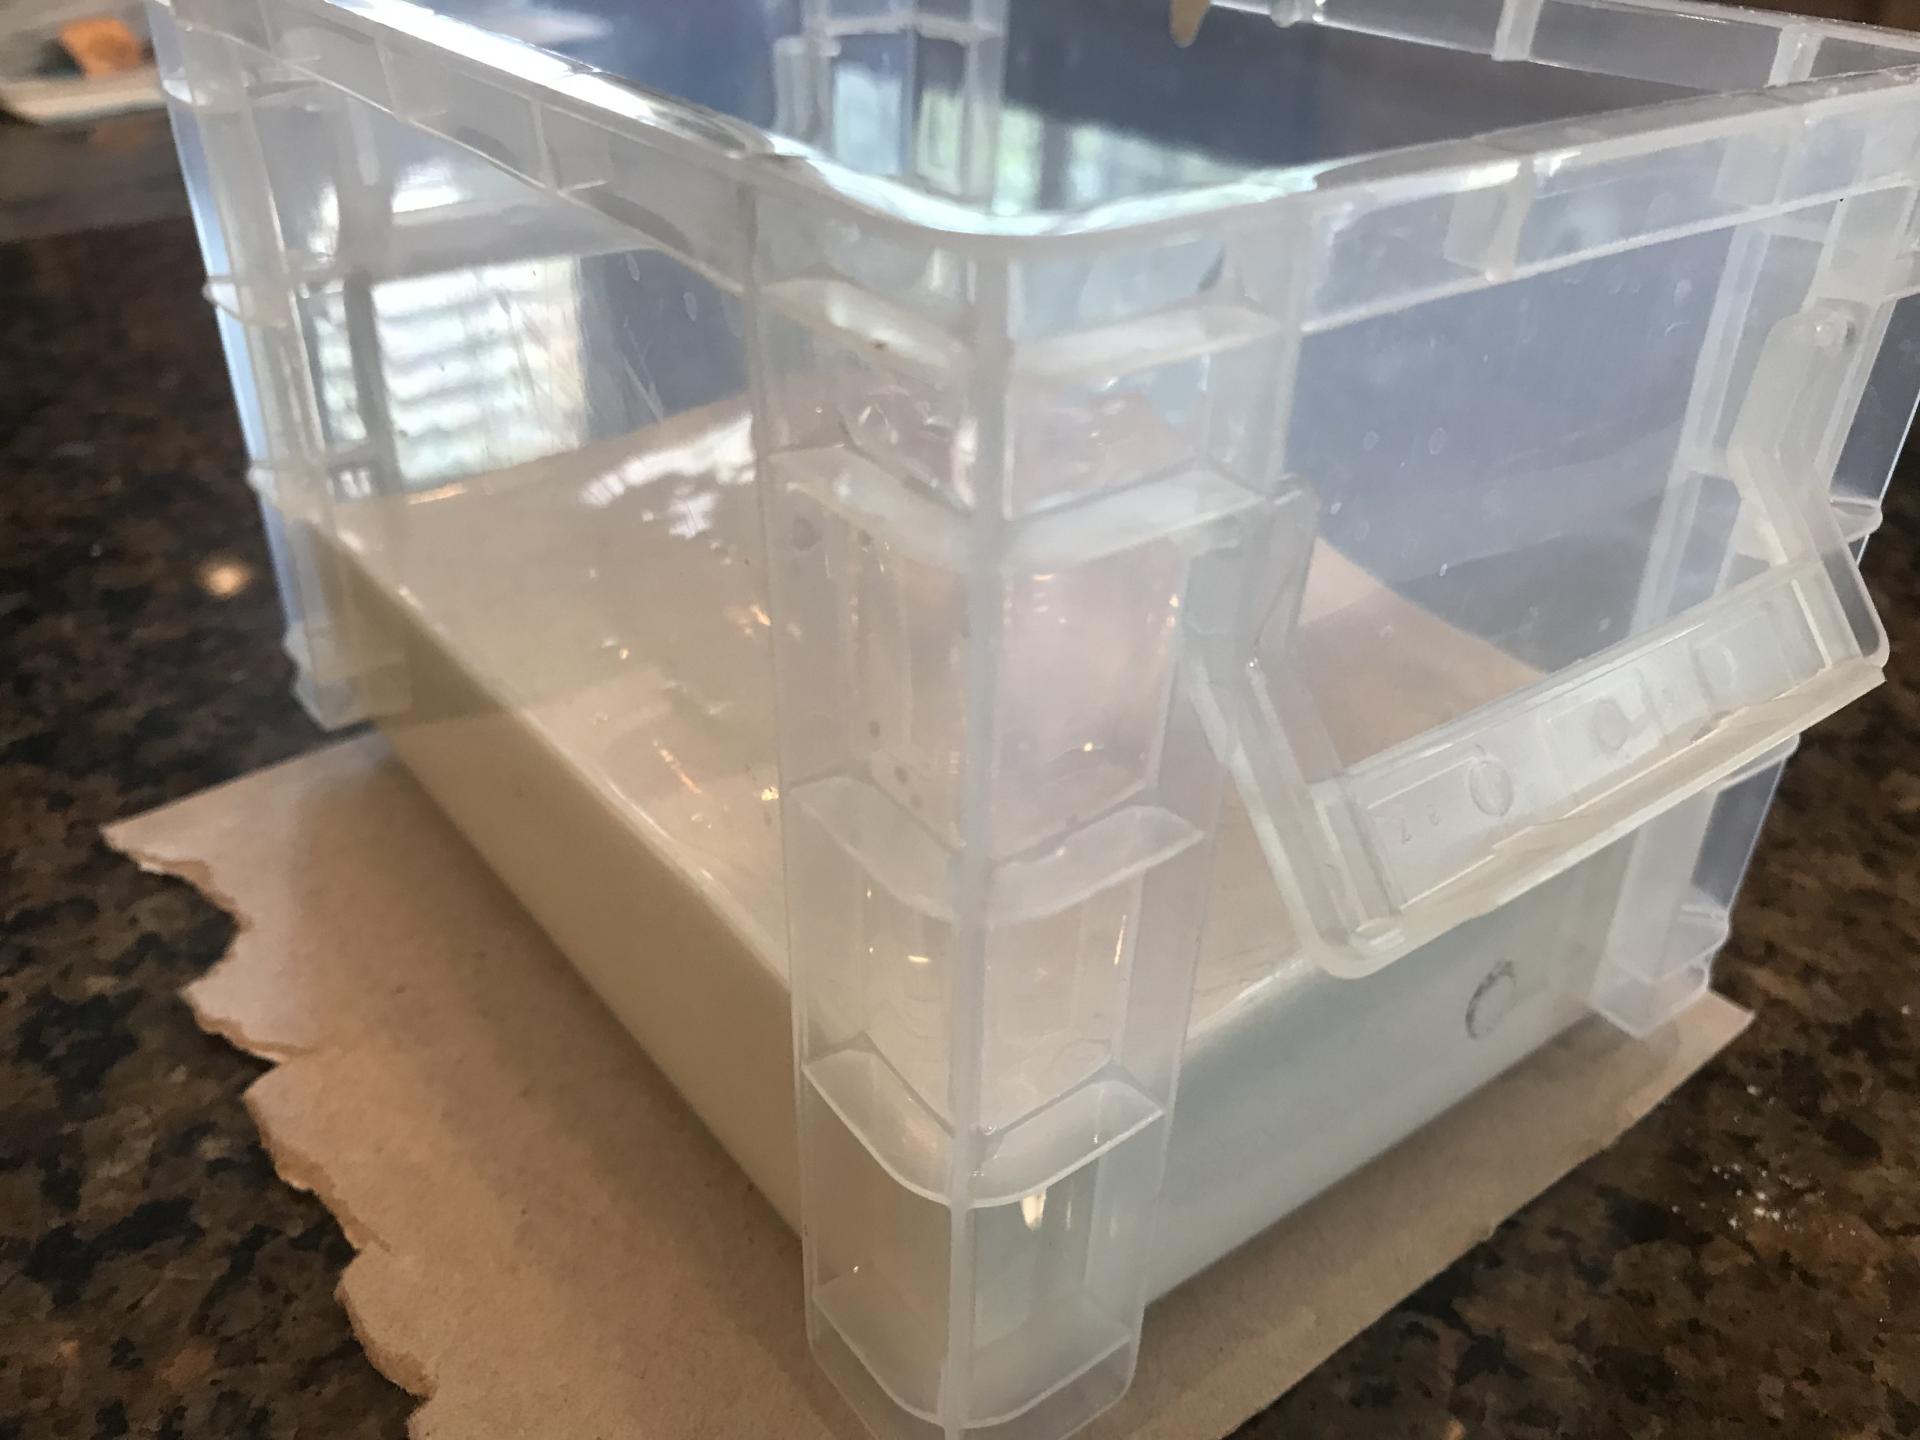
4). Wipe away any reside and dust away, let the brick soak. Take the clean molding container and place the brick in chamber side down, make sure the brick is dry enough that it creates no standing water in the container. Place chosen to tube in the drilled port(s), making sure the tubes are touching the walls of the container (see image below). Place the water tower(s) making sure that it fits well with the FireBrick (it will be sideways if making vertical nest). Secure the water tower with clay to the side of the container if doing a vertical nest. Cover the any openings created by the water tower hole with sand, so that a deep chamber is formed. This will prevent the casting material form seeping into the chambers, as well as provide more space for ant brood on the water tower. Place magnets in chosen spots, making sure to place magnets on both sides of container.
An image from a different clay cast nest, the principles are still the same. The water tower will be flat or upright and sideways depending on whether your are making a vertical or horizontal nest. Remember to adjust the water tower so that the tube connected to it will be exposed during and after the cast is applied.
5). Prepare and pour the casting media. Try to make the mix thick to stop it from seeping in the cracks between the container and brick, which are hopefully small or even non-existent. Make enough to cover the FireBrick, but not too much that the hydration tube the for the water tower is covered.
6). Wait for casting material to cure (at least 6 hours depending on material).
7). Remove the nest from the container. Wash out sand and remove any casting material that seeped in. Remove tubes (a needle nosed plier works well).
8). Wait a few days for nest to dry. Paint can now be applied and tubes can be inserted into the empty port hole(s). Wash very thoroughly before moving ants in.
Making these nest can be very fulfilling and you can get a surprising amount of control over the chamber design. Just remember to soak the brick every few minutes, for your health and for best carving results.
Check out Crystal's guide for more info.