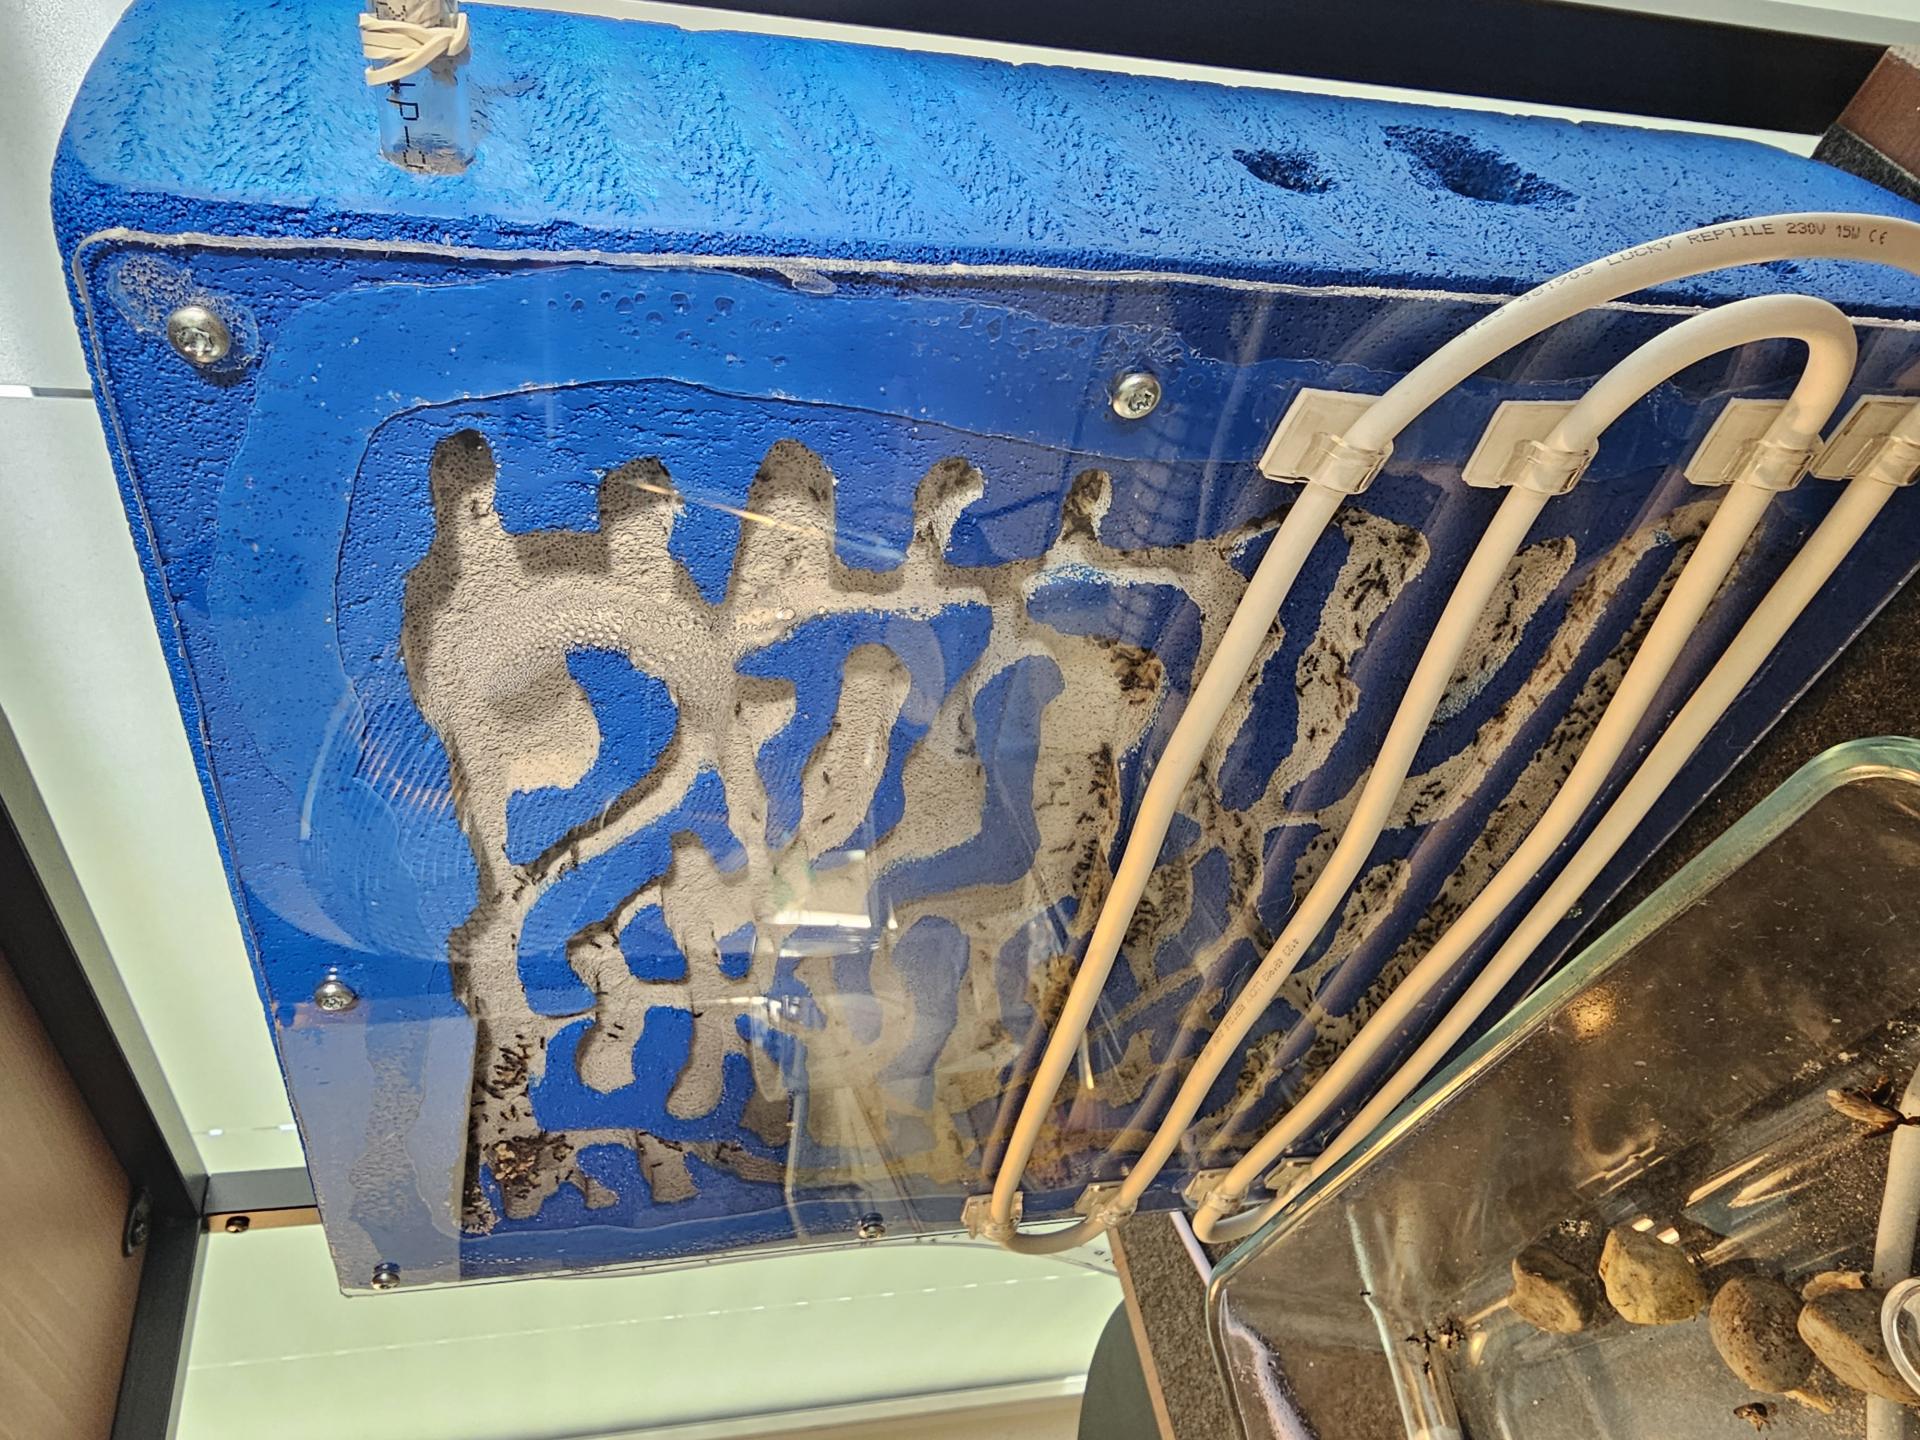
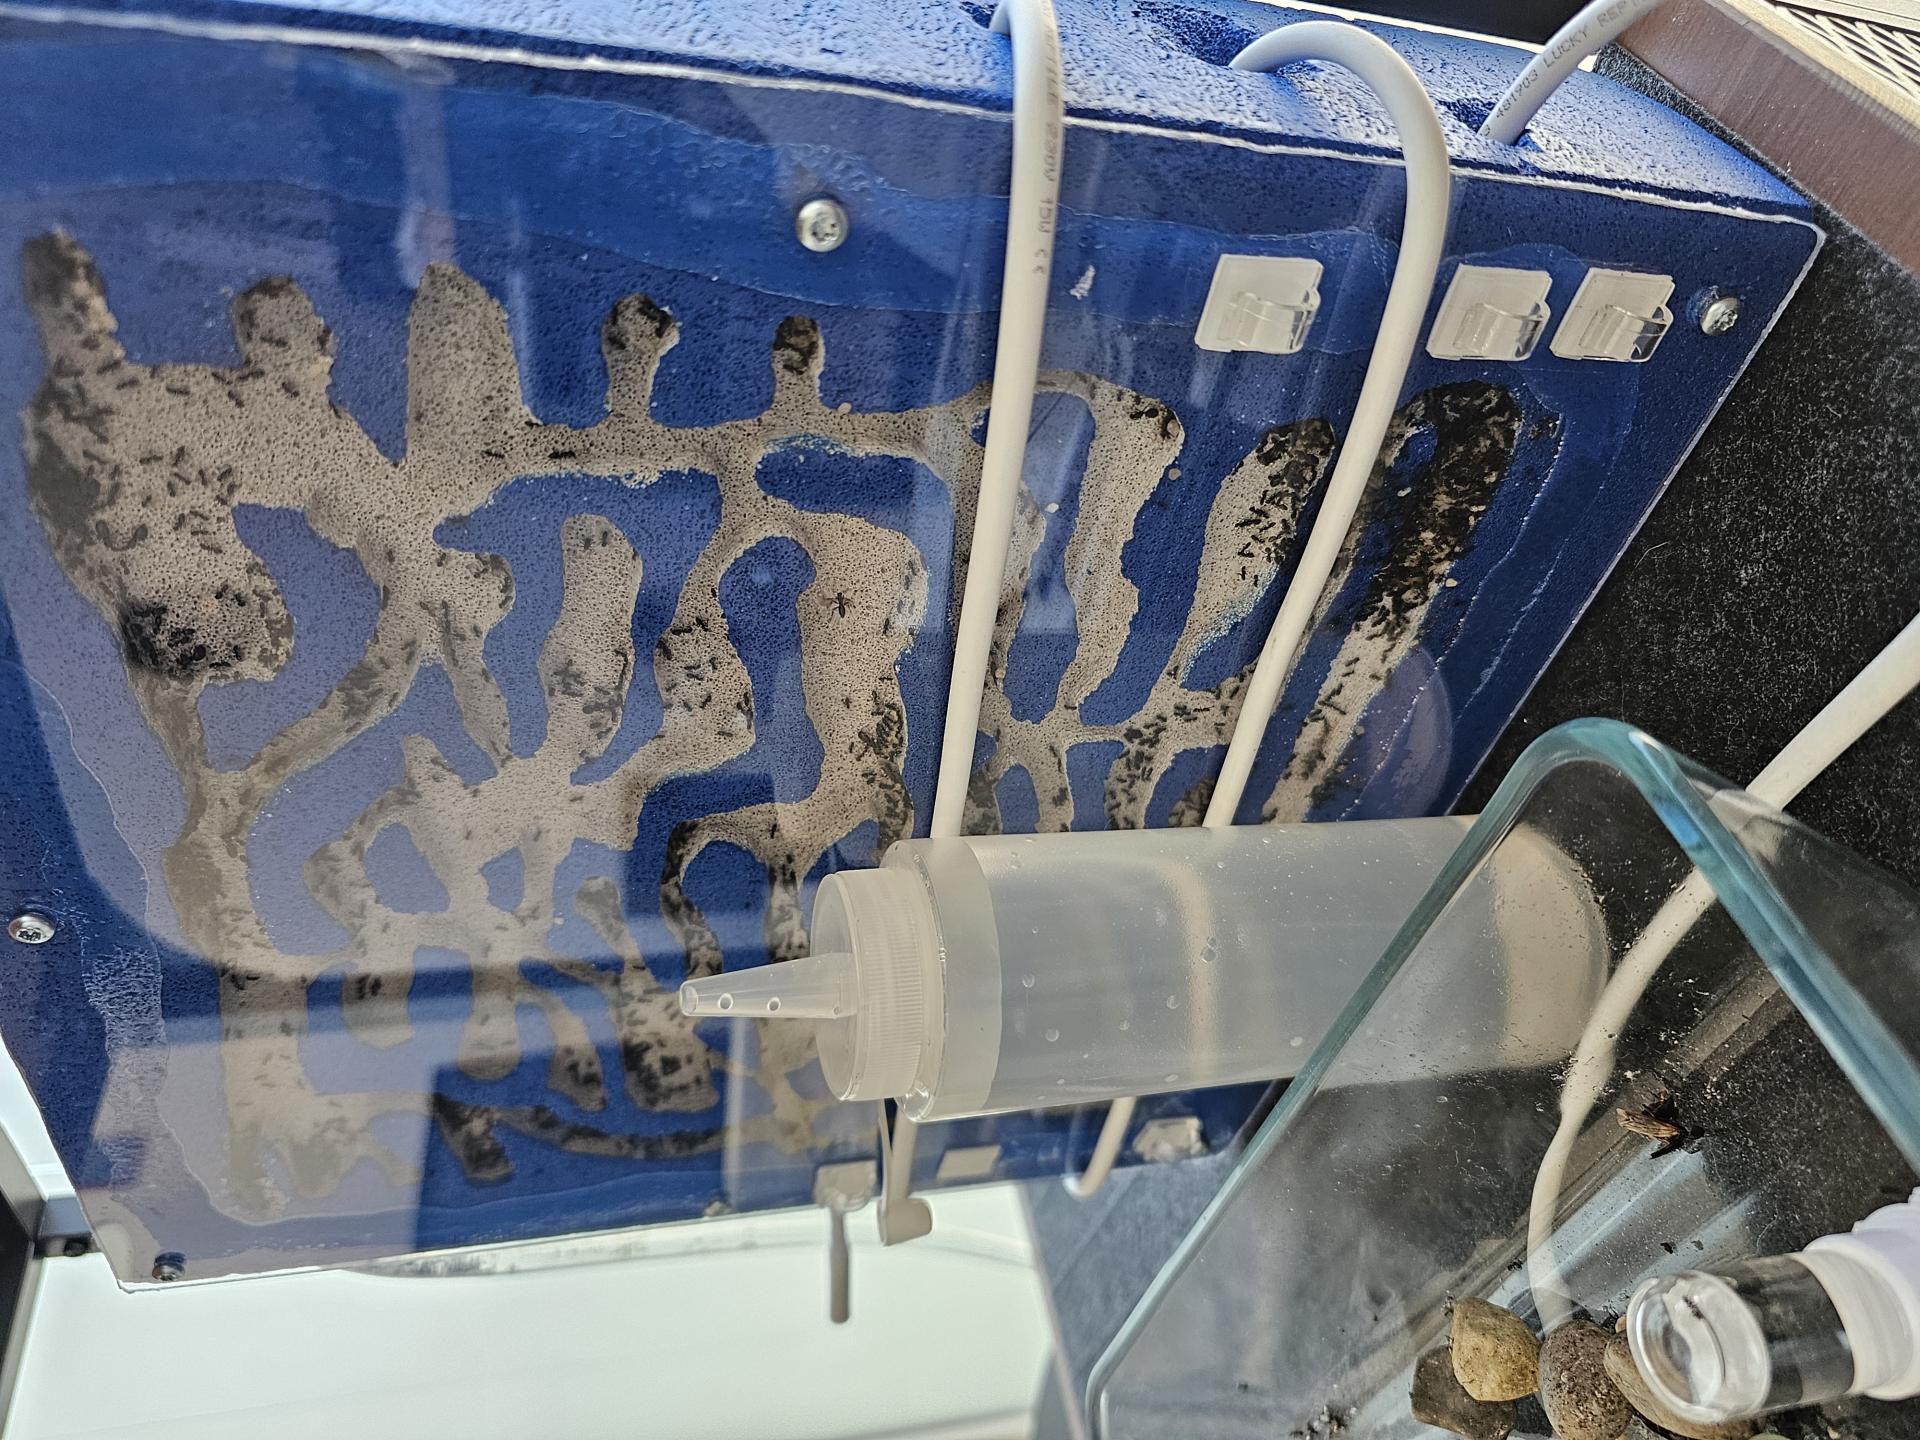
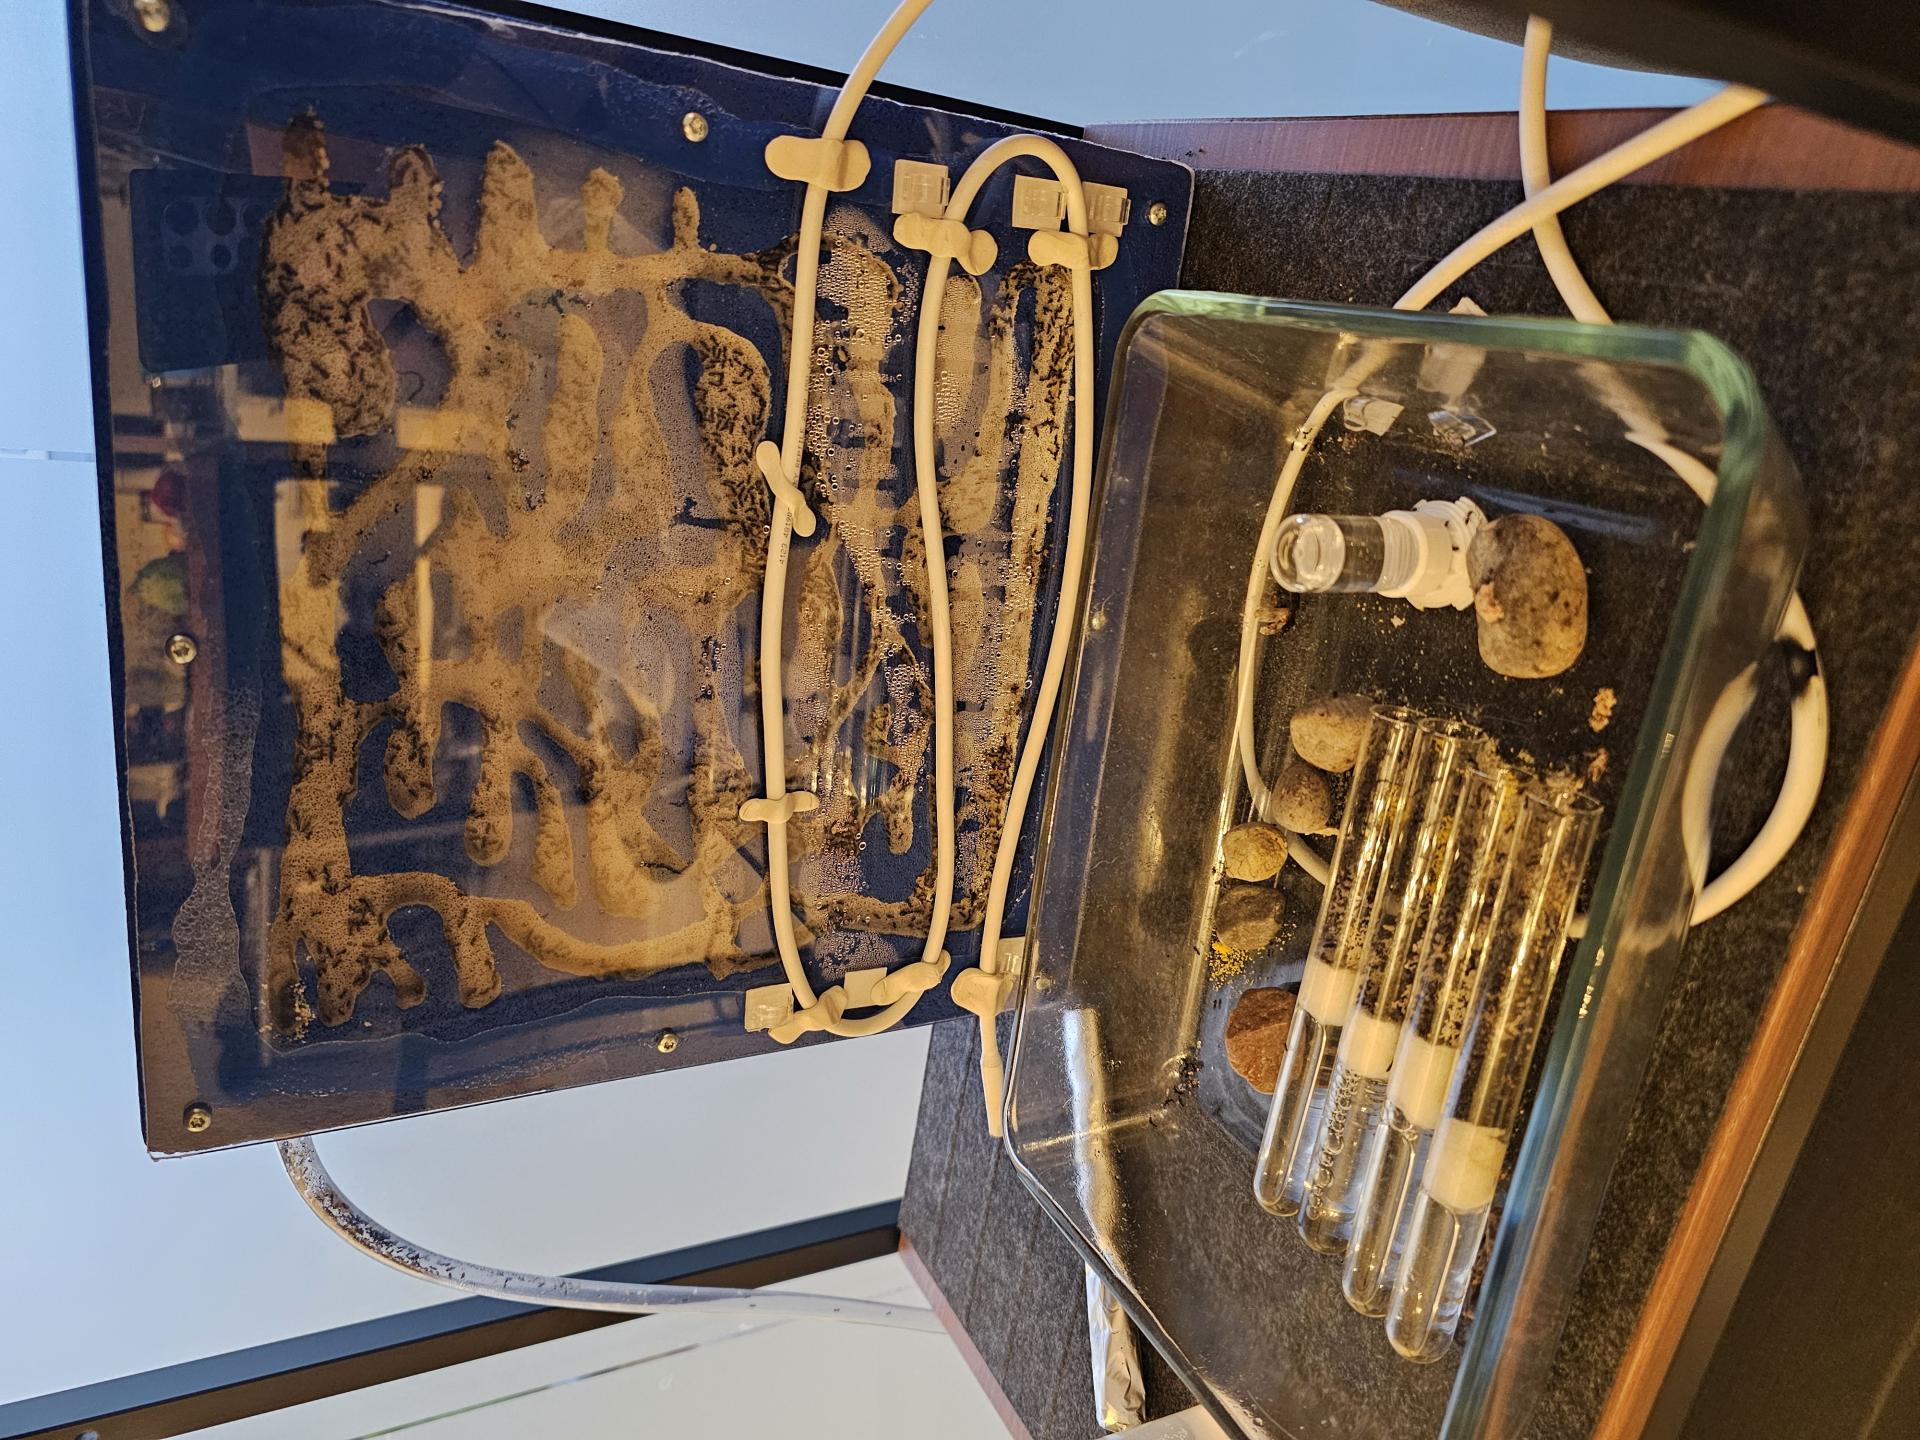
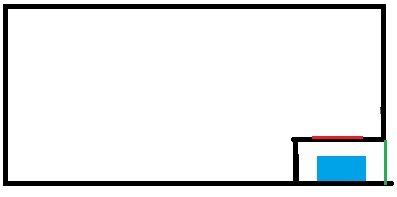
I too keep the ants right next to my common place in the house, just here to my left as i use the computer. Making them a center piece of home decor basically.
I use perfect cast to pour my own nests.
the basic work is to lay it all out in sand/clay/tubes, rather than carve the spaces out later.
1: On a level pane of clean glass larger than the nest will be, layout the nest chambers and tunnels in sand/modeling clay.
2: Place water towers where wanted and route the fill tubing. The towers go upside down on top of a sand pile(will become a chamber with tower mesh top as the chamber floor)
3: Cut the foam board to size and hot glue it to the glass and each other to prevent any leaking, making a little box around the sand nest chambers on the glass.
4: Figure out entrance/exit port locaitons, and use a bit of tube going through the mold wall and in good contact with sand/clay(this avoids any drilling/carving of ports later by creating them in the pour directly, the tube will just slide right out once dry).
5: Place a bit of clay as weight on top of the water towers so they do not float up when we pour the liquid plaster in.
6: Mix and pour the plaster into the mold, being sure to pour slow so as to not move any of the sand around.
It's all fairly slow going and fiddly to work in sand. Too wet and it won't hold a shape, too dry and it won't hold shape. I tend to get it in shape just a little moist, and then use a paintbrush to wet it a little more once it is in the shape i want, as it helps keep it that way.
Clay works too but gives much smoother looking "man made" visual to the walls, and can also color the nest a little if has is a strong color of some kind. I tend to use the kids modeling clay as added mold sealer around the port holes and such. Or as under fill for larger chambers where i put sand over a clay core.
The drier the sand when you pour the more texture you get and the more sand may be left behind embedded in the plaster. While fairly wet sand will give a smooth surface look with very little left behind in the plaster later.
5+ hours later, tear off the mold, washout the sand/remove any clay and tubes, then we're all done, no drilling/cutting/carving needed.
Get a piece of glass/plexi custom cut to size at any standard framing shop.
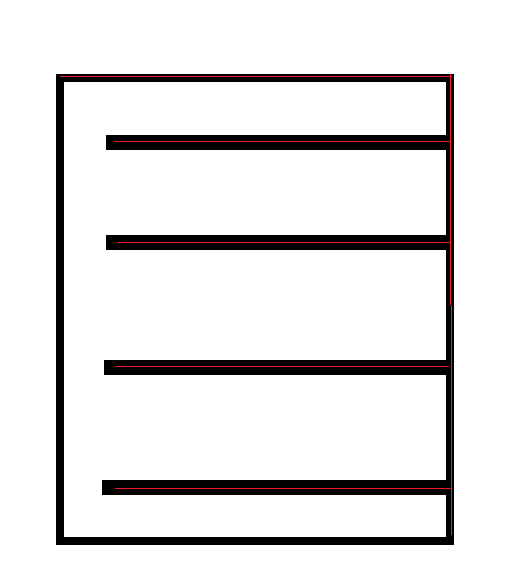
The hardest part of it all, is the inverse visualizing. Piles of sand on the glass, become open chambers and tunnels in the nest. And the whole thing is also upside down, so you got to keep the flip direction right if it is connecting in specific places in an already defined space. Do i flip this on one axis so what is the front to me during fabrication becomes the back when in use or on the other axis so the left side during fabrication becomes the right side while in use.
NOTE ON FOAM BOARD: matte will let liquid plaster seep in a little and leave behind a some color/residue, wasn't an issue for me but just FYI, glossy likely resist the wetness better than matte.
At first I made molds out of thin wood, like off wine boxes with C clamps holding them together. These days i'm using foam core board instead with hot glue holding he edges as well as hot glue sealing the mold to the glass bottom. the foam core is just way easier to work with, and i do not wind up reusing the wood molds anyway.
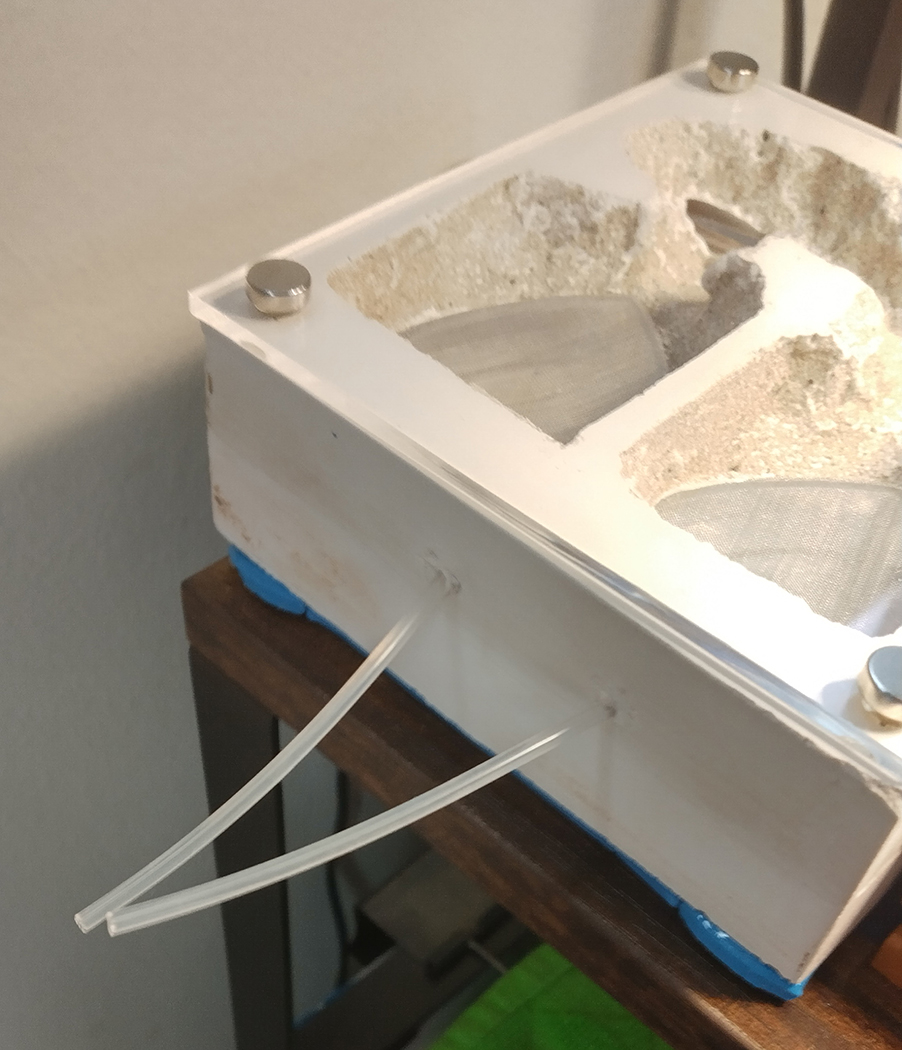
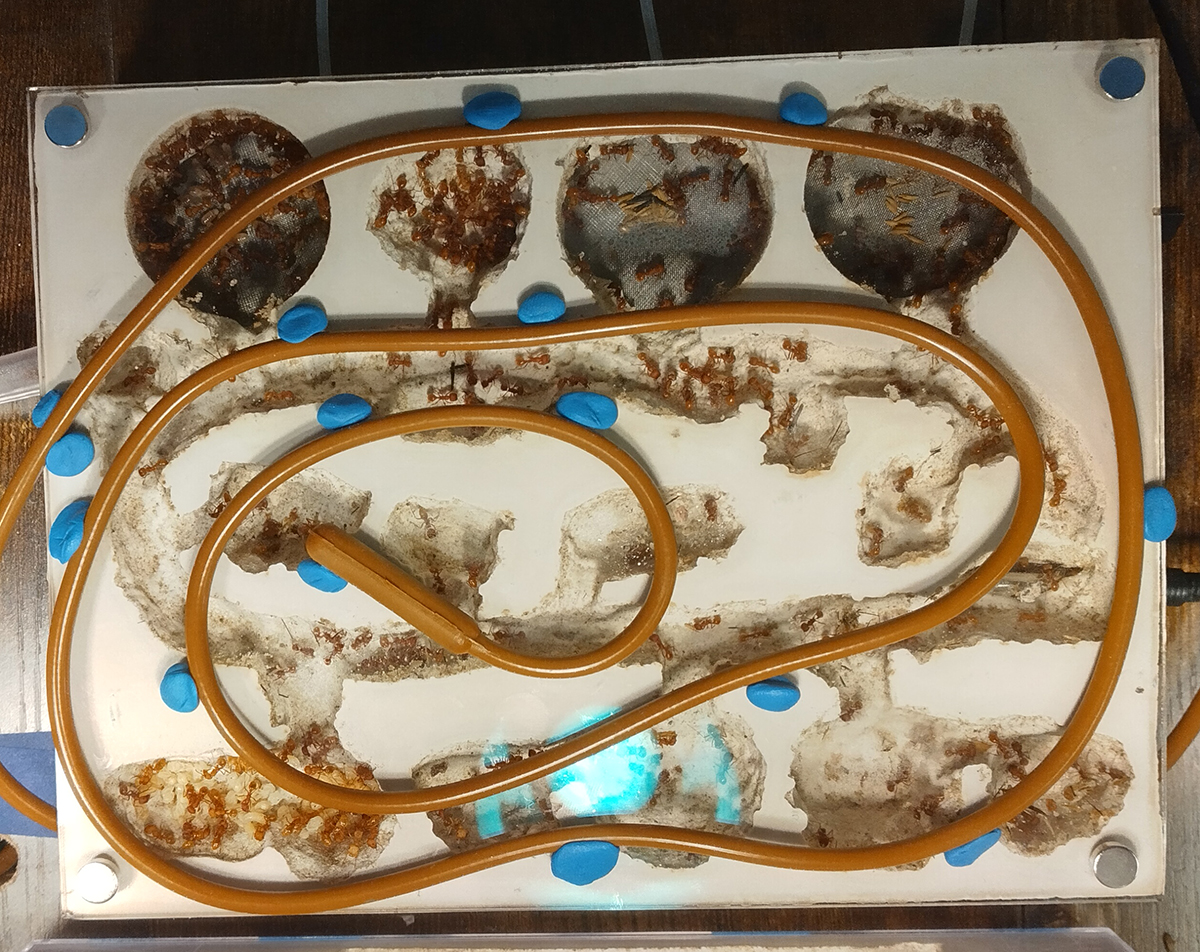
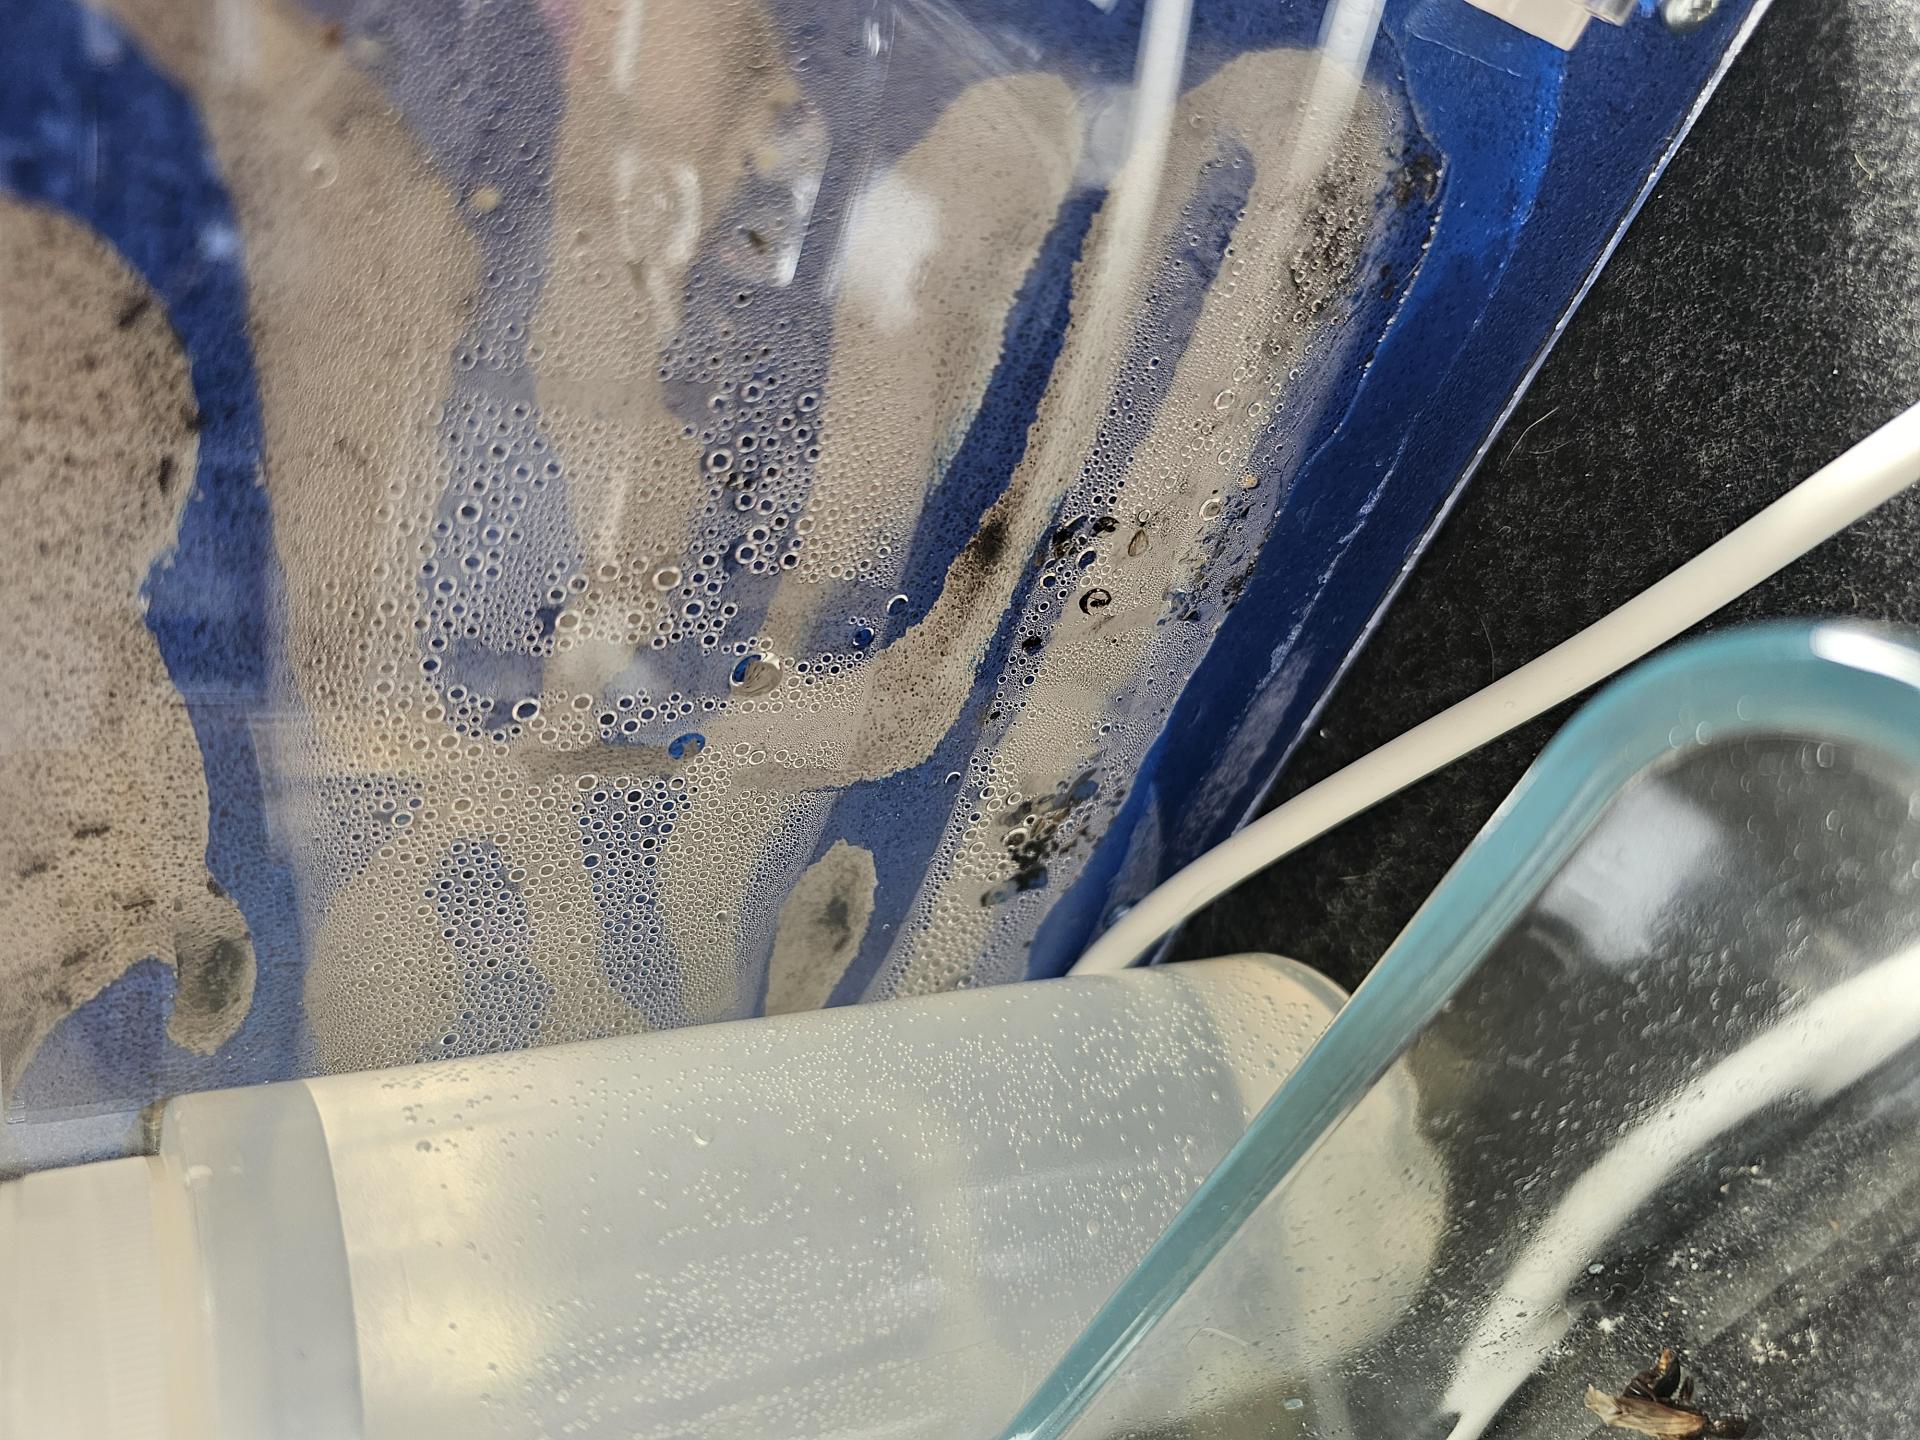
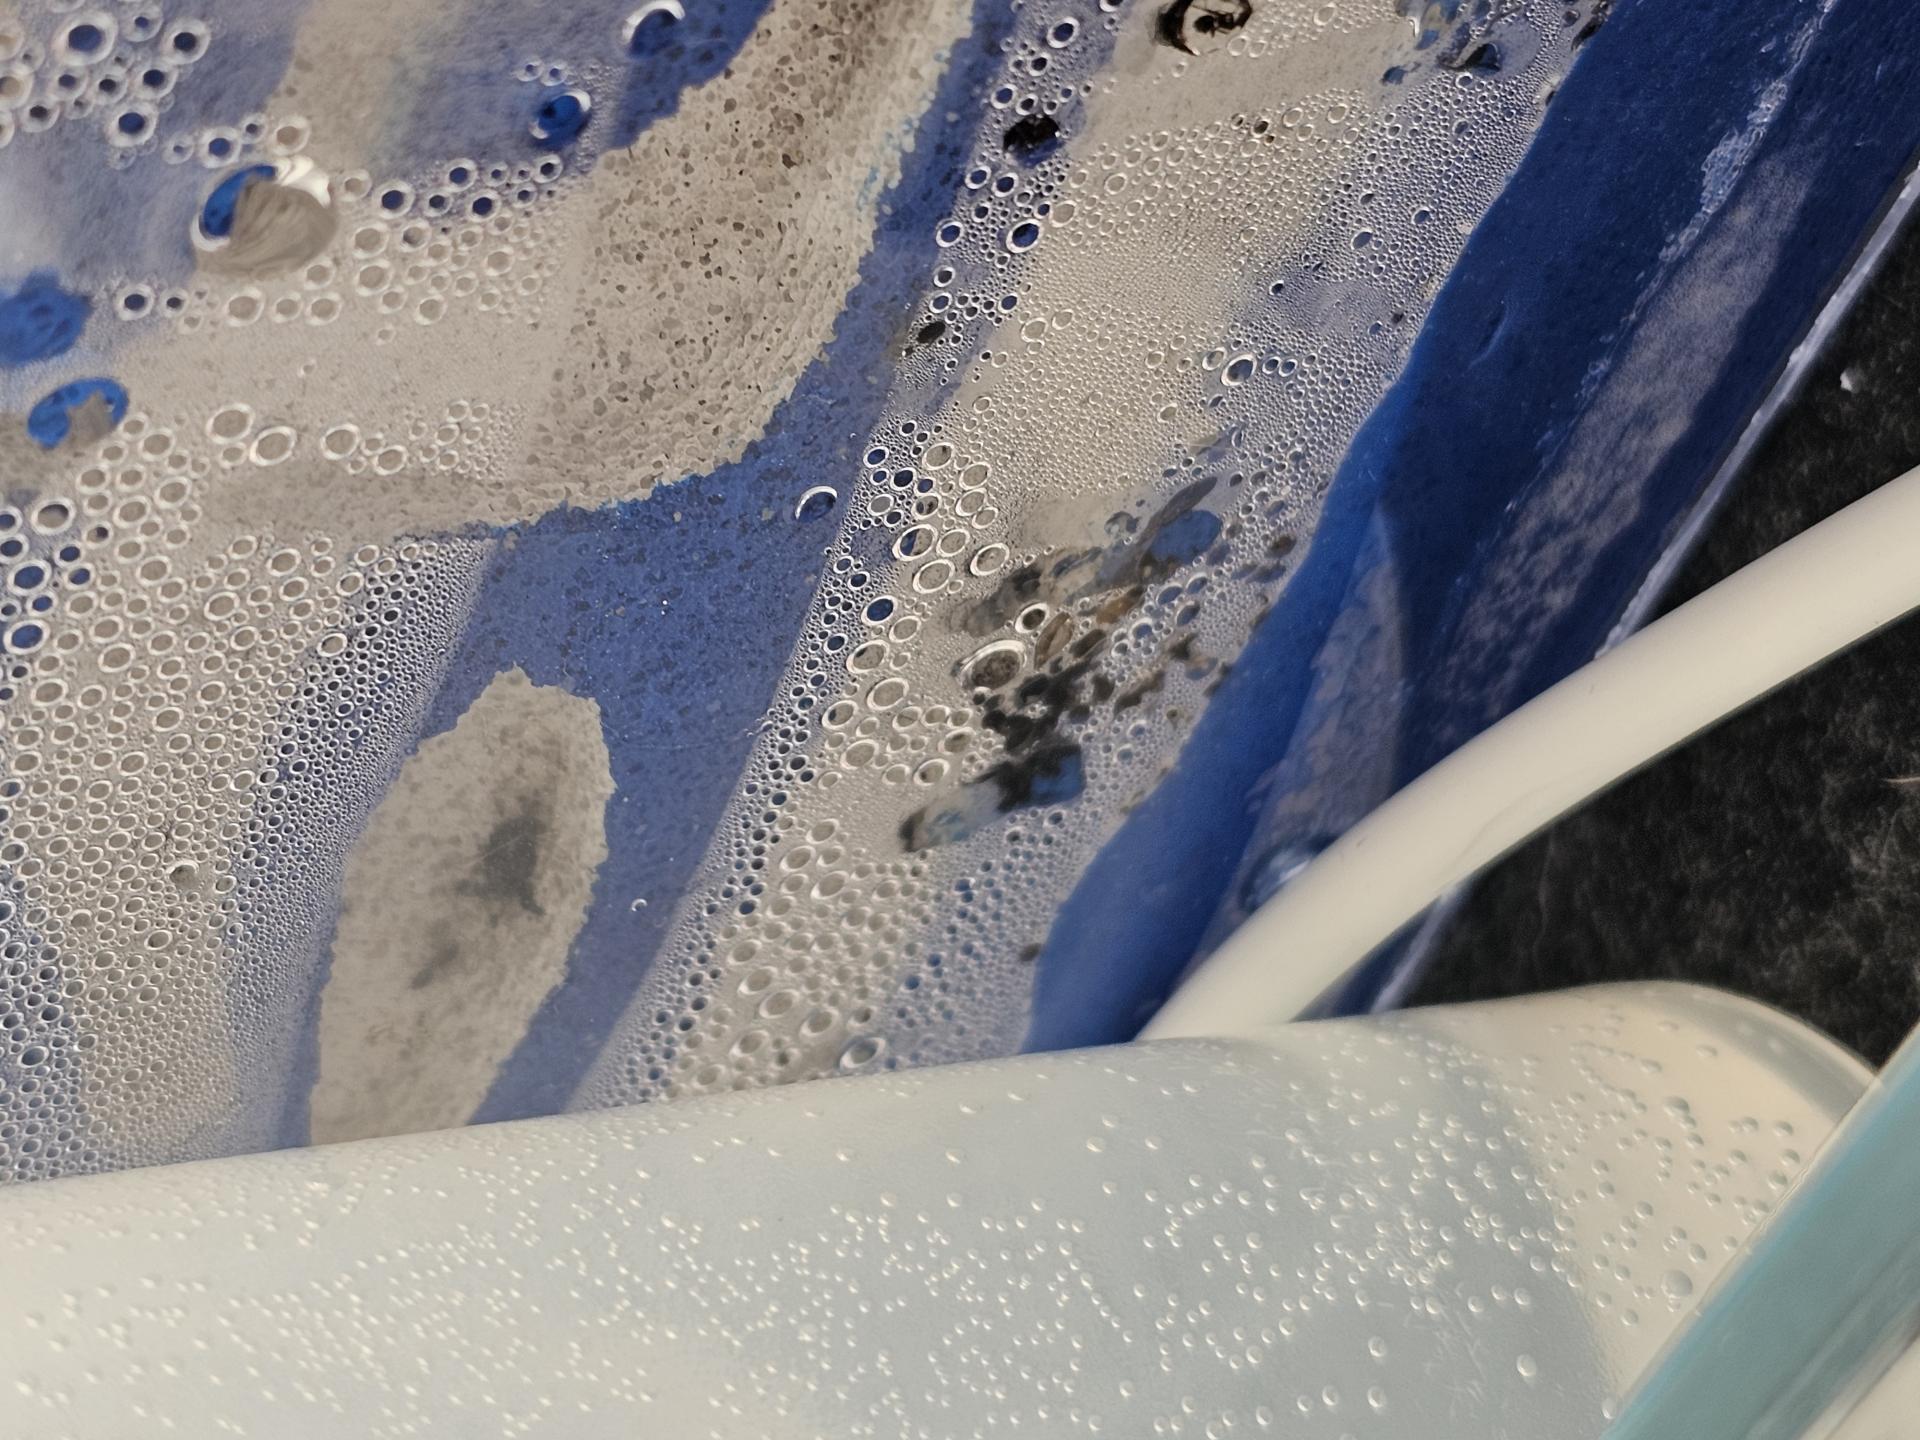
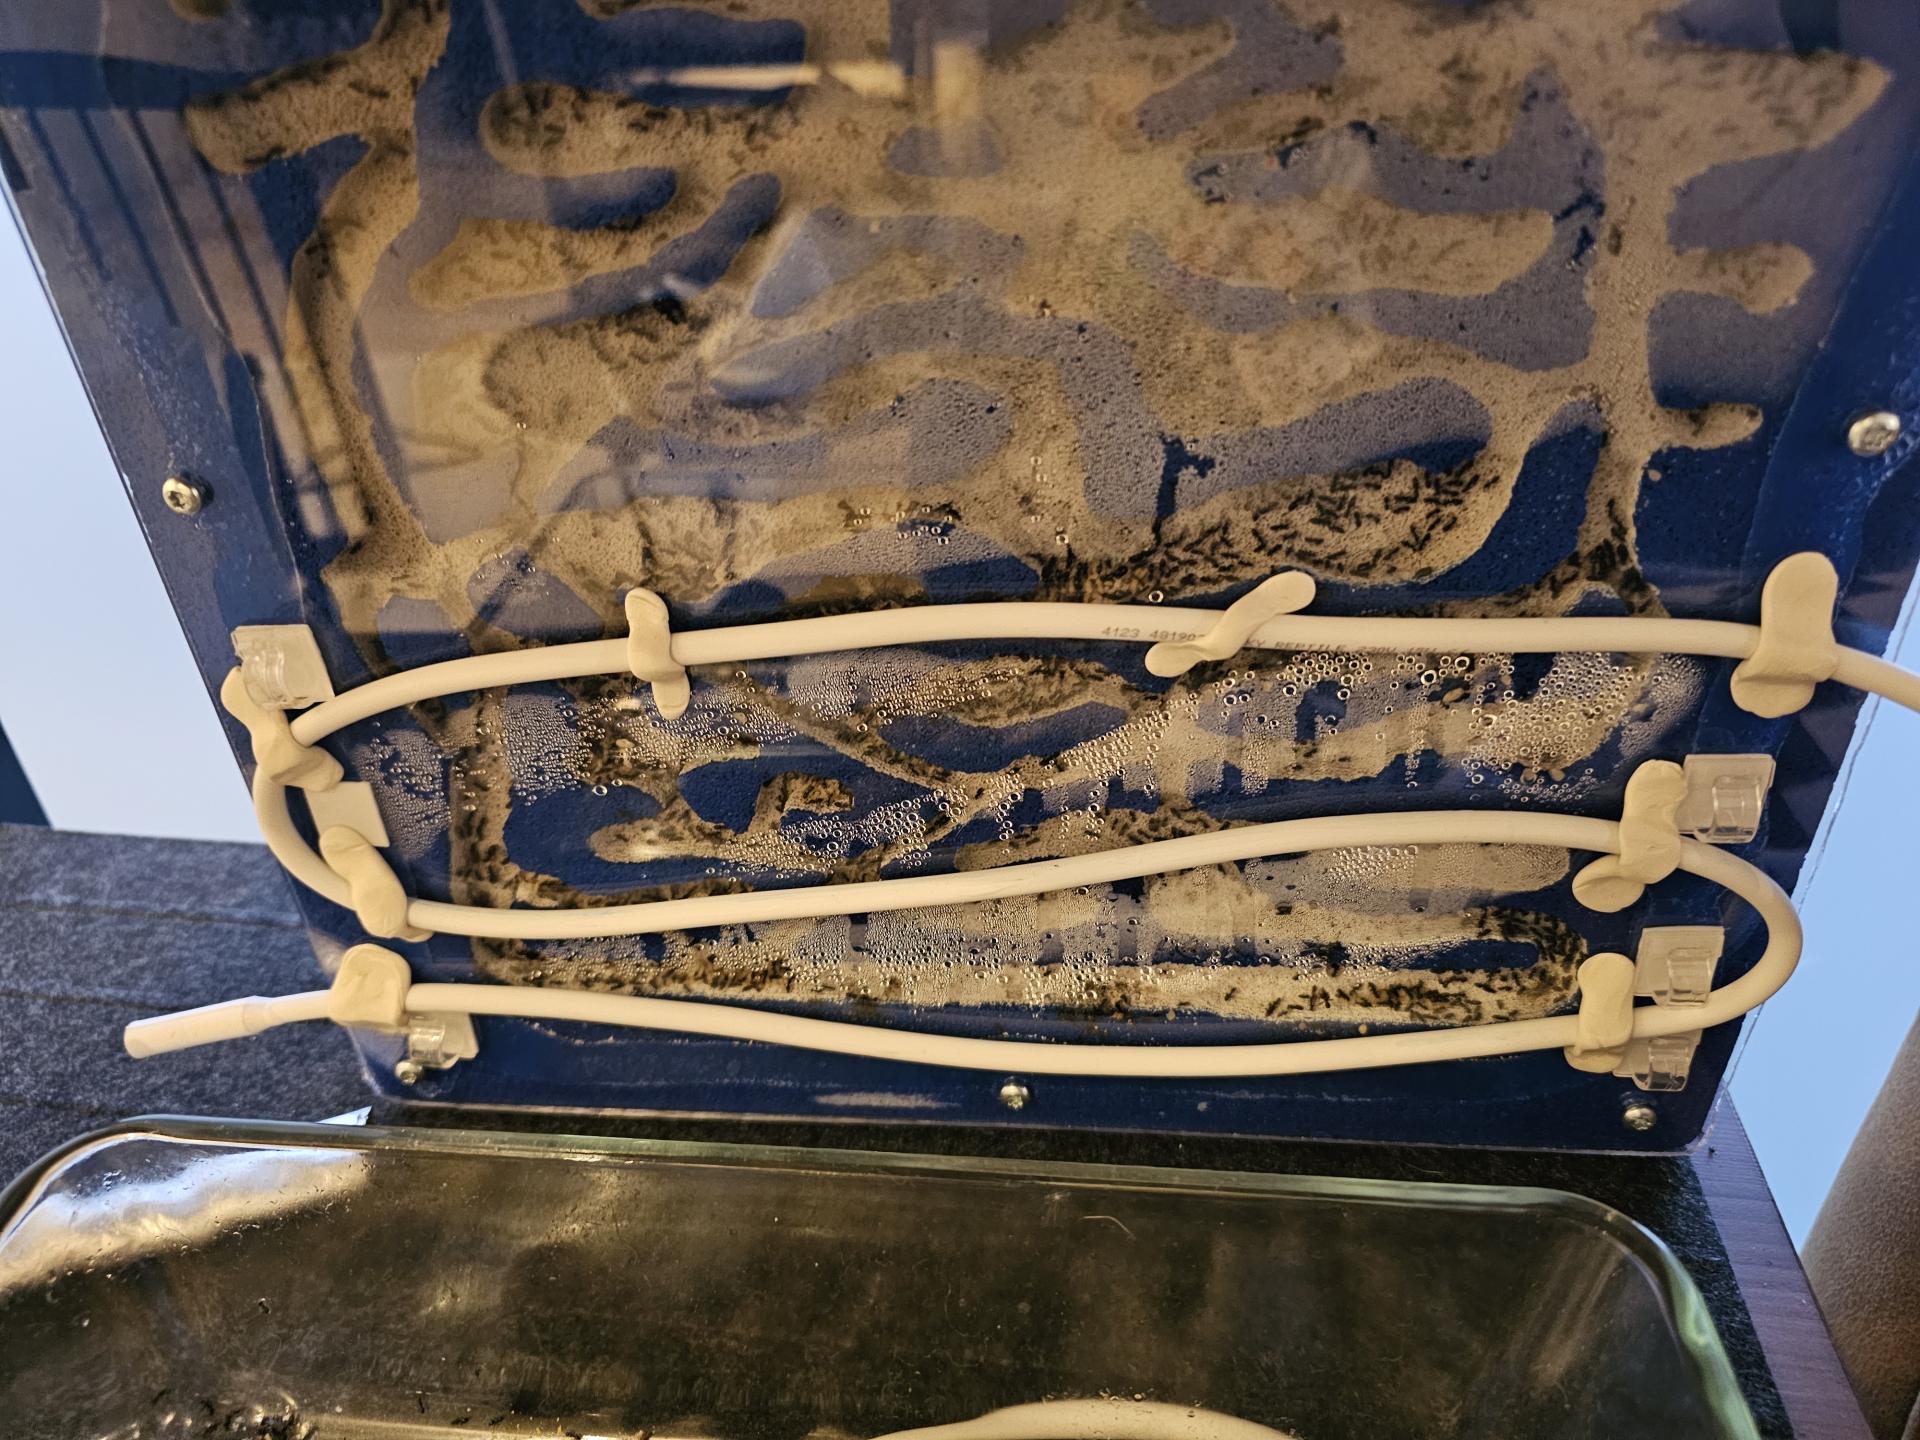
All of the nests get tealight watertower chambers, and in the big nest they get a fairly wide humidity gradient with one side being much drier than the other.
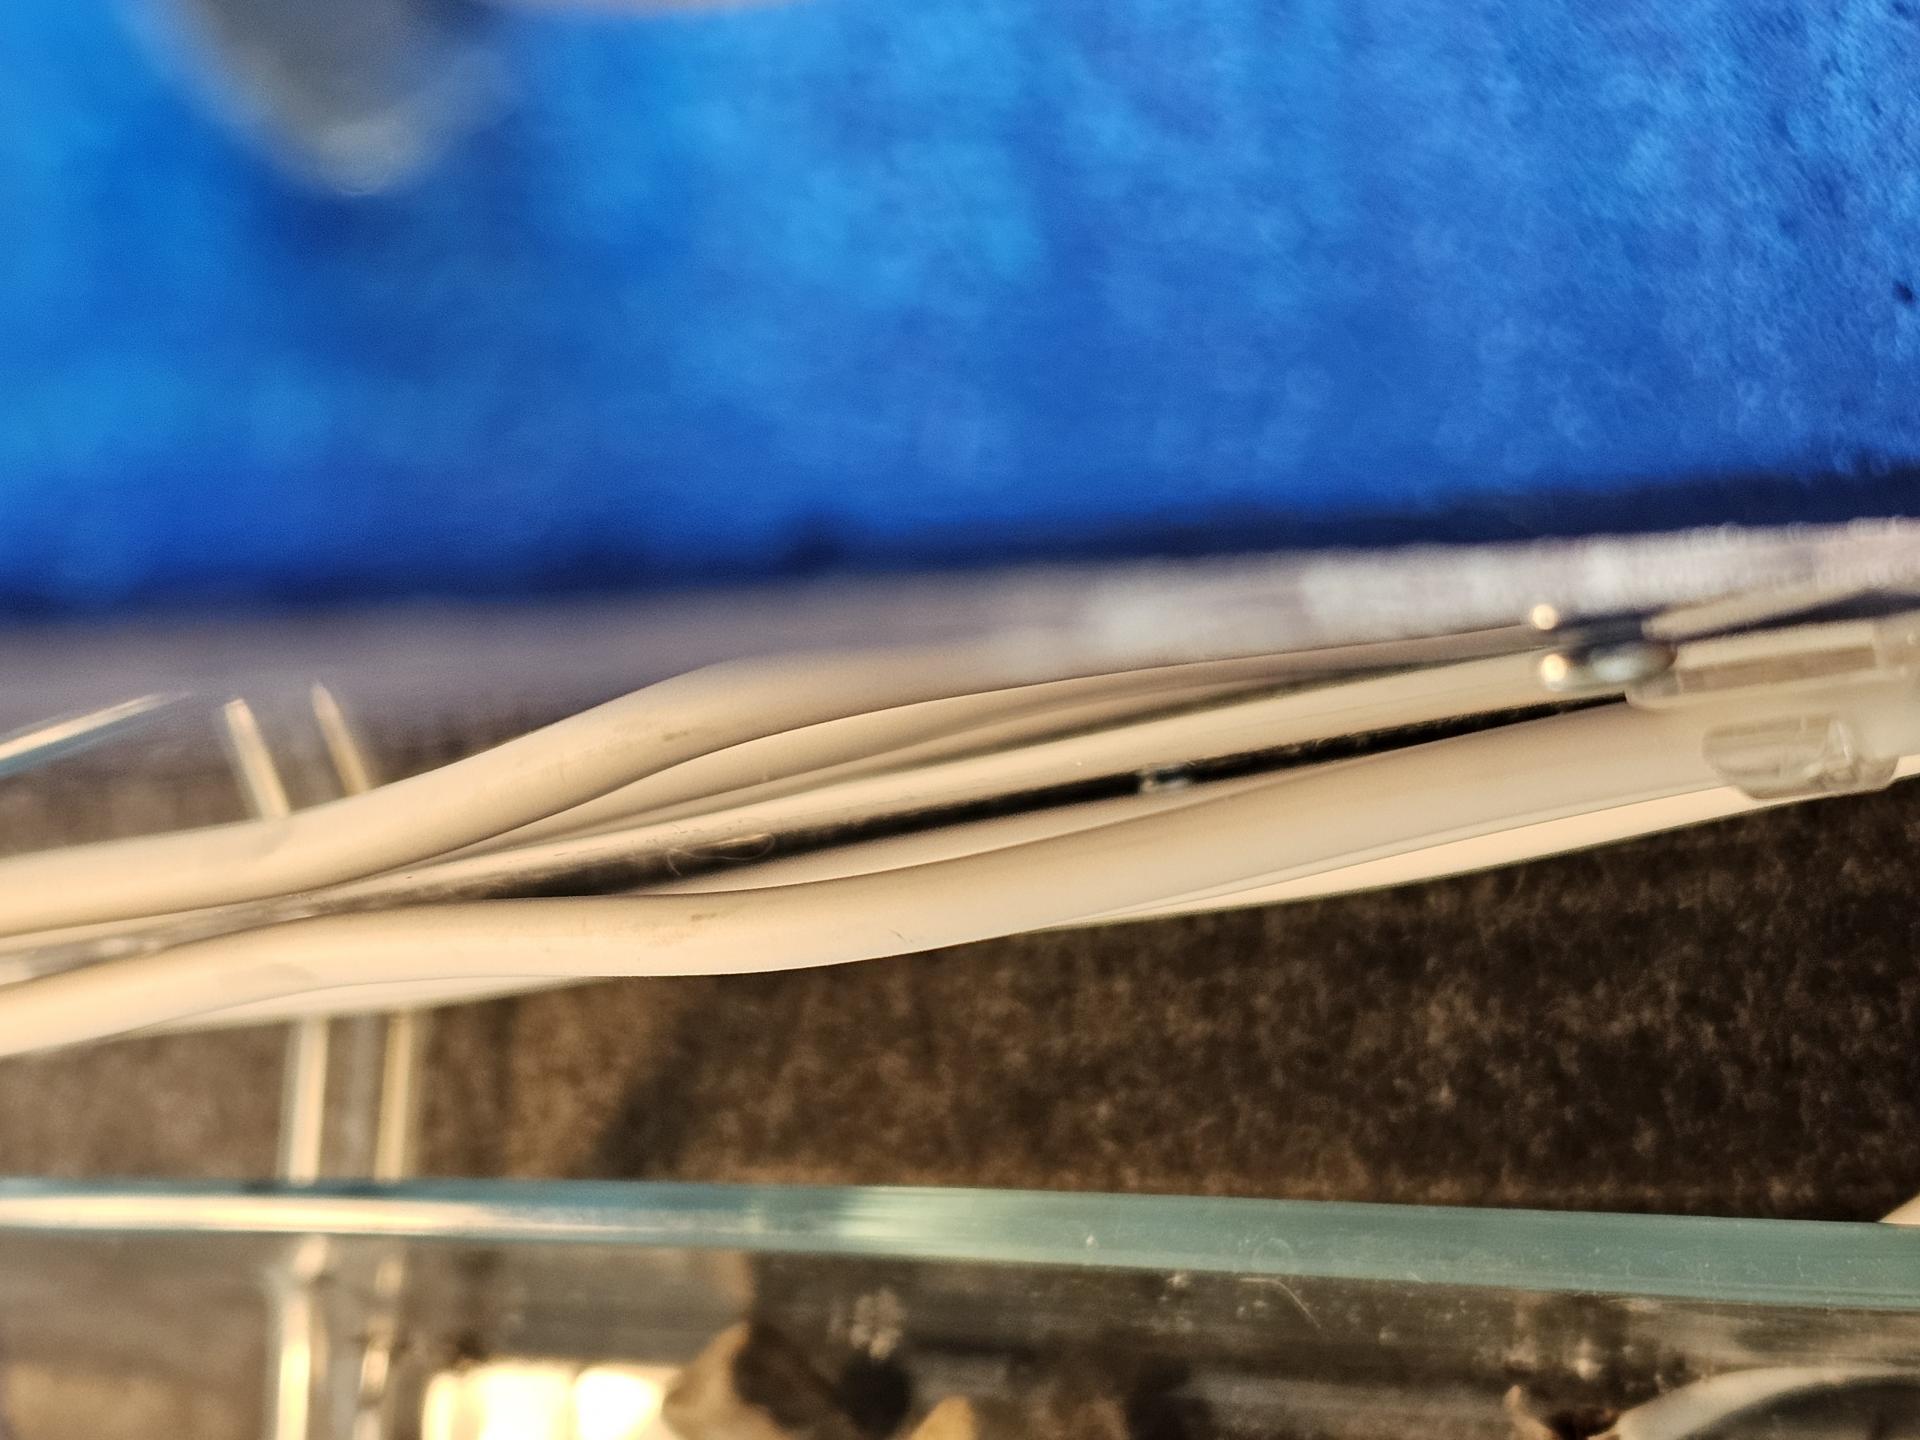
In the image above you can see two .05mm silicone tubes, a perfect fit to the blunt tip syringes used for filling watertowers. With these flexible tiny tubes I can route them inside the nest into the watertowers before pouring. This gives a lot of flexibility in placement and the tube being so tight a fit to the blunt tip, it can push the water through the tube no matter the up/down bends it may take to reach the tower. You can place a water tower chamber in the middle of a nest and route this .05mm tube however to it.
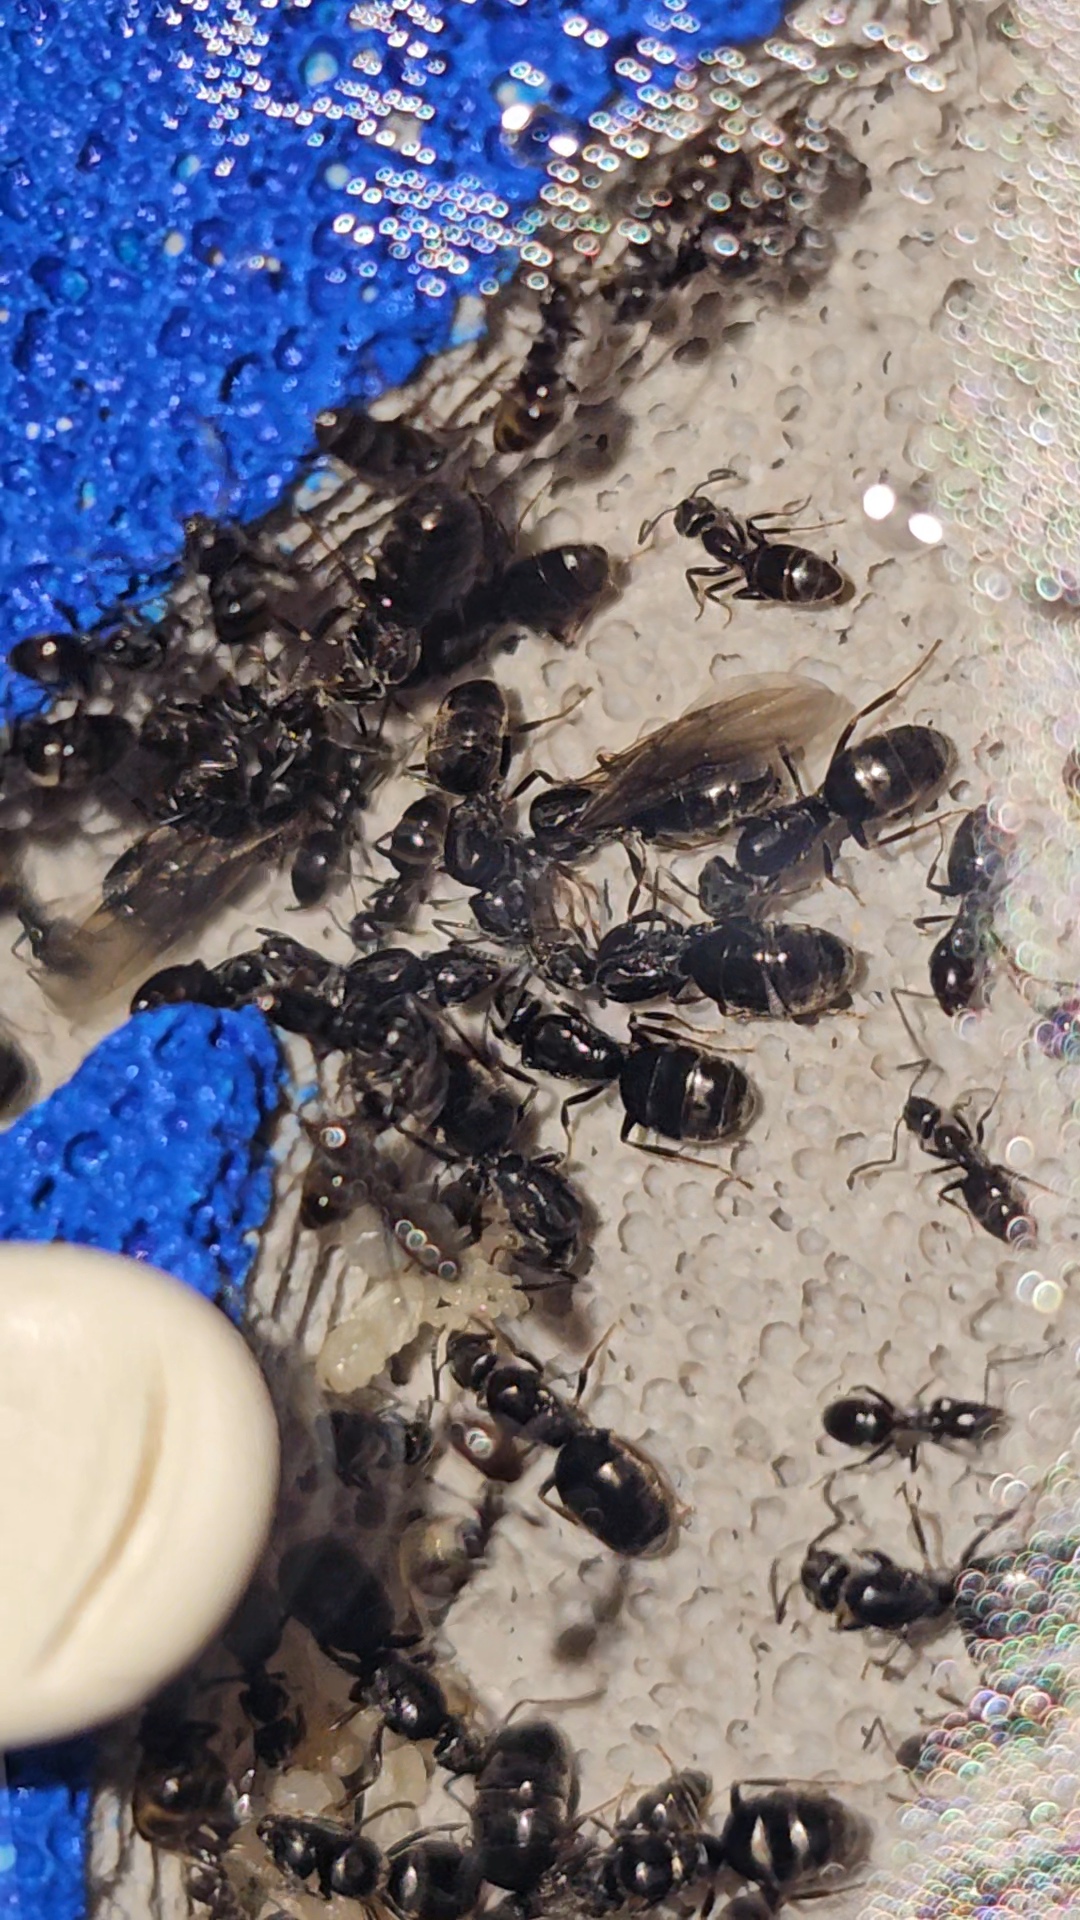
Additionally the long flexi nature these type of fill tubes allows use without any nest disturbances. I noticed on the towers with short little holes on the nest side, it is easy to bump/scratch the nest with the blunt tip a bit and send the ants into a freakout.
And due to their nature it is possible to get the tip of the tube perfectly pressed into the very bottom of the tower. Which lets you inject air to hear the bubbles and know if the tower needs more water added. The bubbles change pitch as they rise through less water or no bubble sounds at all if total empty. As i find it hard to visually see the water line or tell if it has any at all sometimes, this method has been very useful.
Edited by Full_Frontal_Yeti, May 31 2025 - 8:51 AM.
