Good afternoon. I had attempted to start a colony from a culture purchased from Ward's Scientific last summer. I started with approximate 25 termites, that were supposed to be workers only, no breeders.
After transferring them to a different enclosure (small plastic dish provided from supplier to an AntWorks acrylic curved space. Struggled a little, but then they started to lay eggs. The colony was starting to grow and prosper!
March 17, 2025 - 3 larvae were seen.
April 3 - 12+ larvae
June 11 - moved them to a larger container - another retired ant farm. When I transferred them I noted and moved 12 eggs, 110 larva, 8 nymphs, and 22 adults (of the adults - 1 recently molted - fresh exoskeleton and 1 soldier).
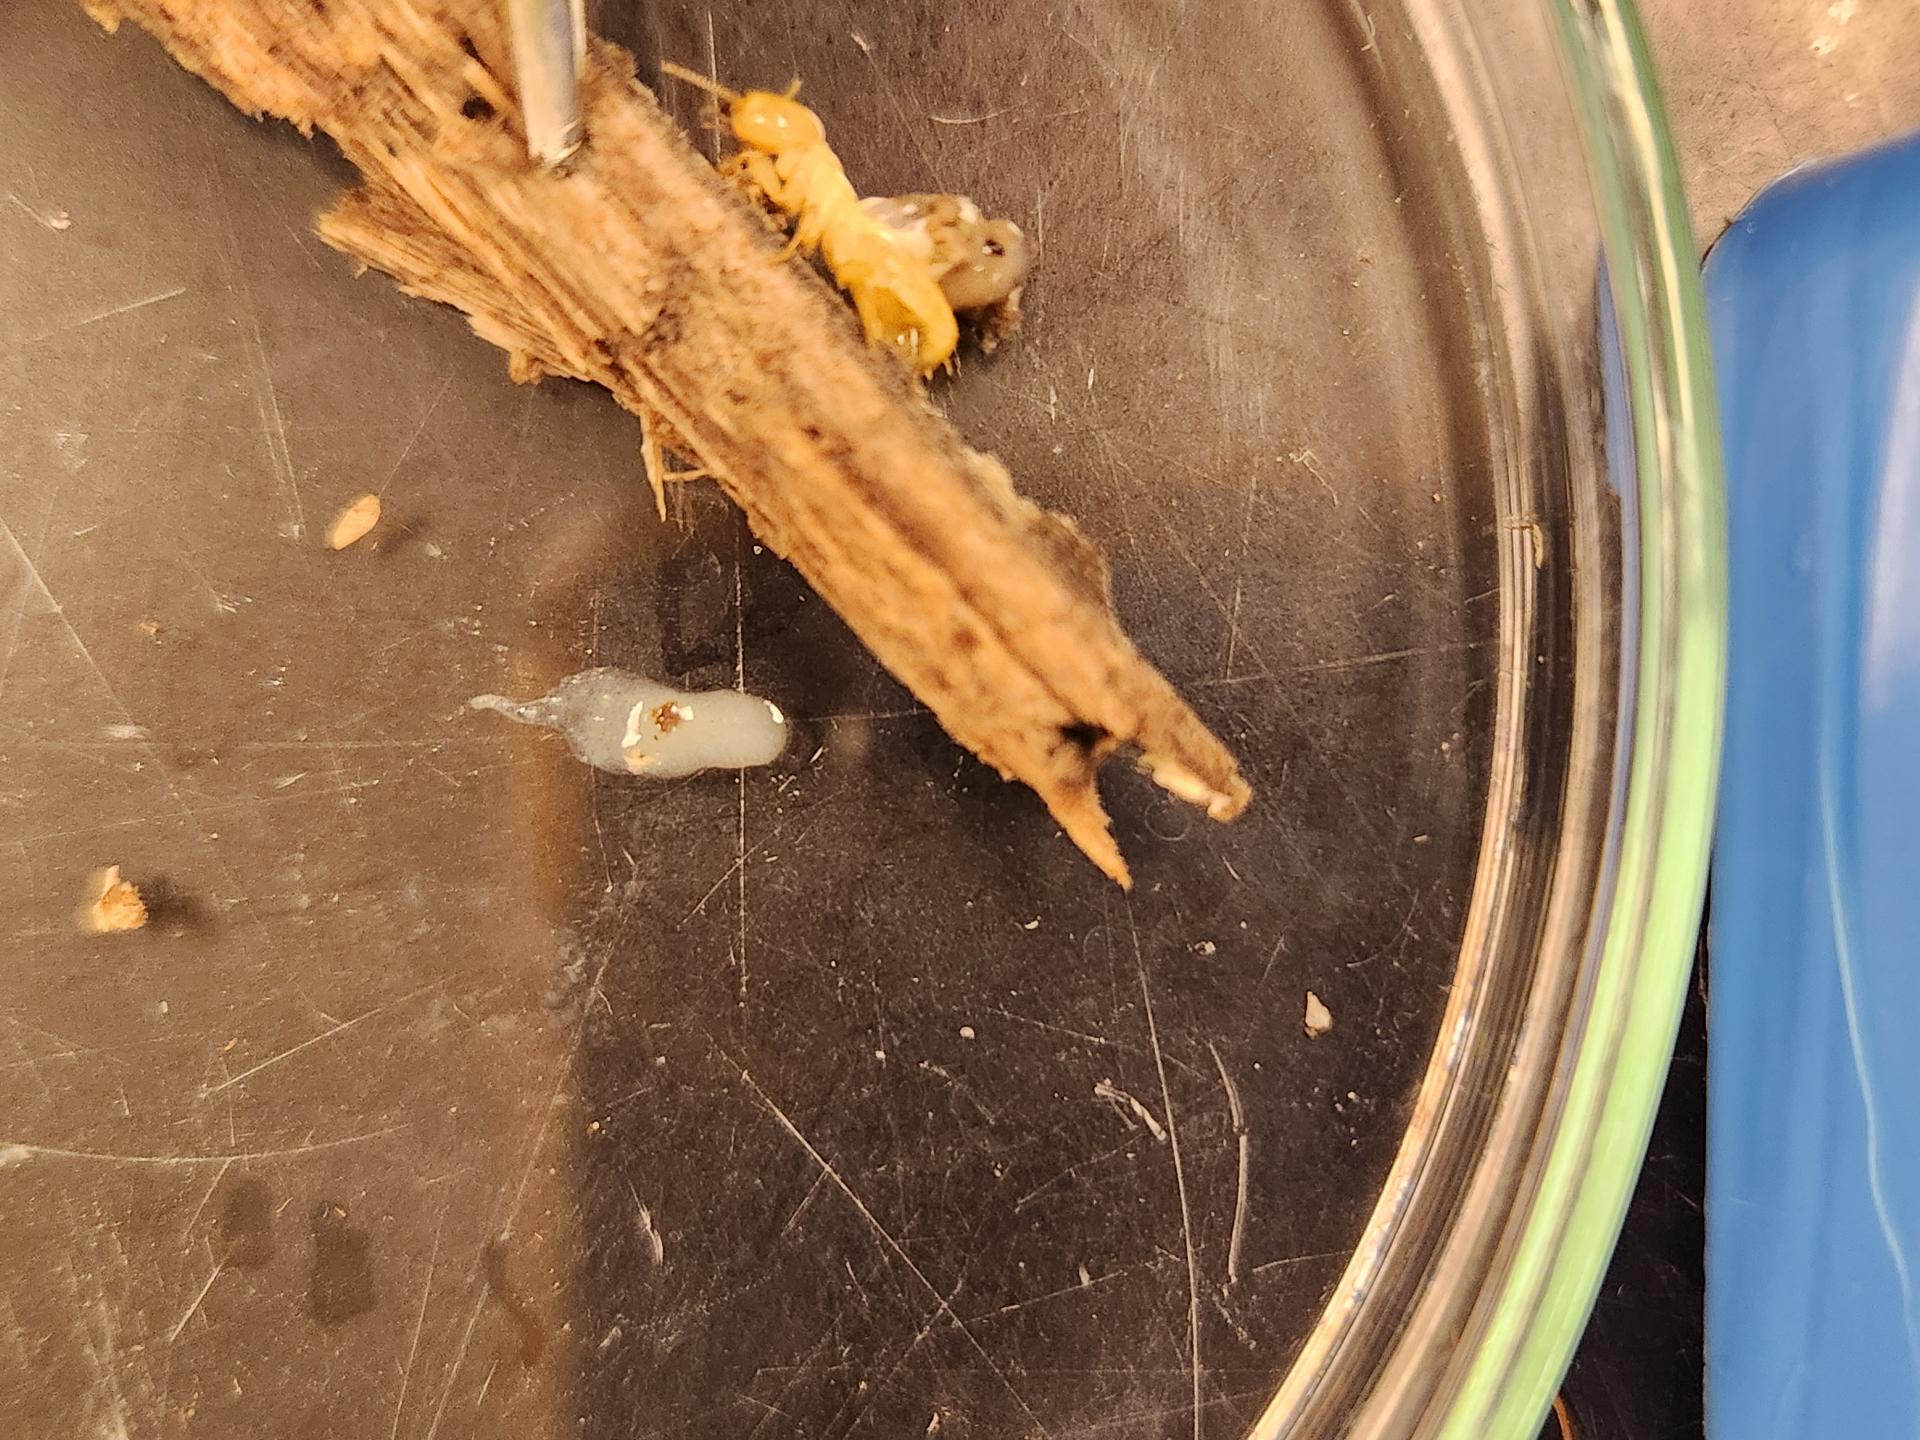
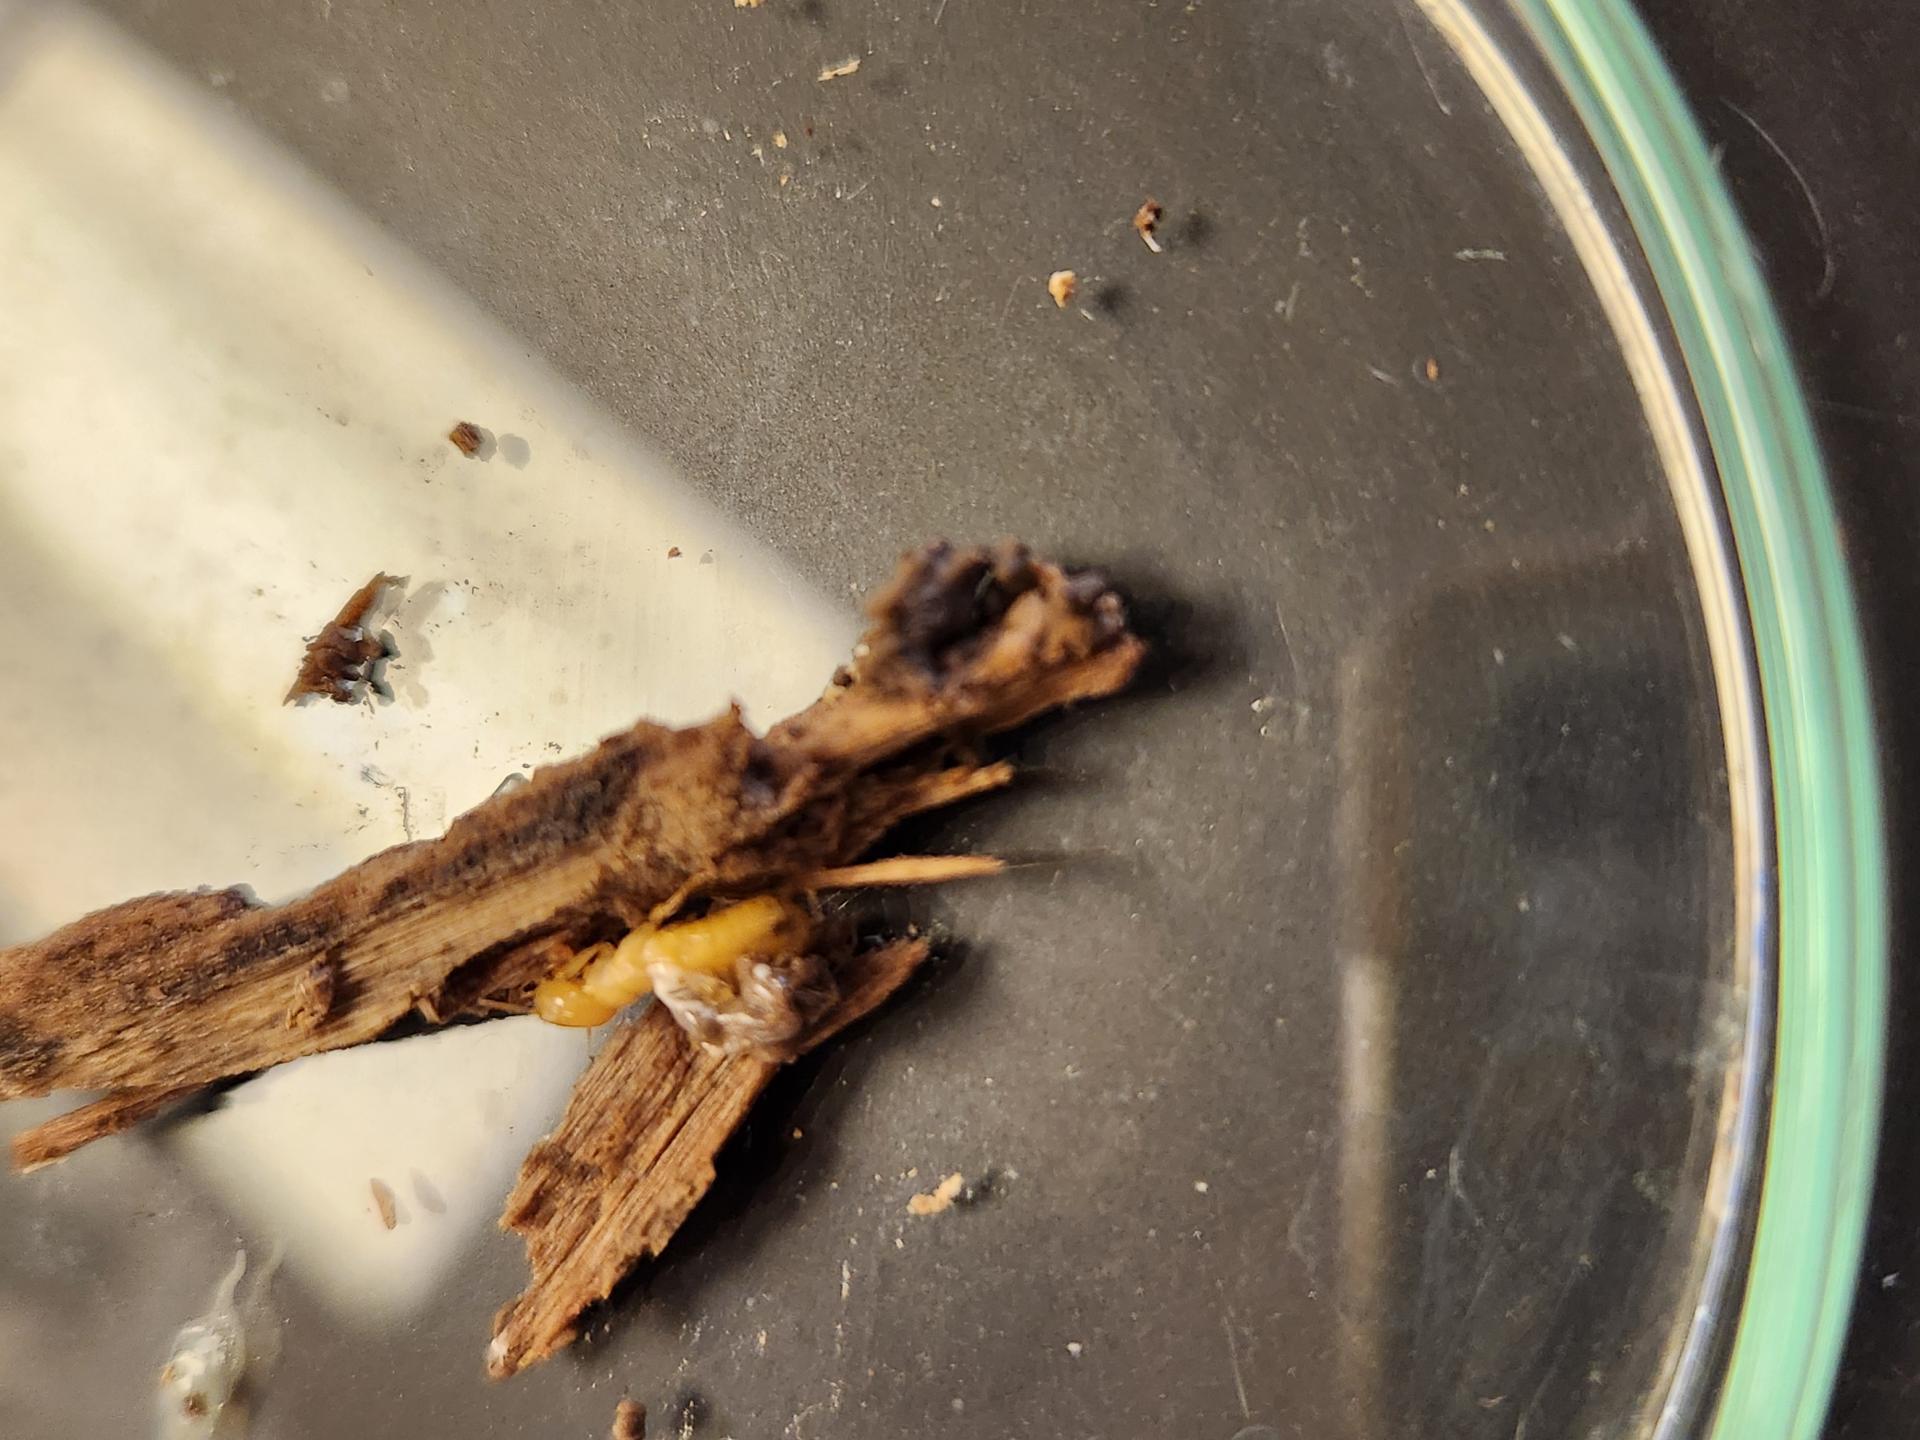
Today July 14th, I came in after the weekend and saw none of my larvae previously noted. There was 1/2 of 1 termite, the worker was laying on its back, and less than a dozen termites in general were found. Of those found, 1 looked to have some serious issues. While I'm not able to find any information on it, it appeared that they had an intestinal the intestines on the outside of the body, the abdomen was flat.
I have isolated the 3 termites that were separated from the rest into individual petri dishes with their own piece of wood. The remaining termites were returned to the original AntWorks habitat in case there was something in the other one to have caused the collapse.
I've attached a picture of the termite with issues. Any thoughts as to what caused the collapse? or the issue that Fred is having?