Actually yeah, I probably can. Good idea. I've always just used silicone tubing, but making my own grommet/coupling would eliminate the need for a plastic piece to fit the tubing on to.
- Formiculture.com
- Forums
- Gallery
- Members
- Member Map
- Chat


Actually yeah, I probably can. Good idea. I've always just used silicone tubing, but making my own grommet/coupling would eliminate the need for a plastic piece to fit the tubing on to.
Advanced Member

If want to consider using 16mm screw top tubes I have found that 1/2" 3/8" vinyl tubing fits perfectly in the opening. Its really handy.
Edited by Subverted, July 17 2015 - 8:33 PM.
My ants | My free feeder design | PM or email me if you need and 3d printing, cnc machining, or manufacturing done: http://www.lrmachining.com
Make your own mold/fungus/bacteria resistant test tube water! Don't get ripped off! Read my simple guide: http://www.formicult...-simple-how-to/
"Self-education is, I firmly believe, the only kind of education there is." - Isaac Asimov
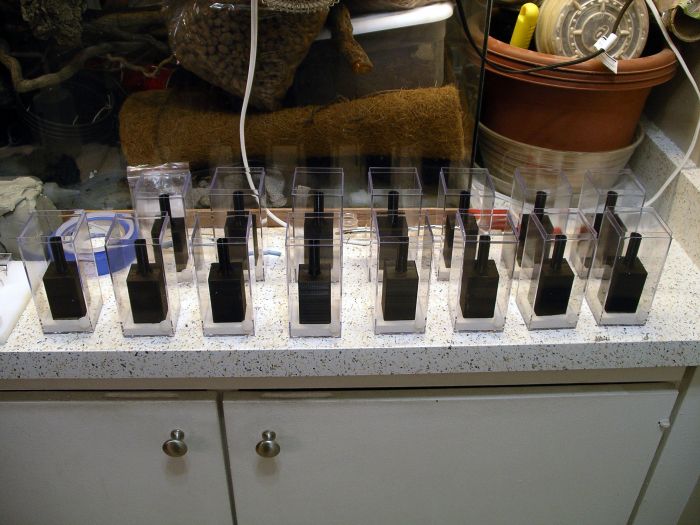
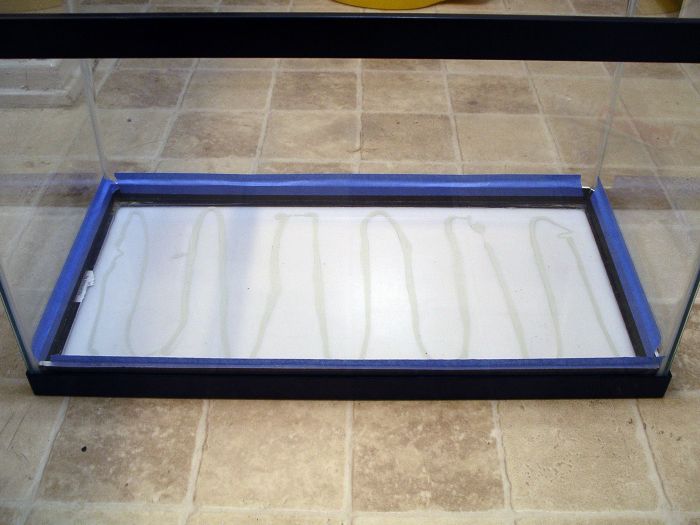
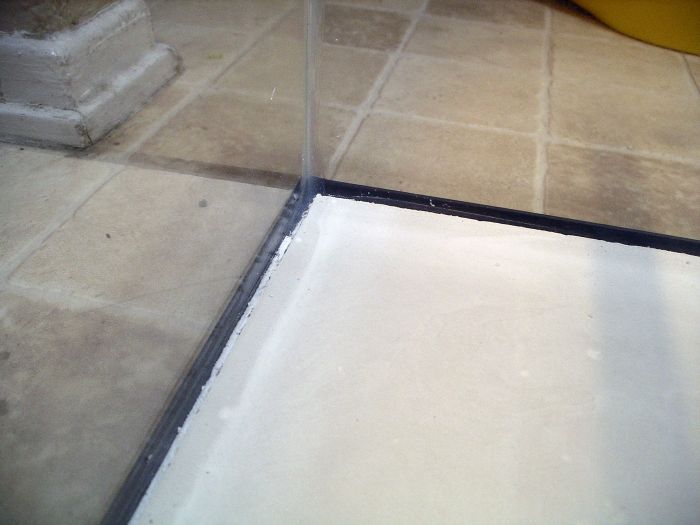
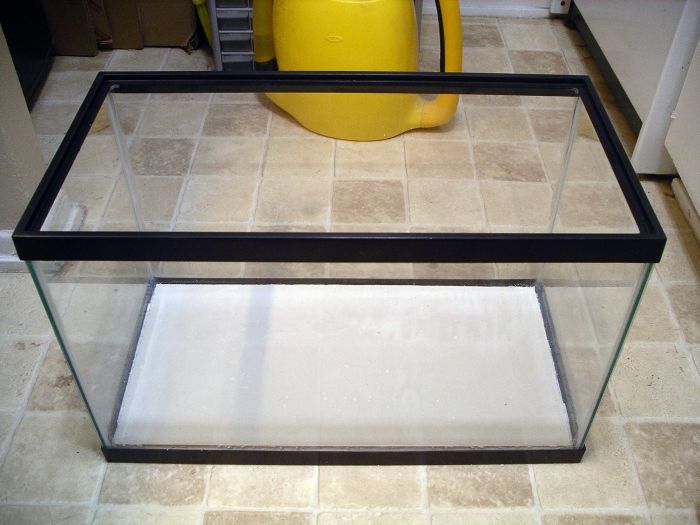
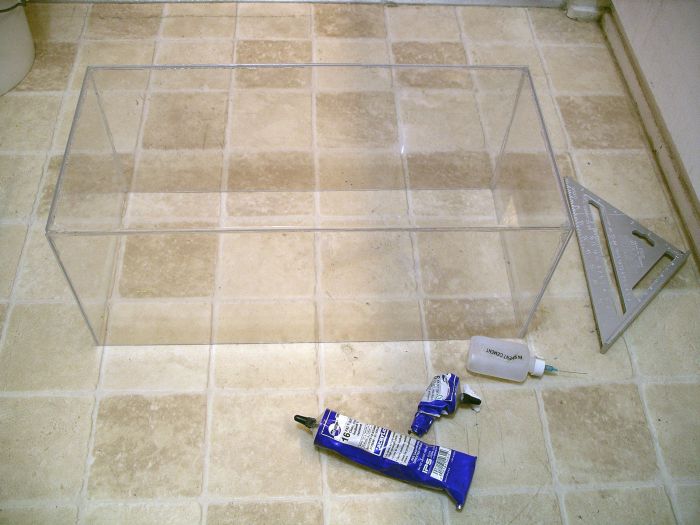
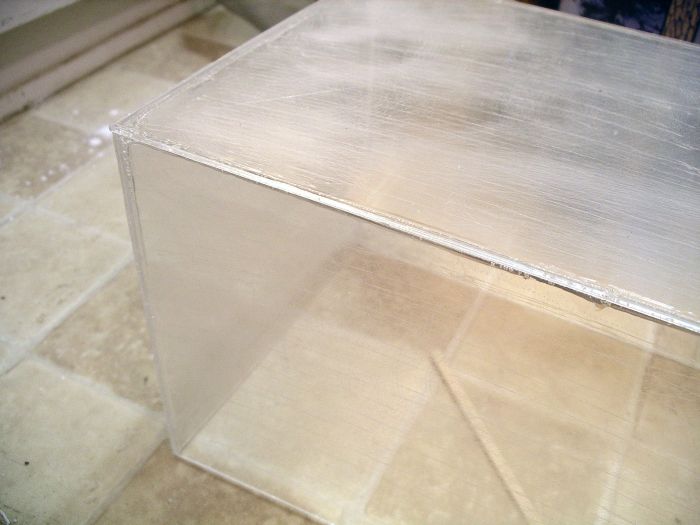
I have started 3D printing the inner chamber of these now.
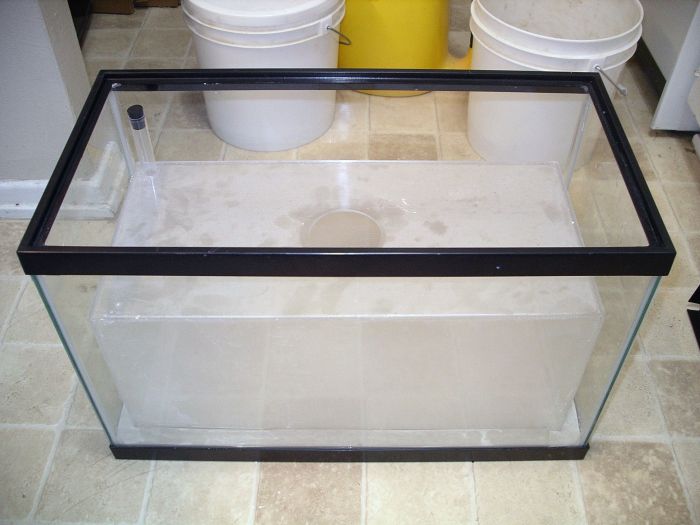
Hydrostone (plaster/water): 42g/14g
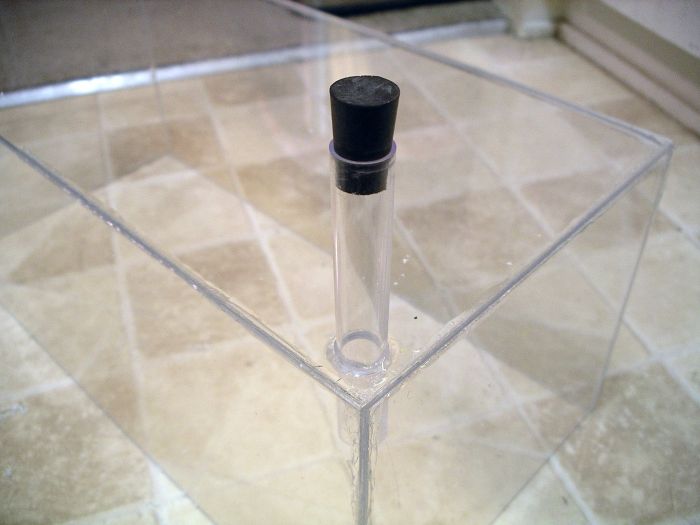
Plug hole (for the silicone plugs I cast): 10mm"
Lid hole: 7/8"
Advanced Member

Advanced Member
always hard at work 
 Franz
Franz
if you find any mistakes, it's my autocorrection. it doesn't speak english.
Advanced Member
Turned out very sleek! Can't wait till there are some queens in those!


Vendor

Fascinating...
Advanced Member
Edited by Ants4fun, August 2 2015 - 5:52 PM.
Advanced Member
wow, made it look easy! awesome job!
Advanced Member

What's needed is a semi-flexible coupling that fits a standard size test tube. Can you make those?
I feel like the proper size vinyl tubing should work, though you may have to go somewhere with a wide selection (I've had the best luck at Osh where I am).
I've also thought about using heat shrink tubing, just slightly shrunk, though it'd be opaque and may outgas chemicals.
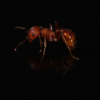
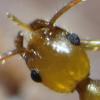
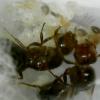
Camponotus vicinus, Crematogaster 1, Crematogaster 2, Formica francoeuri, *, *, Myrmecocystus testaceus, Novomessor cockerelli, Pheidole hyatti, Pogonomyrmex californicus, Pogonomyrmex rugosus, Solenopsis invicta
I've broken test tubes using vinyl tubing. Like I said in my response to PTAntFan, silicone tubing works best.
Advanced Member
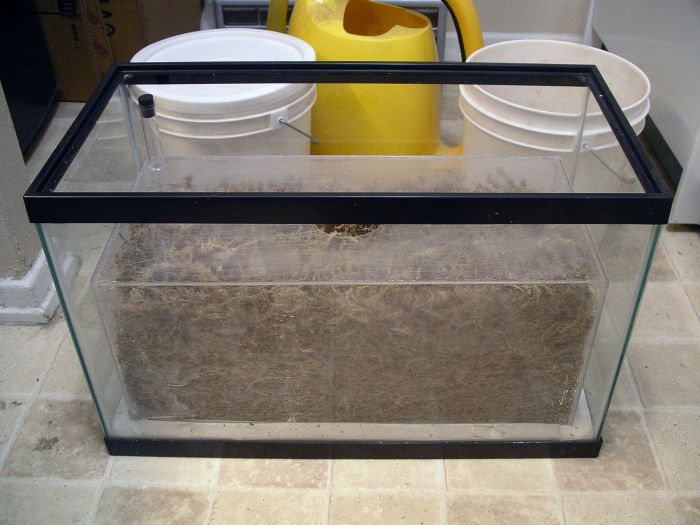
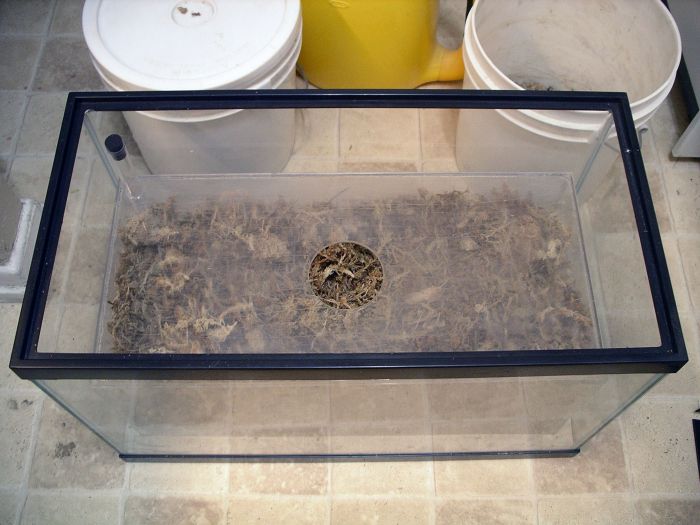
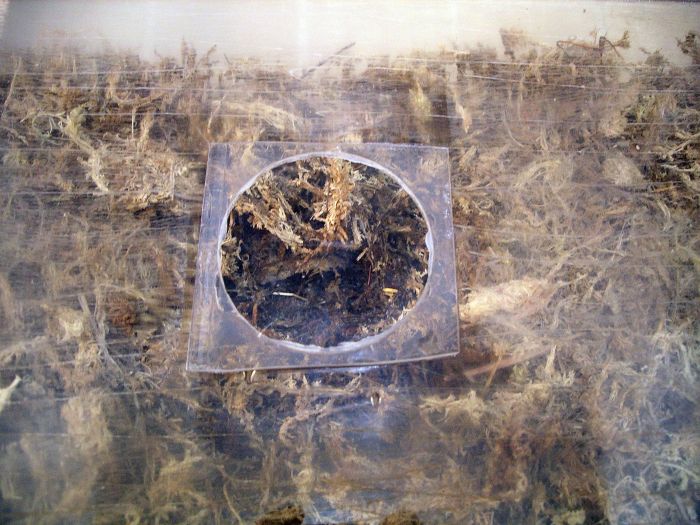
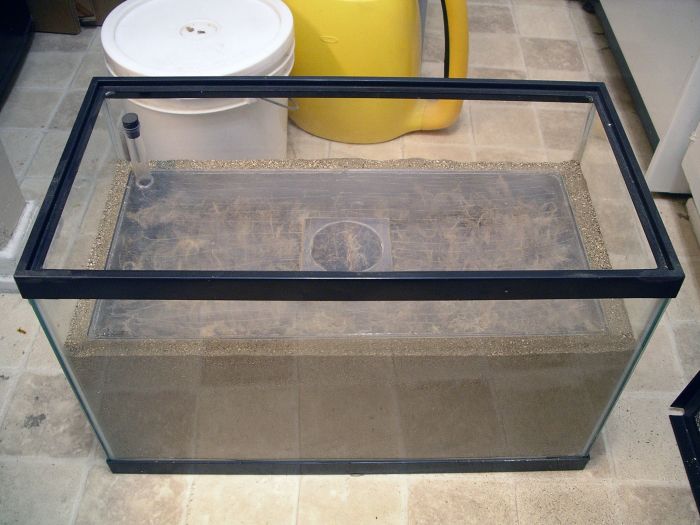
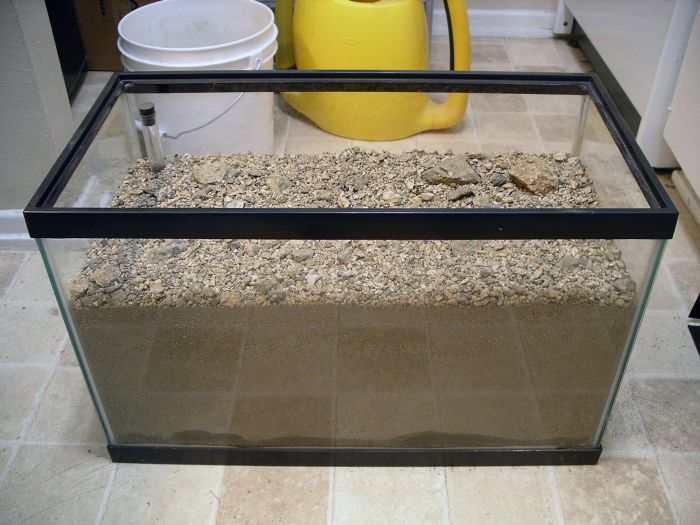
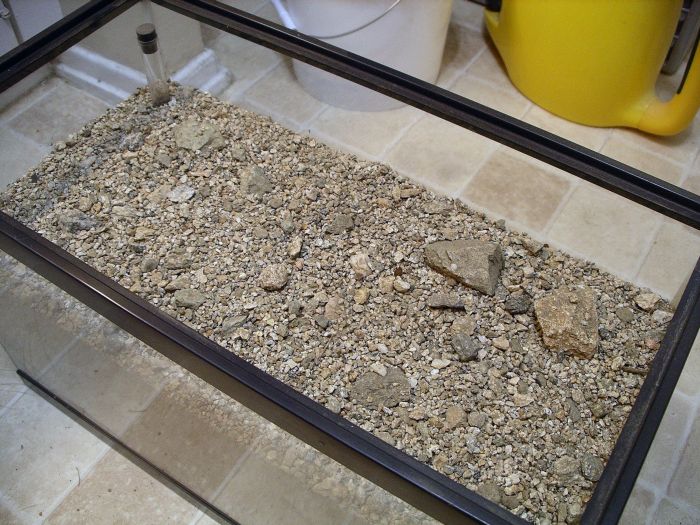
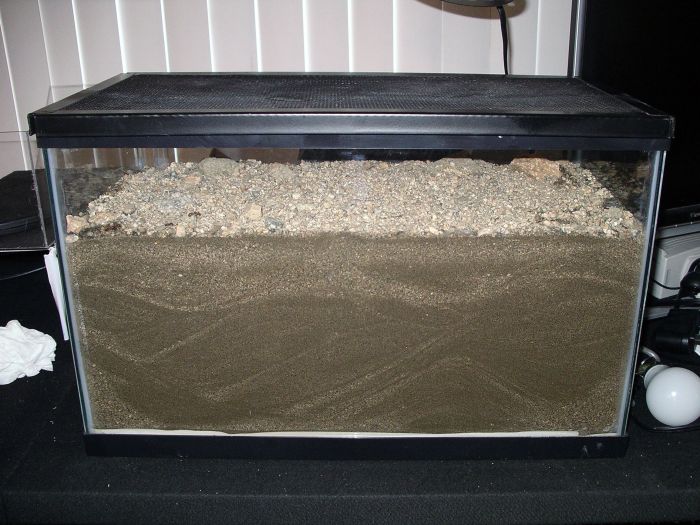
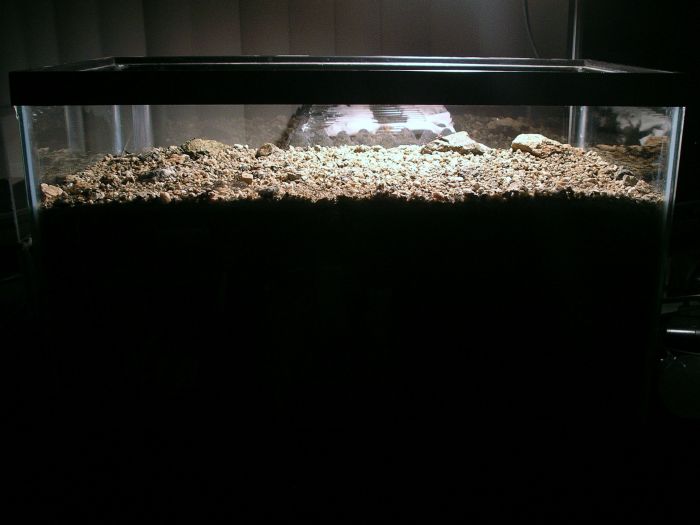
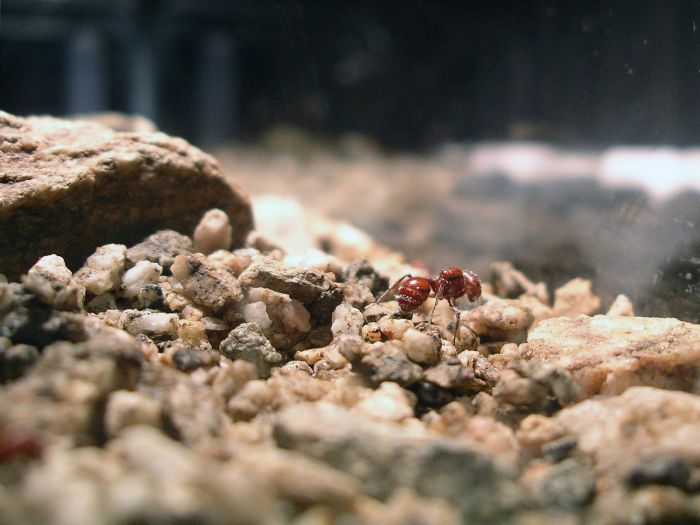
Drew, so I know part of the problem with these is visibility from small particles versus collapsing of larger particles not sticking together. Have you ever tried using a binder on sand particles to help them stick together, but still be weak enough for ants to dig into? It should let you use more course sand which will improve visibility, but keep it's shape. I was reminded of Green sand, which is used to make disposable moldings in metal casting. From what I've seen, the main ingredient to help it hold its shape is bentonite clay, which causes the sand to have a sticky surface. I'd love to do it myself and show off and be a genius, but you're probably more likely to do it and actually have ants to try it on. Here's some helpful links in that regard.
https://en.wikipedia...ki/Molding_sand
https://en.wikipedia.../wiki/Bentonite
Advanced Member
Just want to add that clay will hold a lot of moisture and become rock hard when dry. If anyone wants to experiment with bentonite though, it's essentially cat litter.
I've broken test tubes using vinyl tubing. Like I said in my response to PTAntFan, silicone tubing works best.
Anywhere locally that carries a variety of sizes to try?
Camponotus vicinus, Crematogaster 1, Crematogaster 2, Formica francoeuri, *, *, Myrmecocystus testaceus, Novomessor cockerelli, Pheidole hyatti, Pogonomyrmex californicus, Pogonomyrmex rugosus, Solenopsis invicta
Just want to add that clay will hold a lot of moisture and become rock hard when dry. If anyone wants to experiment with bentonite though, it's essentially cat litter.
Say what? Clays have very fine particles, which create more total surface area, and more pores. This is what makes a material hold more water. As far as what the ants are digging in, I want it rock hard to prevent collapse.
I
I've broken test tubes using vinyl tubing. Like I said in my response to PTAntFan, silicone tubing works best.
Anywhere locally that carries a variety of sizes to try?
Not that I know of. I get most of my materials from Amazon or Ebay.
Advanced Member
Just want to add that clay will hold a lot of moisture and become rock hard when dry. If anyone wants to experiment with bentonite though, it's essentially cat litter.
Say what? Clays have very fine particles, which create more total surface area, and more pores. This is what makes a material hold more water. As far as what the ants are digging in, I want it rock hard to prevent collapse.
Good, then I guess it's not a bad thing . If I were you, instead of buying pure clay, just look for clayey-sand or clayey-silt in the neighborhood, that should accomplish exactly what you're trying to do. Take a small pinch of soil and add a few drops of water, if you are able to roll it into a ball, then it's clay dominant. If not, then it's sand/silt dominant. Clayey soil is unsuitable for building foundations, so you'll likely find it in reject piles, parks, or landscaping.
And not to split hairs or argue but just FYI, clay particles are platy and charged so they tend to stack and stick together. So in terms of pore space (quantified as porosity or void ratio), clays are significantly lower than sands. They hold water via adsorption on the surface of the stacked particles. This particle arrangement is what makes dried clay rock hard, unlike sand which has nothing holding the particles together.
Camponotus vicinus, Crematogaster 1, Crematogaster 2, Formica francoeuri, *, *, Myrmecocystus testaceus, Novomessor cockerelli, Pheidole hyatti, Pogonomyrmex californicus, Pogonomyrmex rugosus, Solenopsis invicta
Maybe water retention is what I was thinking, and not exactly the total amount of water a material can hold. Smaller particle size equals more surface area, and more surface area means stronger capillary action. An eight ounce glass can hold a lot of water for the amount of material it's made up of, but flip it upside down, and it doesn't hold anything. Is there a better word for what I am describing?
BTW, I don't buy pure clay, I just use the soil where the ants are found, and if it's too sandy, I add a little clay dirt.
Advanced Member


 |
Ant Keeping →
Ant Keeping Journals →
The_Gaming-gate's Ant Nest DesignStarted by The_Gaming-gate , Apr 4 2024 |
|

|
|
|
|
Ants & Myrmecology →
General →
PlasterStarted by The_Gaming-gate , Apr 3 2024 |
|

|
|
Ant Keeping →
General Ant Keeping →
Formicarium concept: slip casting potteryStarted by Nixionika , Mar 5 2024 |
|
|
||
Formiculture.com →
Member Introductions →
Introducing: AntCondo™Started by AntCondo , Jan 5 2024 |
|

|
||
Ant Keeping →
Ant Keeping Journals →
Dspdrew's Camponotus ocreatus Journal [132] (Updated 11-16-2023)Started by dspdrew , Aug 30 2017 |
|
|
0 members, 0 guests, 0 anonymous users
Community Forum Software by IP.Board
Designed By skinod.com